Pressure Project 1 (Maria)
Posted: February 3, 2021 Filed under: Maria B, Pressure Project I Leave a comment »I used this first pressure project to get a better feel for the different actors in Isadora and how I could manipulate them to make weird and unique visual effects. It wasn’t inspired by anything in particular, but it was interesting to hear how different classmates interpreted its meaning and its stylistic resemblance to existing works.
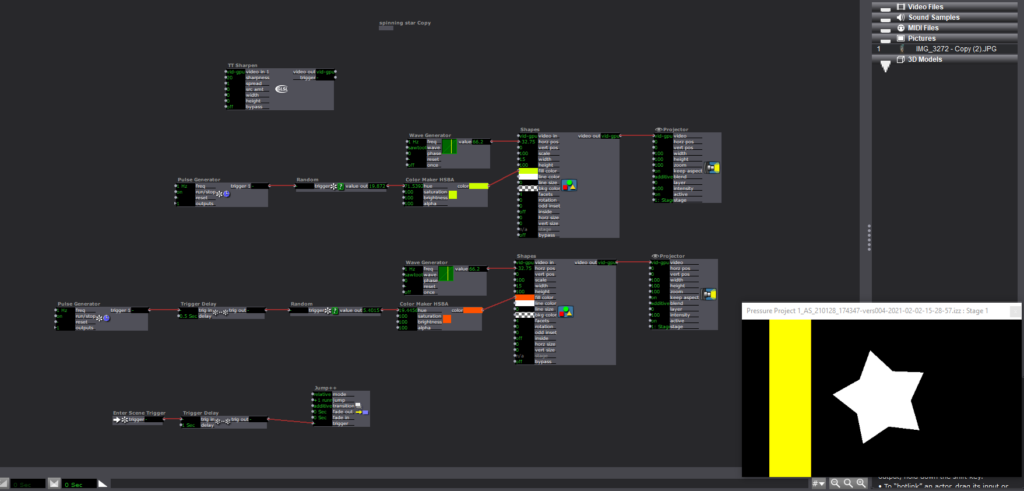
I started with a simple star shape and continued to riff off of it in subsequent scenes. I started by making it look like it was rolling by attaching a sawtooth wave generator to the star and adding rectangles moving by in the background.
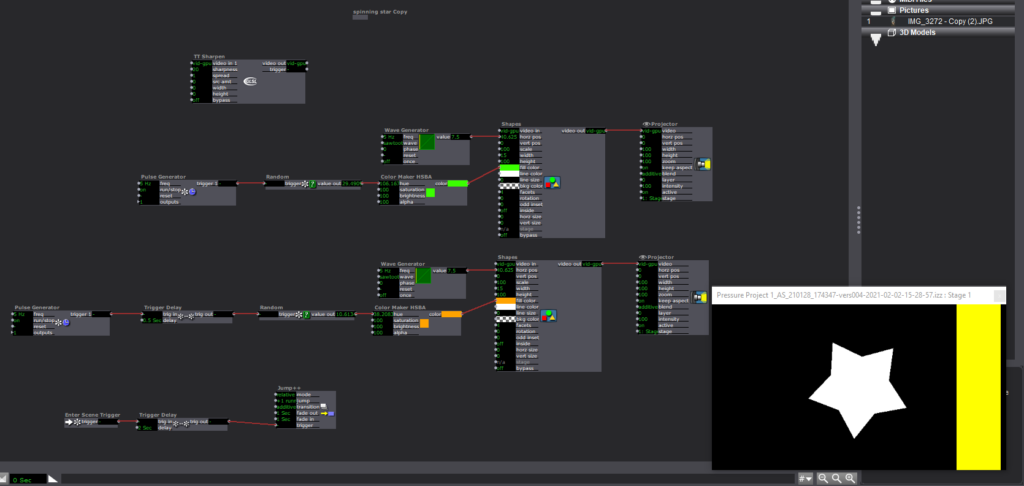
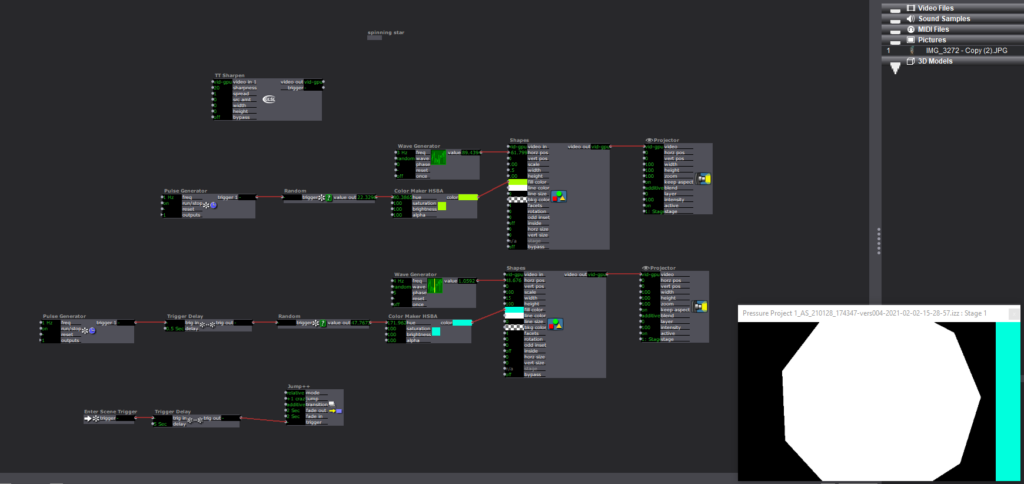
In the next scene the “plot” begins to escalate as the star moves faster and then, in the next scene, grows bigger and randomly changes # of facets (Pulse generator > random > facet input of shape actor).
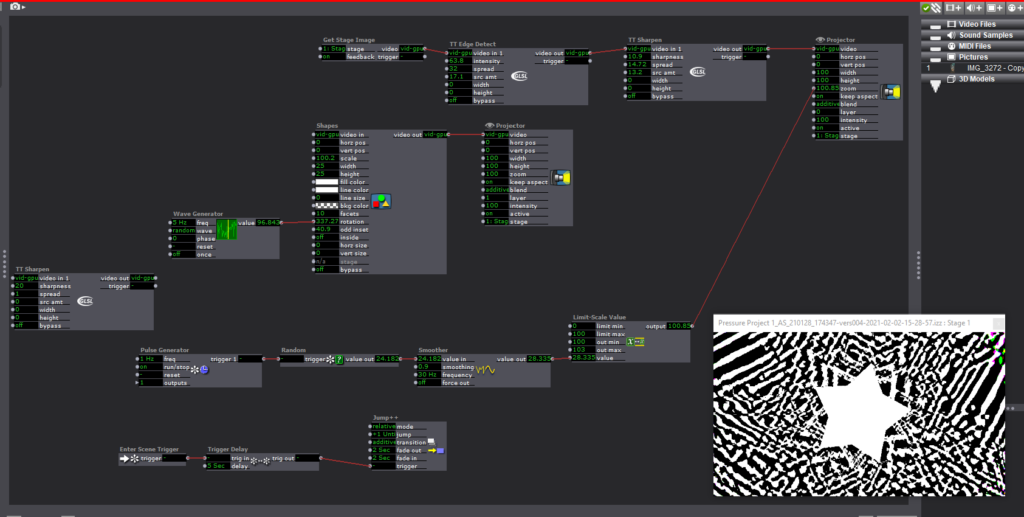
In the next scene, things start to get a little trippy. I experimented with both the TT edge detect and TT sharpen (not entirely sure what happens when these two are impacted by layering them, still need to play around with it more), and tried to find ways to make the visual effects more “random.” I’m sure there are a lot of ways to do this, but the best way I knew how was to mess with the zoom of the stage, which would then alter the stage image that the Get Stage Image actor was receiving. I used a pulse generator > Random > Smoother > Limit scale value > zoom input of Projector (this was a series of actors I found myself using a lot). A common issue I had with the smoother tool was limiting the scale of the output value without making the end result choppy. Typically I’m able to fix this issue by adjusting the min and max values within an actor input/output, but for some reason I was only able to get this one to work by using the limit scale value actor.
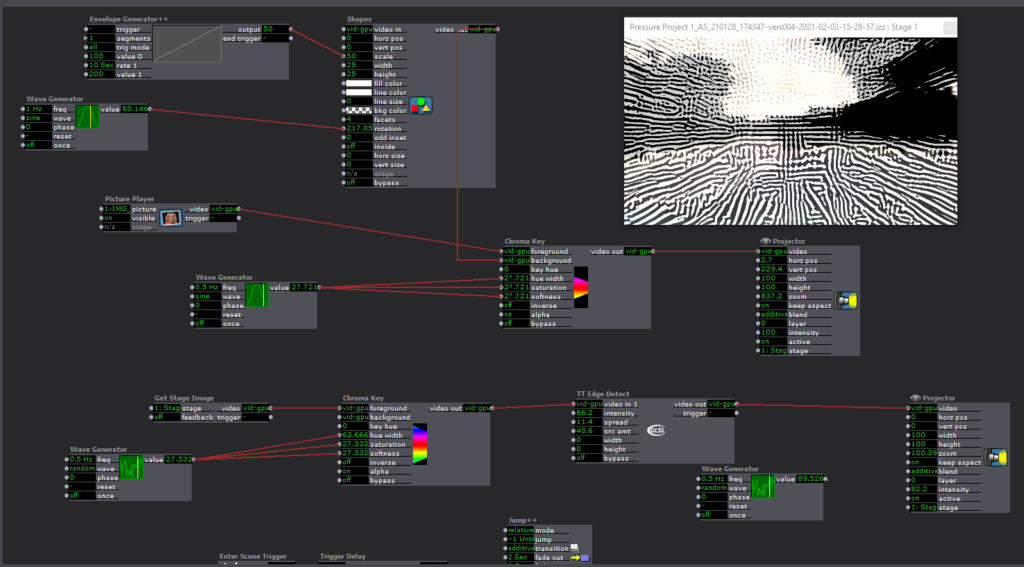
At this point, I ditched the star and starting messing around with adding cool effects to and manipulating a photo. I zoomed into a part of a picture with some interesting texture and color and experimented with using the chroma key and the TT edge detect and sharpen actors. The goal was to create an effect similar to the demo Alex did with the fractal photo, but I couldn’t really figure out/didn’t have the time to get there. One other thing I couldn’t figure out how to do was rotate the photo, which I thought might’ve had a cool effect on the TT Edge Detect and Sharpen Actors.
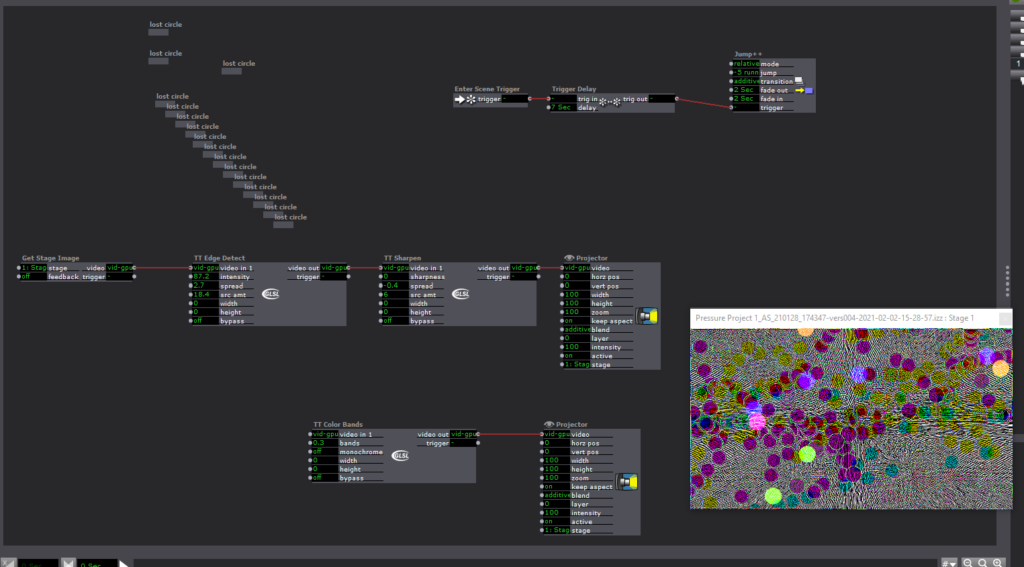

In this final scene, I wanted mess around with making a bunch of little shapes moving around the scene to see how much chaos I could create. I used a lot of the same actors and series of actors as in previous scenes, but it was interesting to see how different the final result turned out.
Looking Forward
I’m really looking forward to learning more about adding in interactivity via the motion and depth sensors we got in our kits for the class. I’m excited to see what doors it will open up for potential applications for this software and how I might be able to use it (or similar software) in the future.
I also want to improve the organization and labeling within scenes, because up to this point I’ve been doing things rather haphazardly and I don’t think things are going to go too well if I continue to do this in more complex projects.