Cycle 3 – Final Project
Posted: December 13, 2020 Filed under: Uncategorized Leave a comment »In this iteration of the project, I completed a more robust prototype of the box, which allows a more usable interface while calling cues.


The box evolved between cycle two and three, but adding all of the wires and the grounding option. In cycle two, the box mainly just had the spot outlined for the Makey Makey, and the top of the box had numbers painted on. I improved by then adding all of the wires, cutting the holes for the box, and securing everything inside the box.
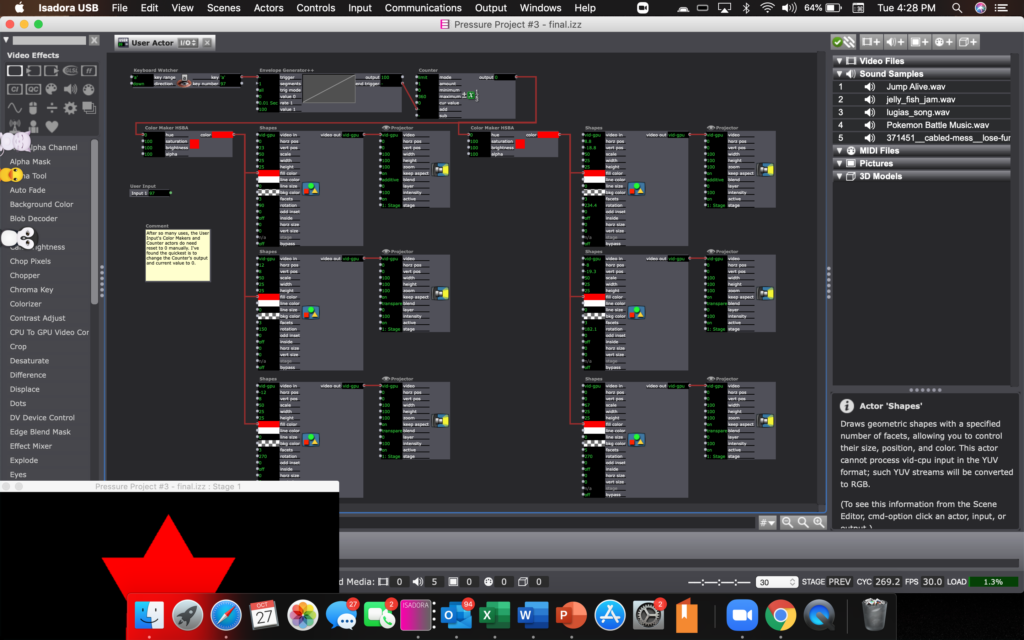
The patch did not change from cycle 2.
This project could also work off of just the Izzy patch, but you would then need to memorize which letters are what number, where the box allows you to just think of the numbers.
Cycle 2 – Final Project
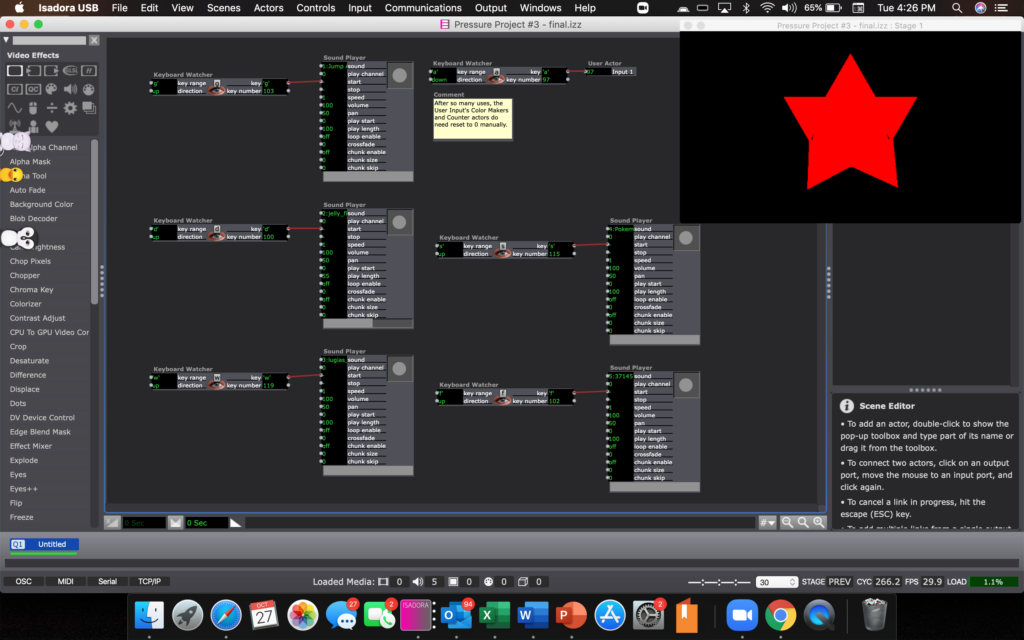
Posted: December 13, 2020 Filed under: Uncategorized Leave a comment »In the second cycle of my final project, I focused upon the Isadora patch. I knew I didn’t want to make it overtly complicated, though I wanted to attempt to discover a way to create a more visual output of the data, but did not decide to go as far to do so.
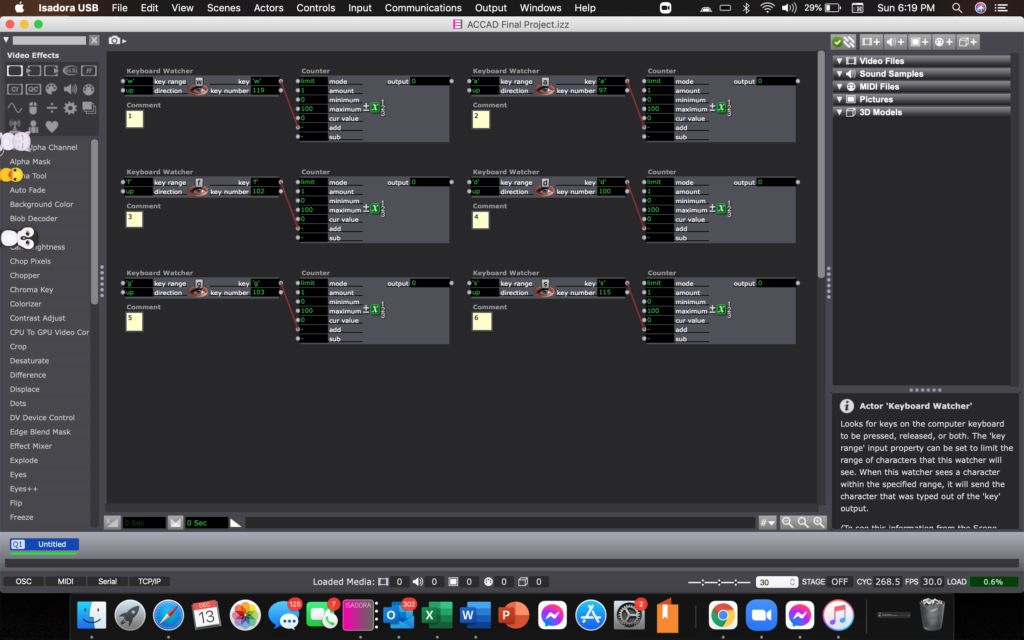
Above is the Isadora patch itself.
I do not have any photos of the box during this cycle, as I forgot to photograph any before moving onto the third cycle. The cycle three file will describe the detailed changes between two and three, for the box.
Cycle 1 – Final Project
Posted: December 13, 2020 Filed under: Uncategorized Leave a comment »With my final project, I wanted to create a box that could be used to track the number of cues called together at once by a stage manager.
In order to do so, I would need a box, electrical paint, conductive thread, wires, and a makeymakey. Once I got everything needed, I began crafting out the measurements to be able to line everything up on the box to allow comfortable sized numbers, and organization to ease use.
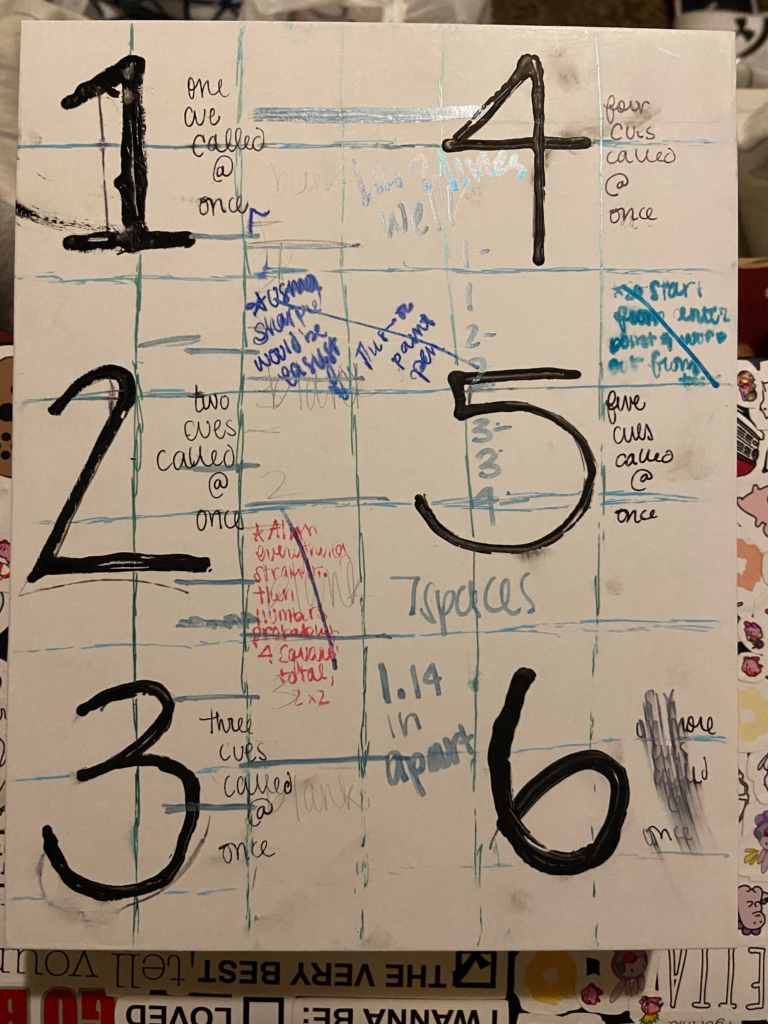
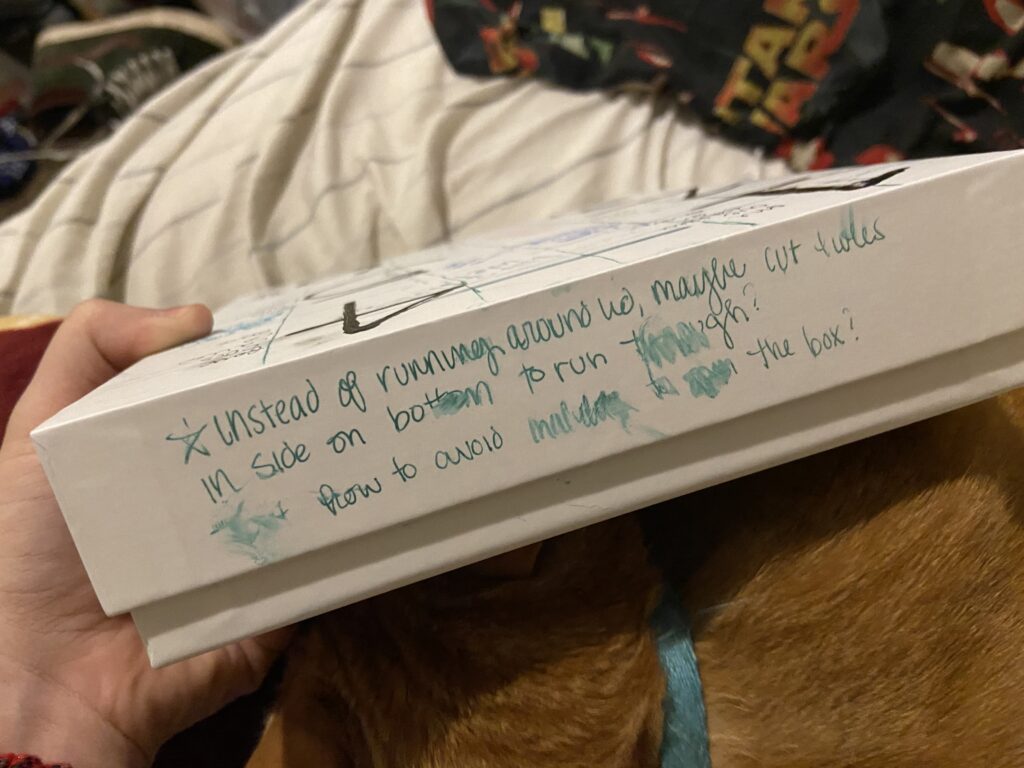


Each of these photos document the original concept for the box, along with all of my added notes for improvement on my next version of the box.
Pressure Project #3
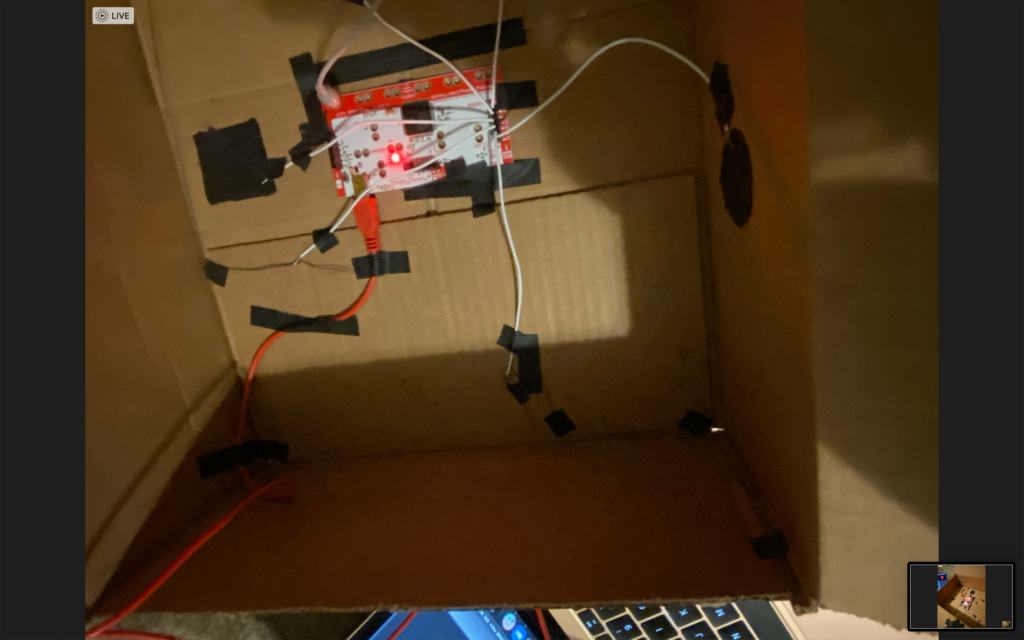
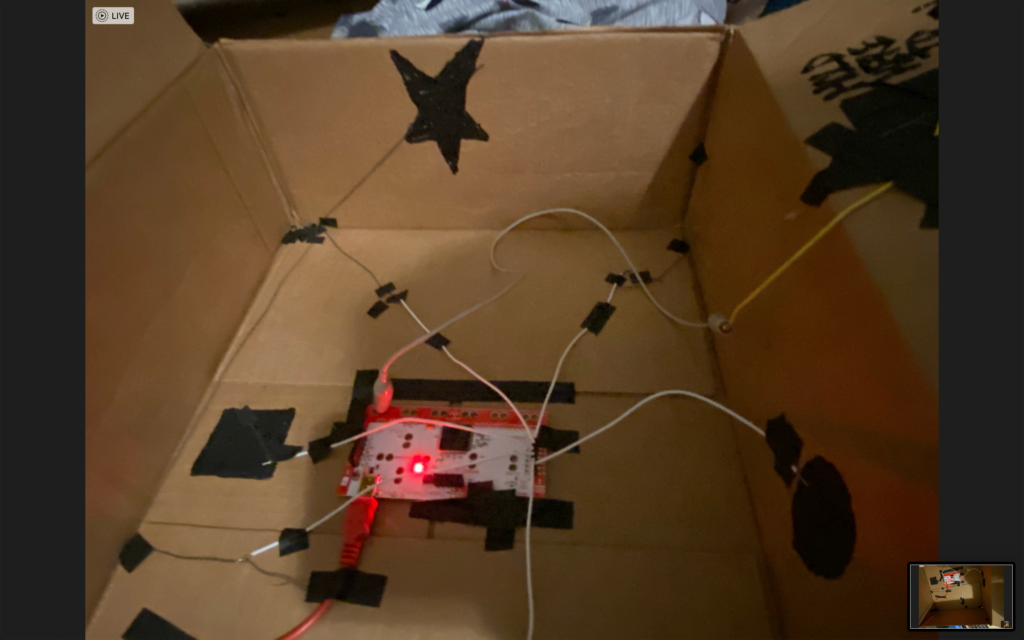
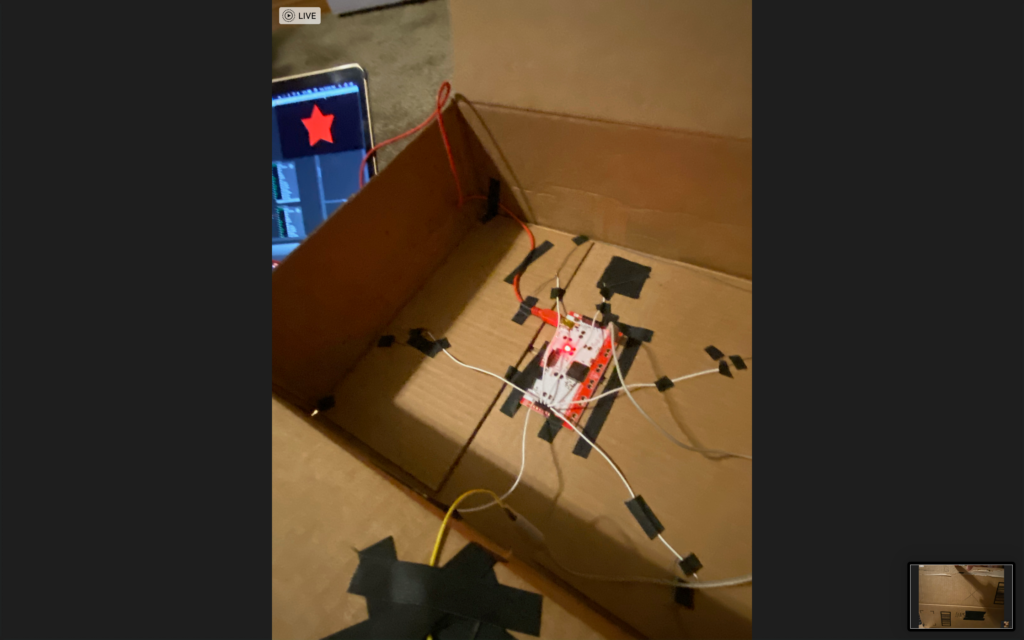
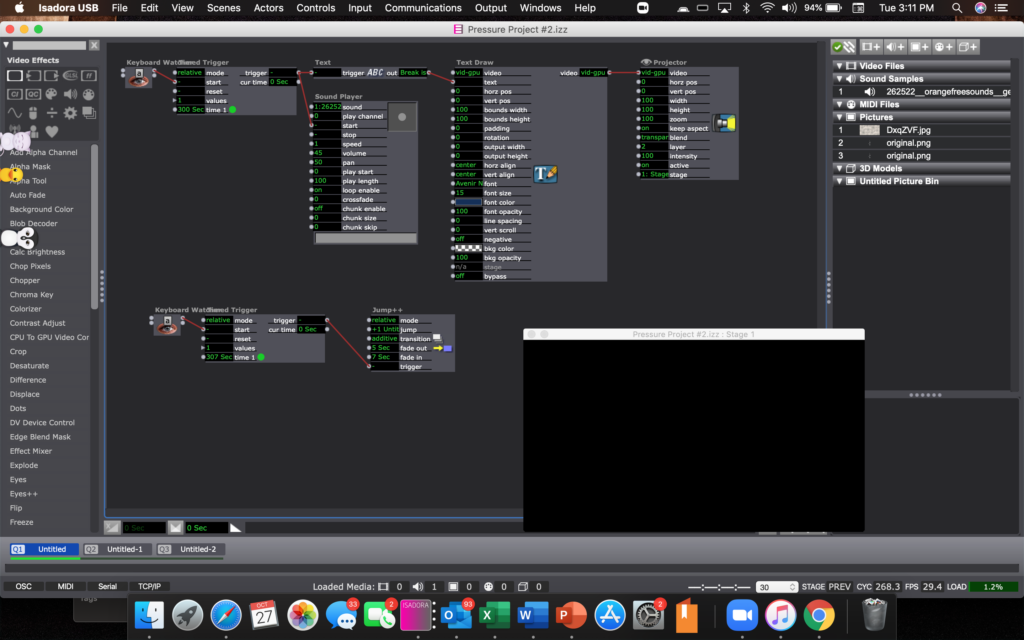
Posted: October 27, 2020 Filed under: Uncategorized Leave a comment »For this project, I wanted to create a mystery box, that depending on the spot touched, a different sound would play.
There are designated spots throughout the box, to trigger different sounds, but because I used the conductive thread, there were many spots that could be touched for the same sound, and sometimes without realizing. There is also randomness to the box at first, since the spots are not labelled it takes a moment to memorize what triggers what sound.
This spot triggers a colored star. 
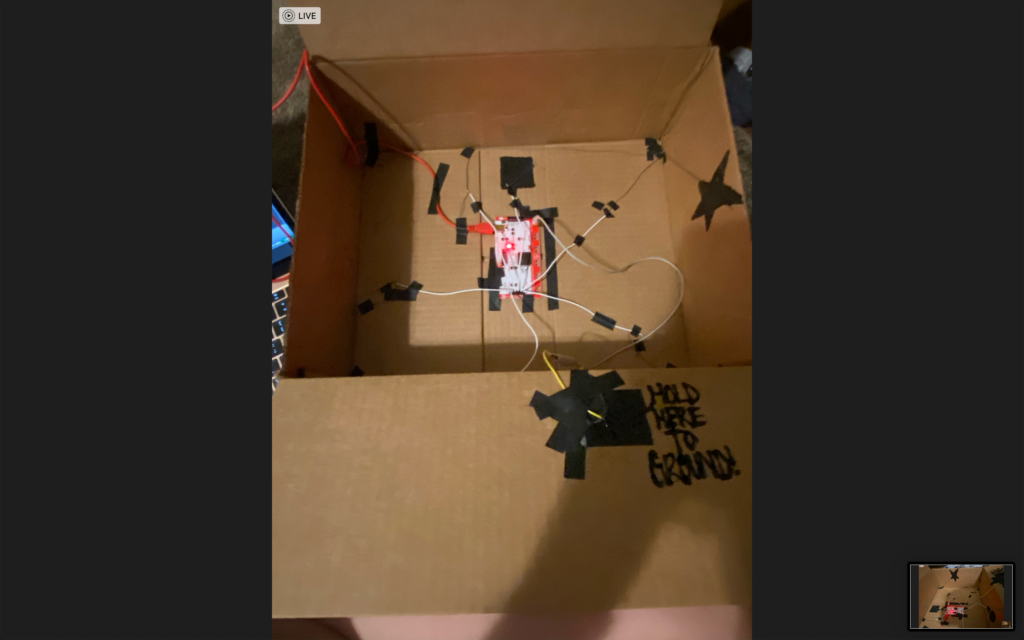
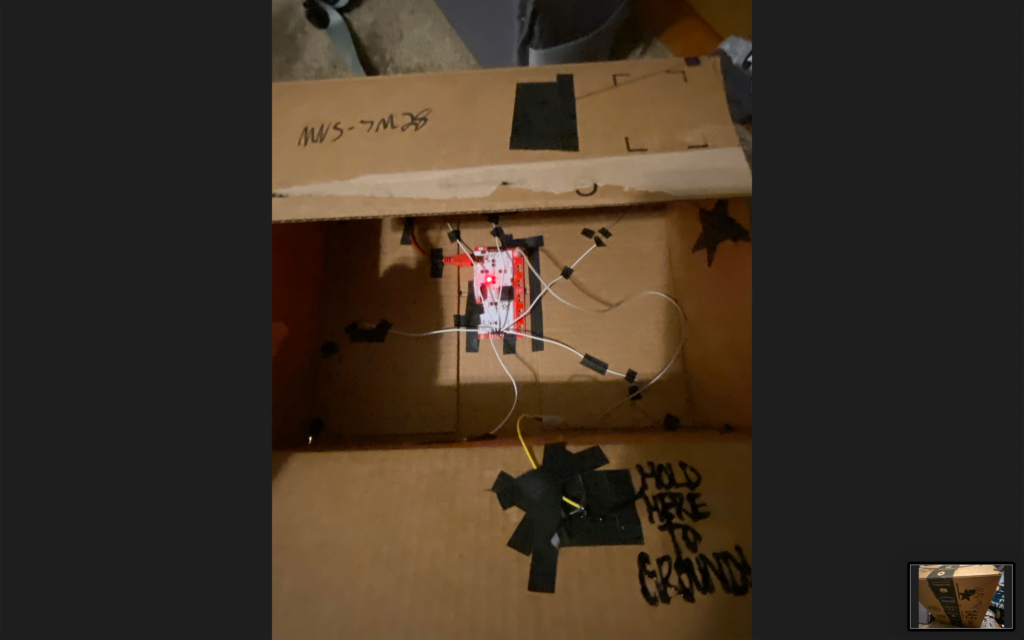
This photo shows the top of the box, including the spot where it grounds, and another cue.
Picking out different sounds, some are random effects, some are songs that may be recognized. My personal favorite is the “Jellyfish Jam” from Spongebob as one of the cues (I knew I wanted to use this going in).
This could be easily adaptable to a different device, as long as the device has six or less touchable spots that can be triggered.
I also left a few notes of instruction, just saying to ground the box then touch any spot with thread or colored black, and that the star does need manually reset after so many touches.
Everything except for the star is an up key, so that it does not trigger until the spot touched is released. Below is the Zip file for the patch.
Pressure Project #2
Posted: October 27, 2020 Filed under: Uncategorized Leave a comment »In this pressure project, I wanted to make a system that I could use during rehearsals, in order to count time during a 5 minute break, as I usually can lose track of a few minutes.
Using a keyboard watcher, I set it up to count 300 seconds as soon as a button is hit, grounded through my script’s binder that I always have with me, by attaching some alligator clips and a spot of aluminum foil between my binder and the MakeyMakey, allowing me to both ground and hit go at the same time.
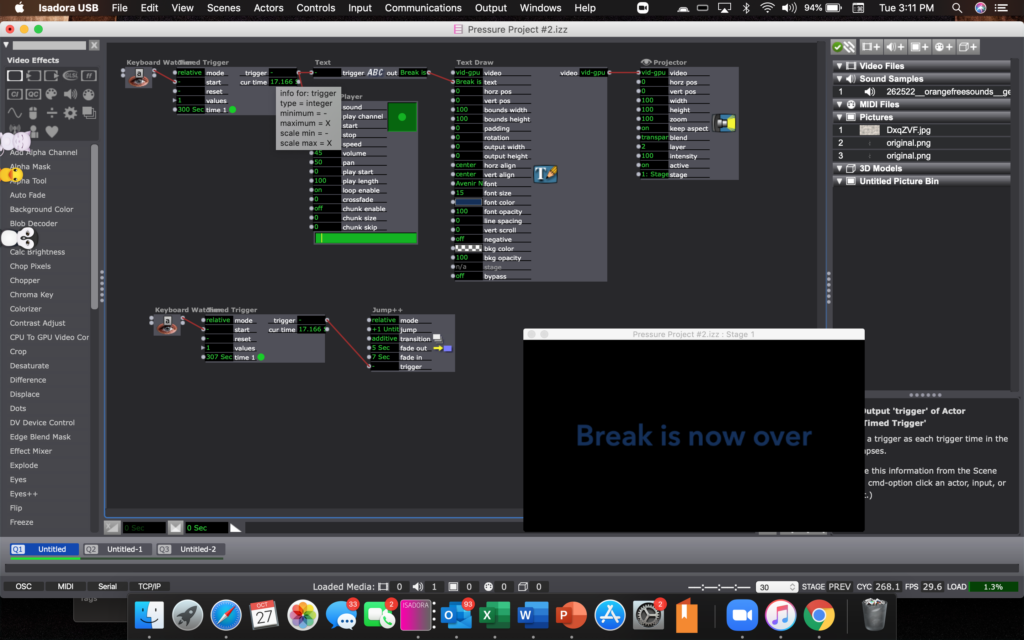
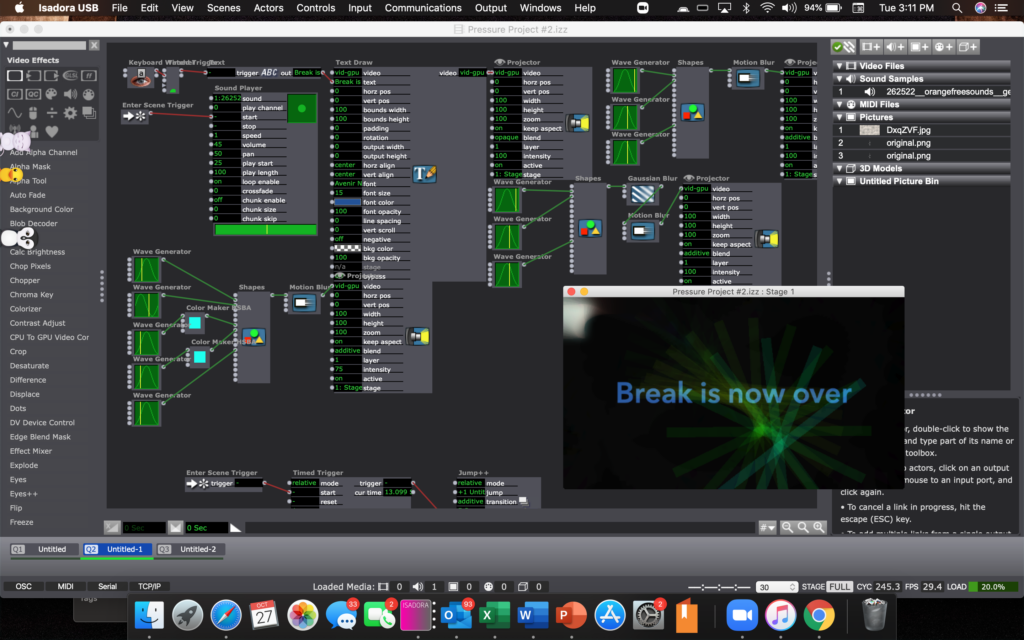
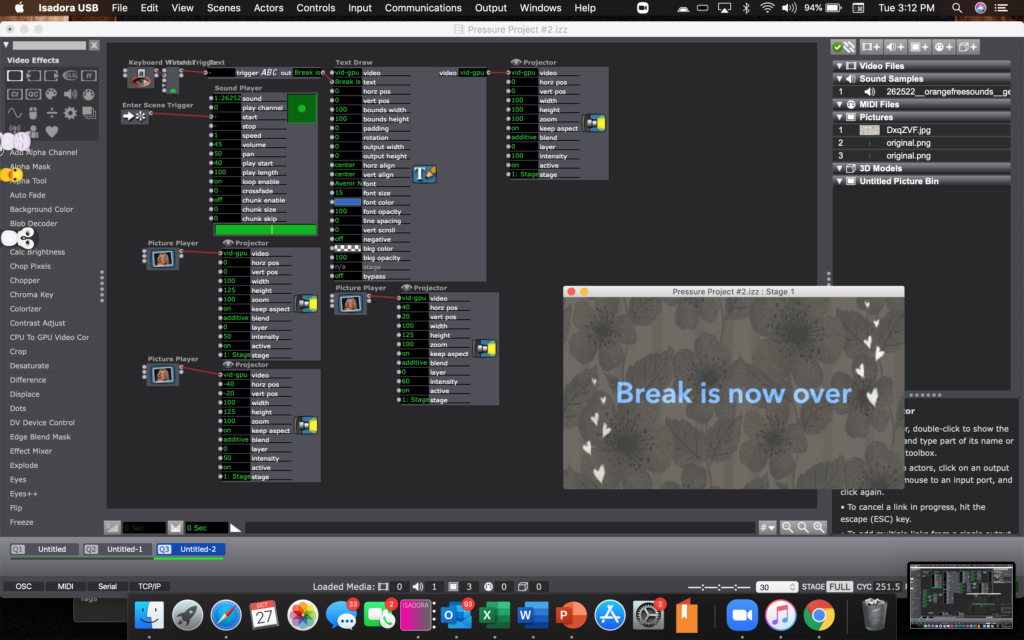
Above is the zip file to the Isadora patch, and the files used.
Pressure Project One
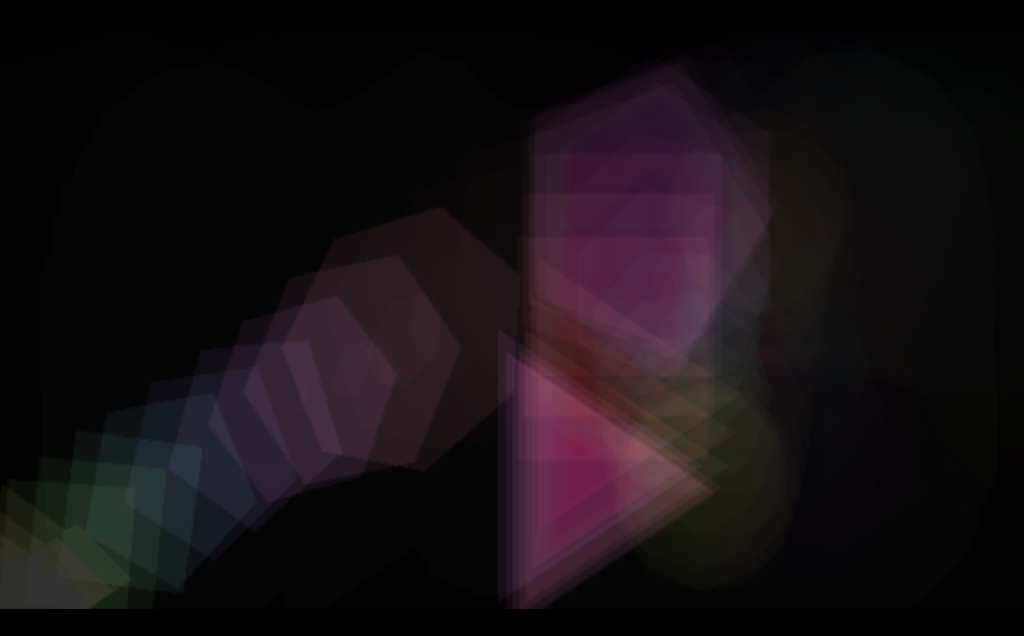
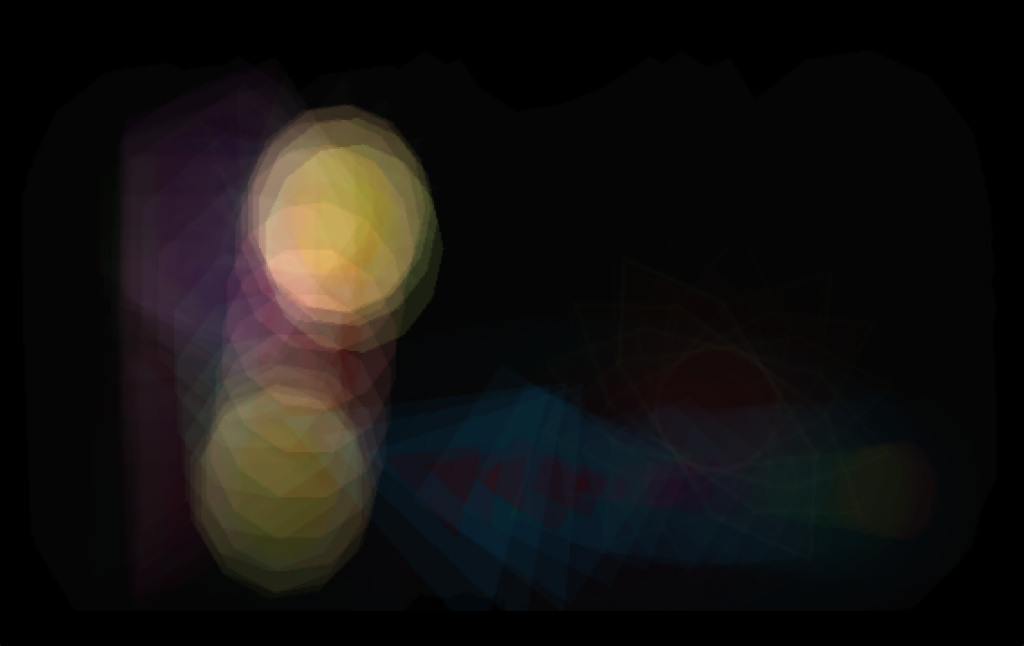
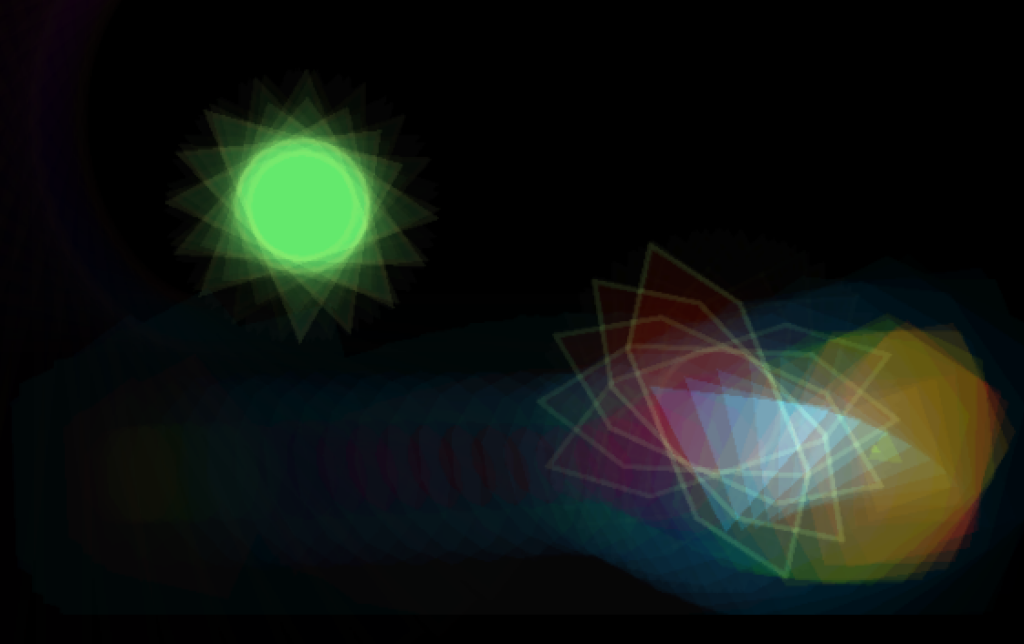
Posted: September 10, 2020 Filed under: Uncategorized | Tags: Pressure Project One Leave a comment »In this Pressure Project, while learning more of how the Isadora Program works, I was exploring chaos and randomness, and how to continually bring something new on screen before something would fully repeat itself. I went through and created figures that zoomed across the screen, that consistently changed in color, size, and shape. I wanted bursts of shapes that were stationary in their horizontal and vertical positions, but also rotated in order to keep the mind focused in different places. Overall, I learned much of how the program worked, and made some fun chaos in the process.