Cycle 2: Puzzlr Progress
Posted: November 25, 2022 Filed under: Uncategorized Leave a comment »Introduction
Not too much has changed in the actual design of my project since the Cycle 1 check-in. I’m still working with a unique and fun way to create physical input methods that match a digital experience. My overall goal is applying the knowledge I gain from this project to my final thesis. So far there have been a few hiccups and issues, but I’m incredibly happy with the progress I’ve made and I look forward to finishing the project soon.

Progress Update
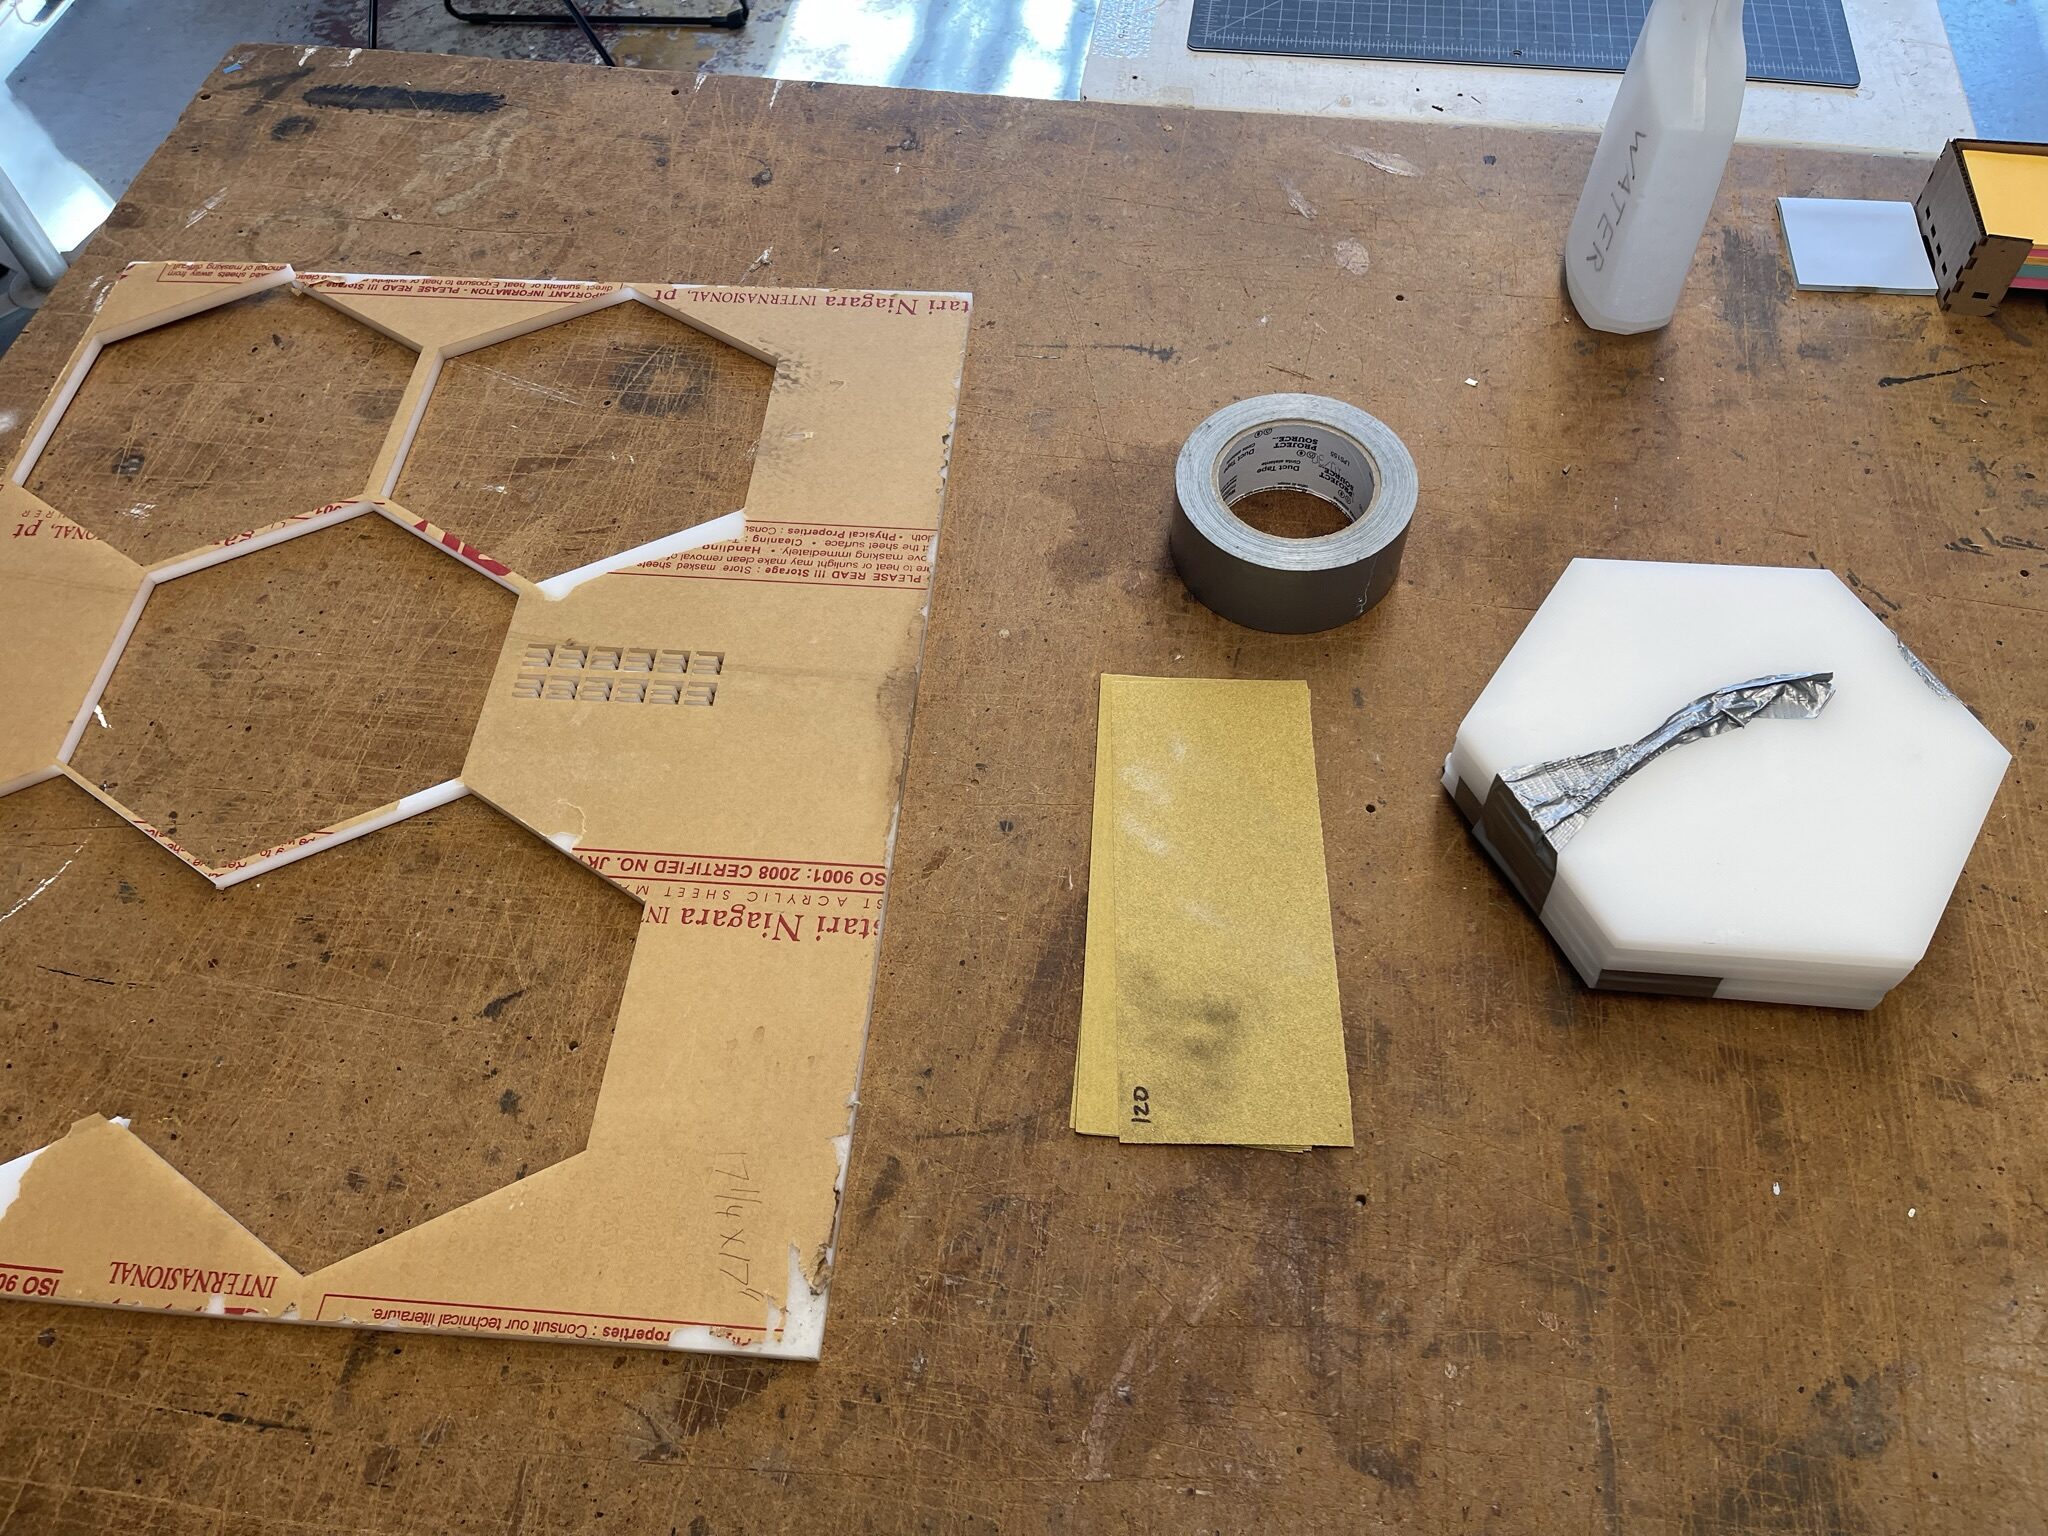
Most of the photos that will be in this Cycle 2 post will be work-in-progress shots of me laser cutting the final pieces, sanding them, and building up the puzzle system and circuits. The last few weeks have mostly been spent refining and building my puzzle board, as well as experimenting with some simple Isadora elements.
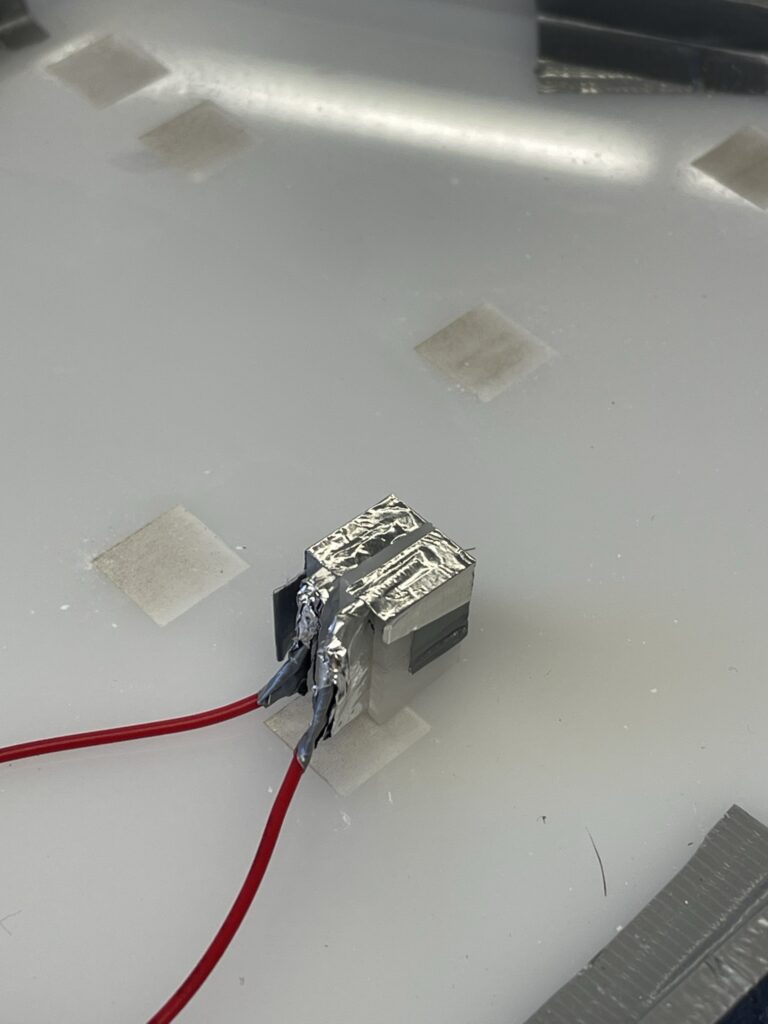
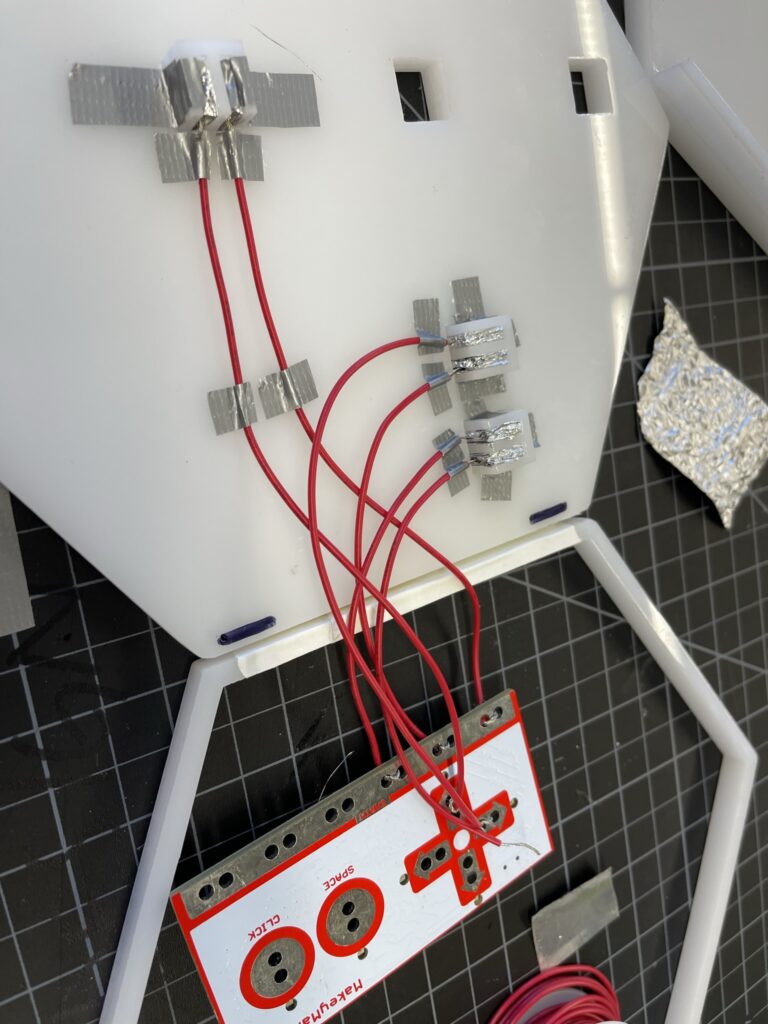
The final puzzle board was laser cut from white acrylic, and assembled using duct tape and super glue. The new board design came as a result of a lack of space on the first prototype; this version is much more stable, and includes a bottom space for circuits, a mid plate where the puzzle pieces sit, and then a border to help keep the puzzle pieces in. I also created a simple circuit system where the two wires meet under the contact point, but are separated by a plug-like shaft. Each side extends up into the board and splits into two contact points, the puzzle pieces themselves have metal foil underneath which complete the circuit when placed correctly.
Next Steps
As the project nears it’s end, I’m currently refining the circuit setup and improving the connection quality. I’m planning on including a simple visual component that will provide progress feedback to the player. Since that is an important part of my investigation into hand-eye coordination, I will be prioritizing the Isadora interface to get at least some feedback from that area of focus.