Cycle 3: Xylophone Hero at Fort Izzy
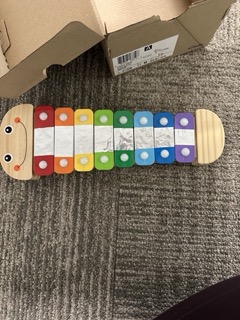
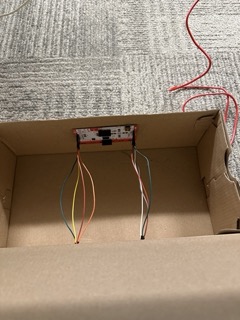
Posted: December 14, 2023 Filed under: Uncategorized Leave a comment »This Cycle I decided to focus on the physical presentation of my project. My first task was to connect my xylophone to Isadora using the Makey Makey. I wrapped foil around each key of the xylophone, then made “wires” out of foil that connected to each foiled key. Then I remapped the back inputs of the Makey Makey to the numbers 1-8 and attached the breadboard wires to the Makey Makey. I attached the Makey Makey to the inside of a shoebox and fed the breadboard wires through to the outside of the box. From there, I connected the alligator clips and the breadboard wires. To ground the mallet, I tied one end of some conductive string to Earth on the Makey Makey and tied the other end around the handle of the mallet, taping the extra string to the mallet. I then covered the top of the mallet in foil.

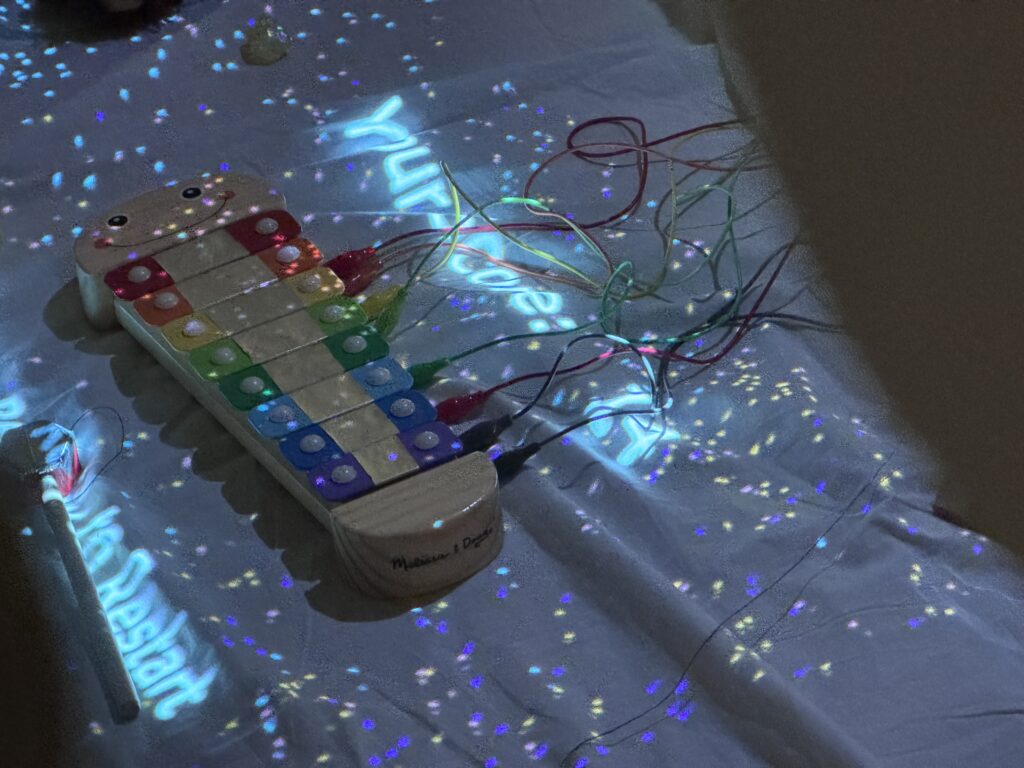
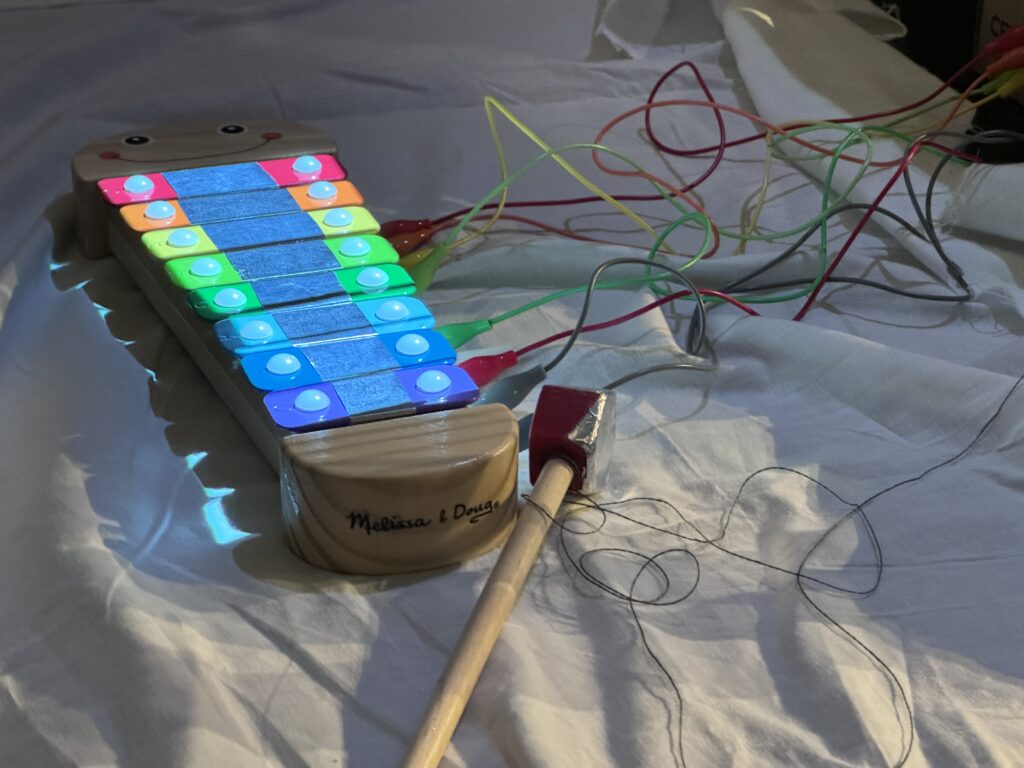
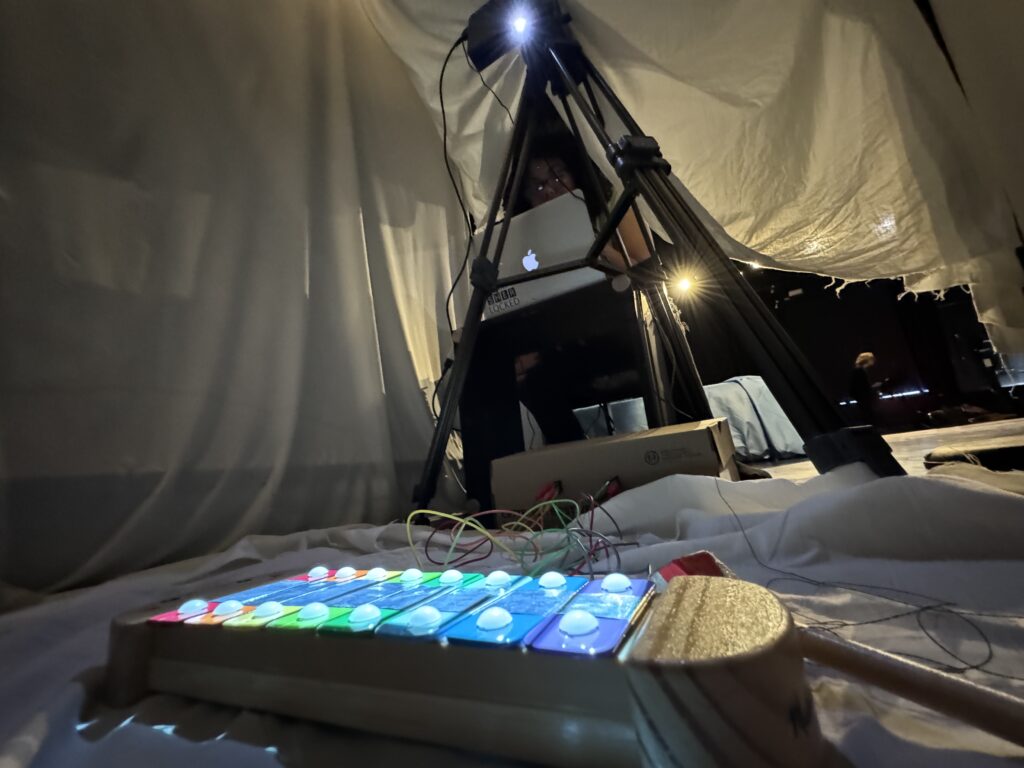
Before my Cycle 3 presentation, I mapped the output of my Isadora patch onto the xylophone and I set up a “blanket fort” around my projection in the Motion Lab. I also went through my patch to make sure everything was working as expected, and I added a start screen, an end screen, and a restart. I staged the fort with stuffed animals, playing cards, and other items that might be found in a children’s bedroom.
I am extremely happy with how this project turned out and I am so proud of what I produced. If I were to do more cycles, I would paint the shoebox to look more like a toy box, secure the bottom sheet to the floor, and I would figure out a way to hold a high score or display a scoreboard. I could also figure out a way to introduce game difficulties.