Final Project

For the final project I wanted to incorporated my costume design into media. I wanted to test painting designs onto fabric while a performer is moving around. For this project I brought in several skills and learned new skills while creating the experience.

Preparing for the final project.

I had to create a skirt that would also act as a media surface. I decided to go with a hoop skirt as that would provide a large space to project upon. I ended up drafting a pattern and sewing a skirt made out of taffeta. I purchased a white turtle neck shirt to allow for more surface to project upon.

I had to obtain the audio and visual aspects of the experience. When I first put together the project it was just a dress form in the middle of the space. After running it one time for the class and obtaining feedback as well as experiencing Andre’s multi-media experience, I knew that I was missing elements that finally came to mind. I needed more atmosphere. This is when I had to decide on a story and find audio and visual elements to go with it.

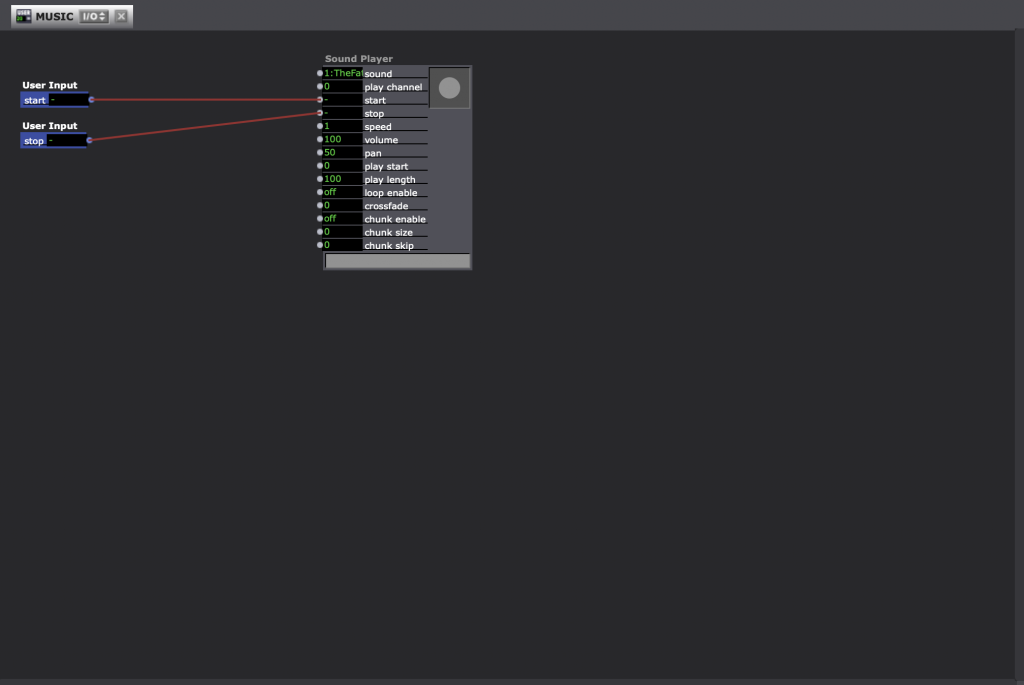
I wanted to utilize a Blue October song as their music themes had been weighing heavily on me lately. It was after finding one that I liked that I knew I needed to find some corresponding audio as well. After countless hours of searching on the internet I finally decided to pull audio from five sources. Those were One Republic’s Connection, Lovelytheband’s Broken, Blue October’s Daylight, a short film called Siren, and Lindsey Stirling’s First Light.

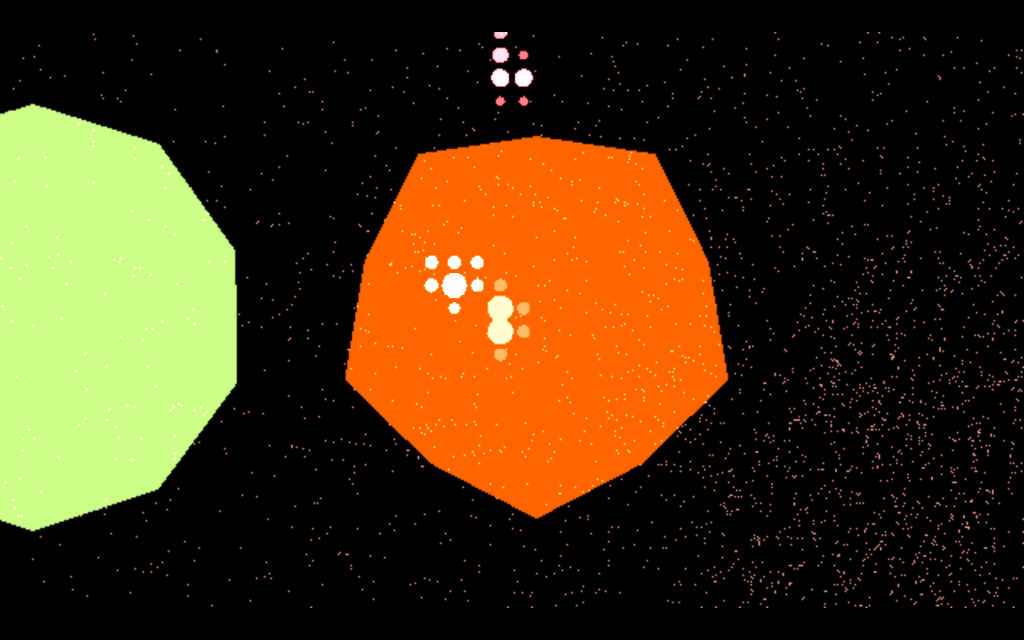
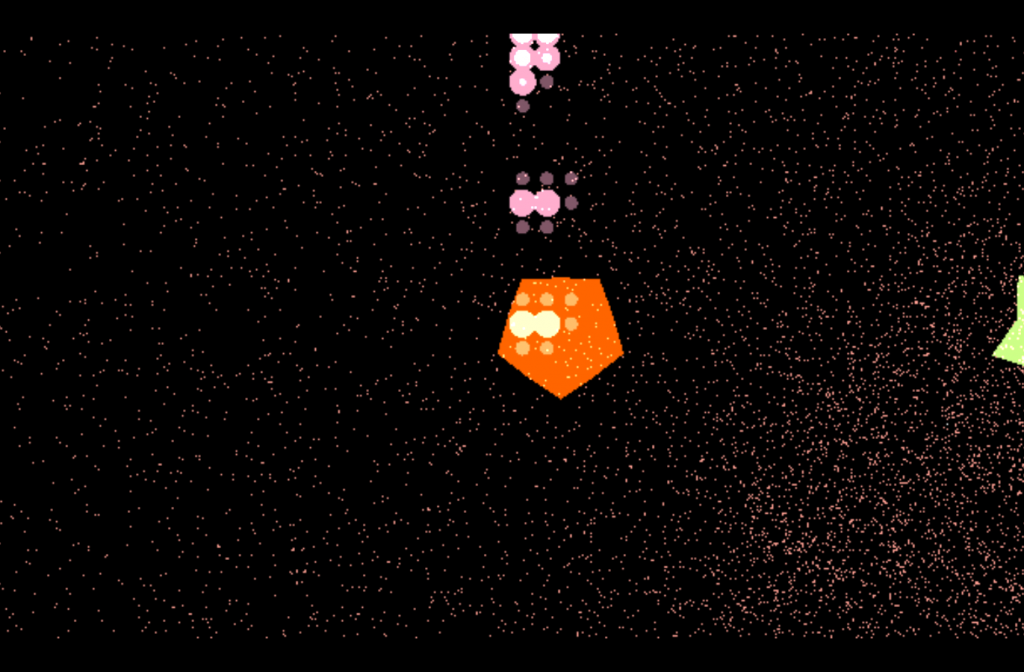
For visual I utilized top down images that were found randomly that included mandala’s and geometric shapes. This was projected onto the performer from the grid. I had two side scrims that I put images on that were very similar. The images included people in crowds where they did not interact, geometric shapes, a disco ball type lights as if you were inside the ball that were turning, a hillside looking down to the ocean, and then the northern lights. The disco ball lights moved in a direction going towards the center screen. The hillsides were similar but different in that they both went downward towards the middle screen. The center screen started with a man who kept going through a crowd of people where he was not able to interact with anyone, then we moved to an eye that had digital images on the iris, the next video was two videos overlapped with the visual of rain falling on a window with words that corresponded to lyrics that showed up. The lyrics were recorded in a PowerPoint slide show, the next video was where you were underwater looking at the surface, followed by videos of ink being injected into water.

Before this project I had not done any audio or video editing. I ended up finding a program online called Video Pad Video Editor. I was able to get down to the single frame to be able to edit the different images to change at the same time. I first edited the middle video to the audio that was my starting point. It was definitely an eye opener as to what video editors go through which I now have a new appreciation for.

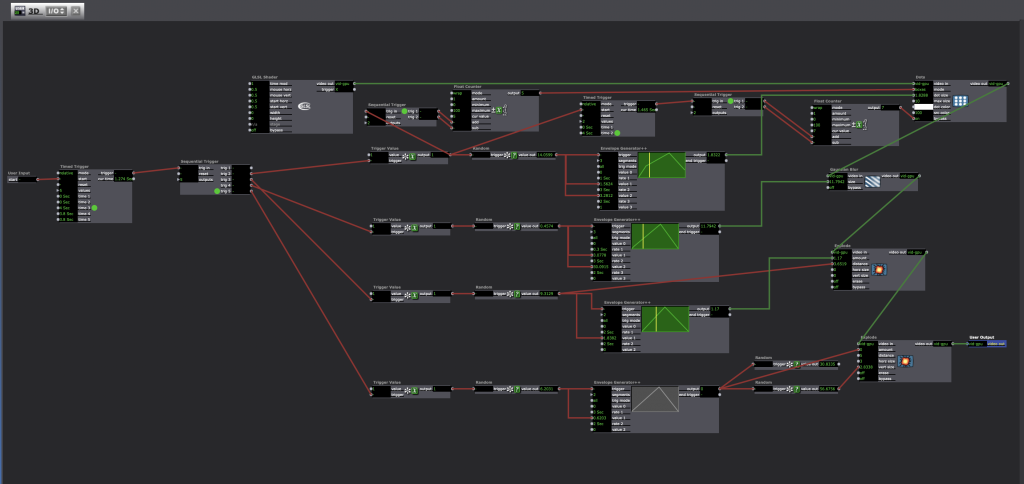
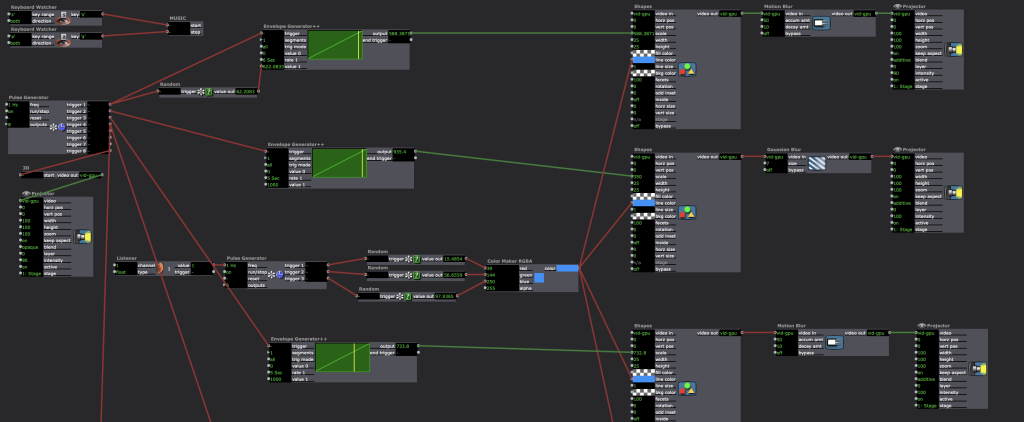
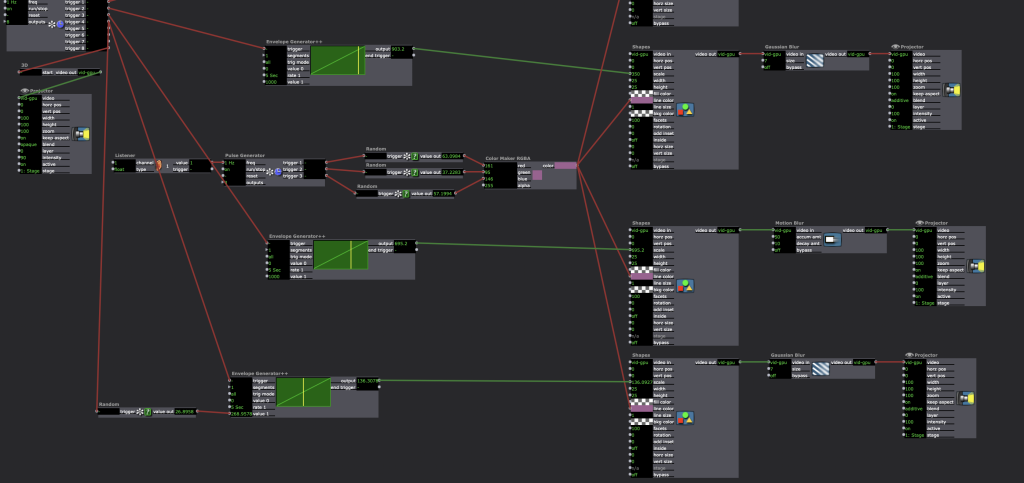
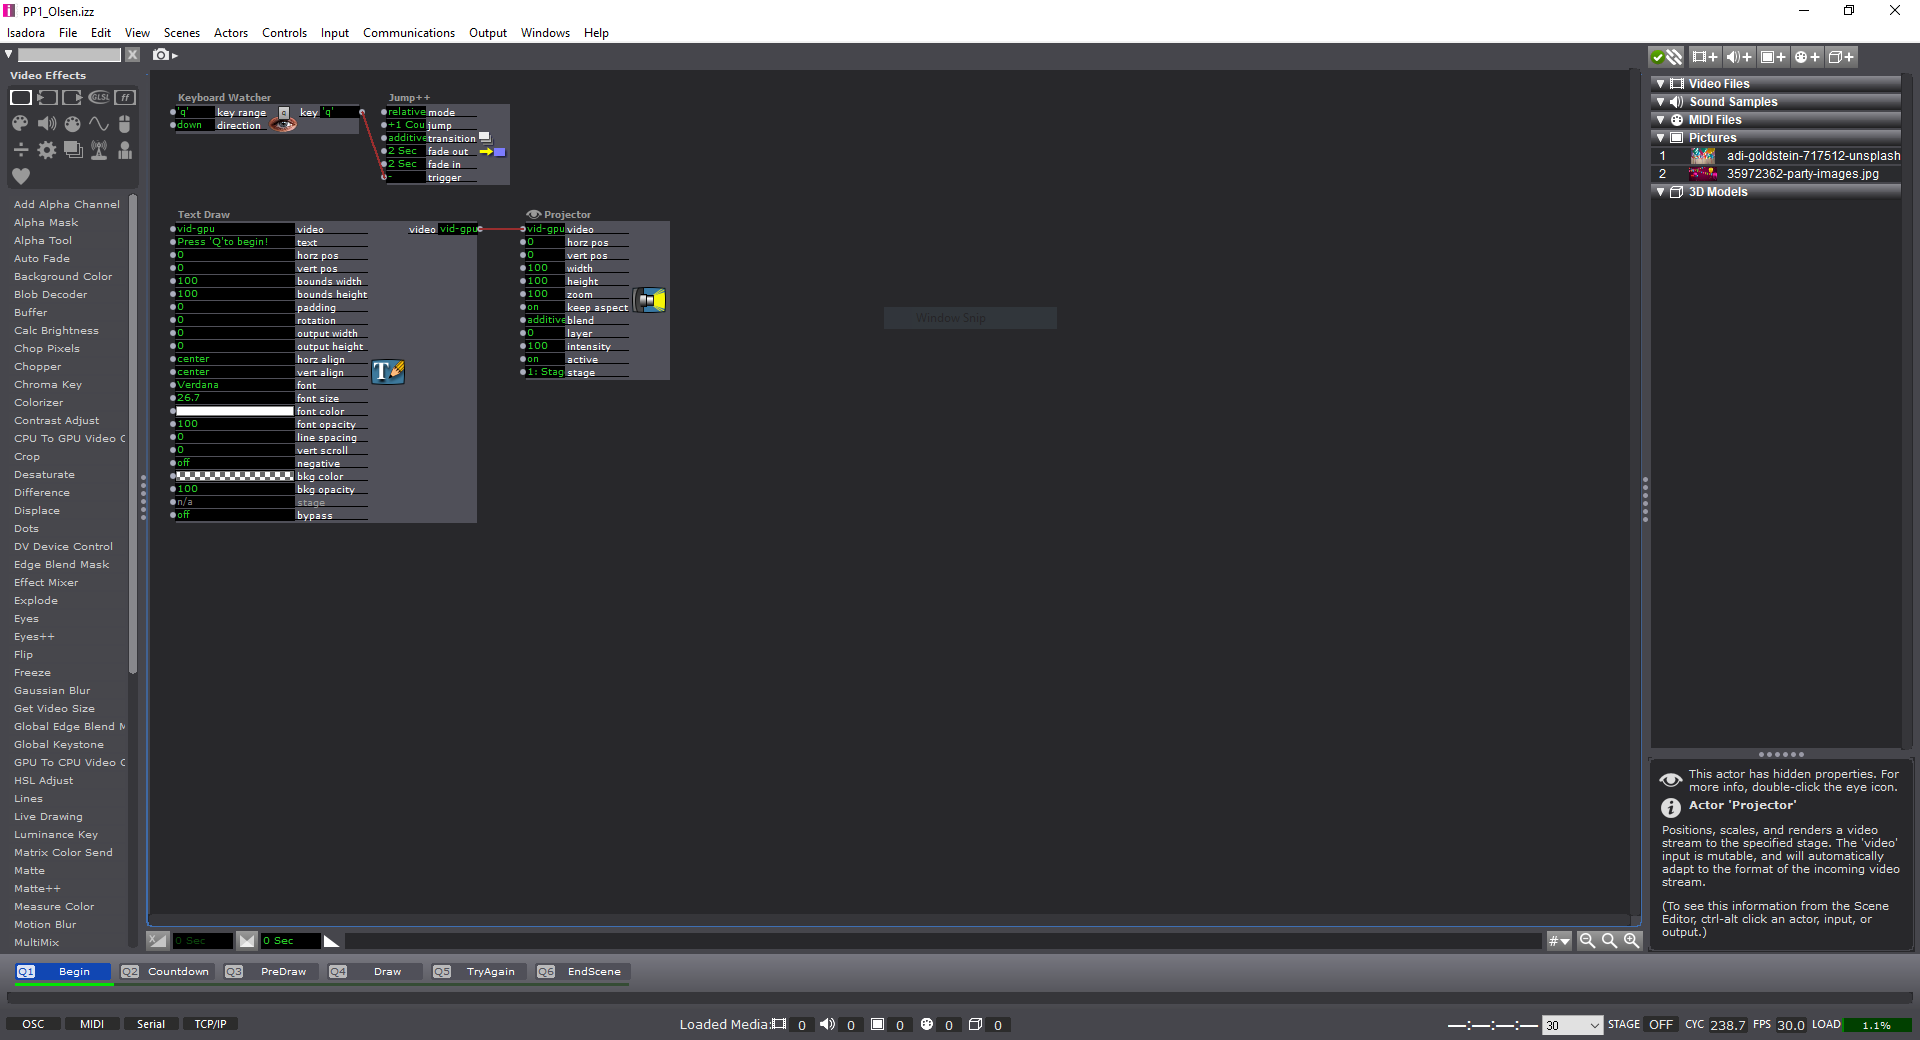
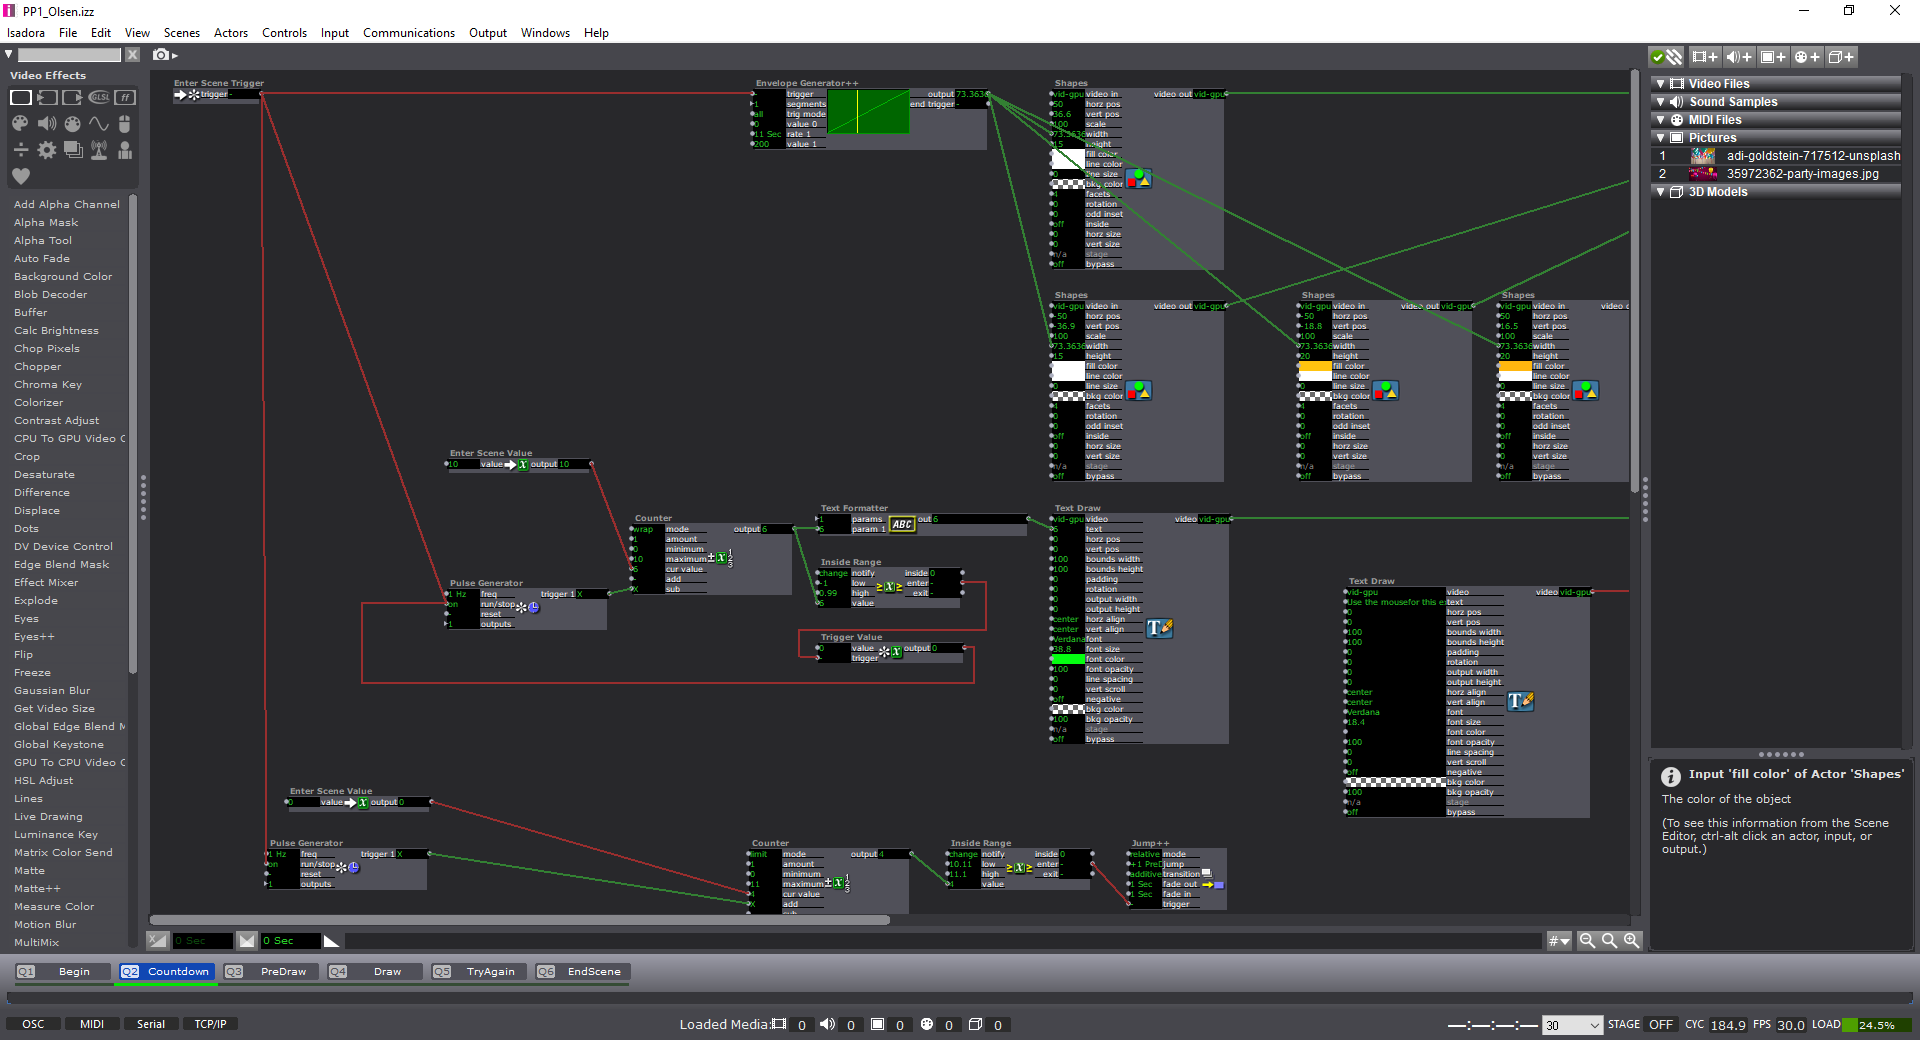
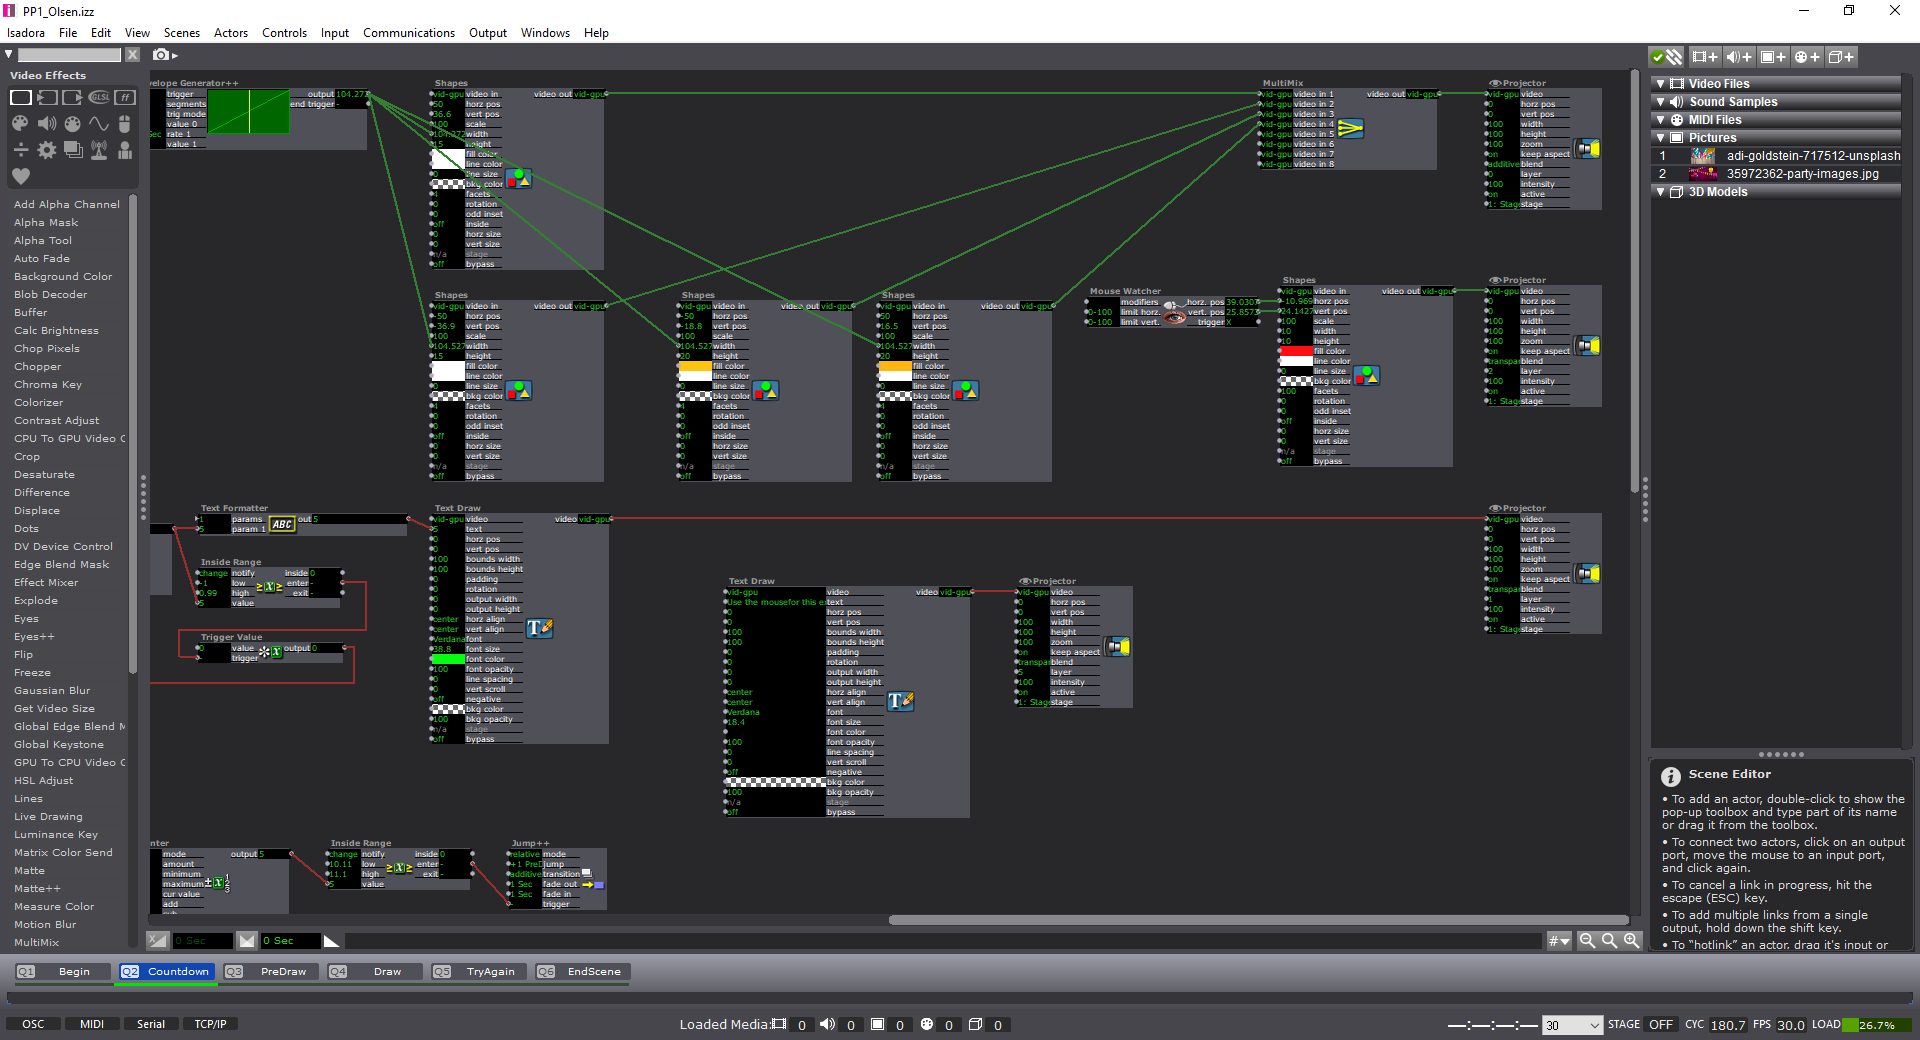
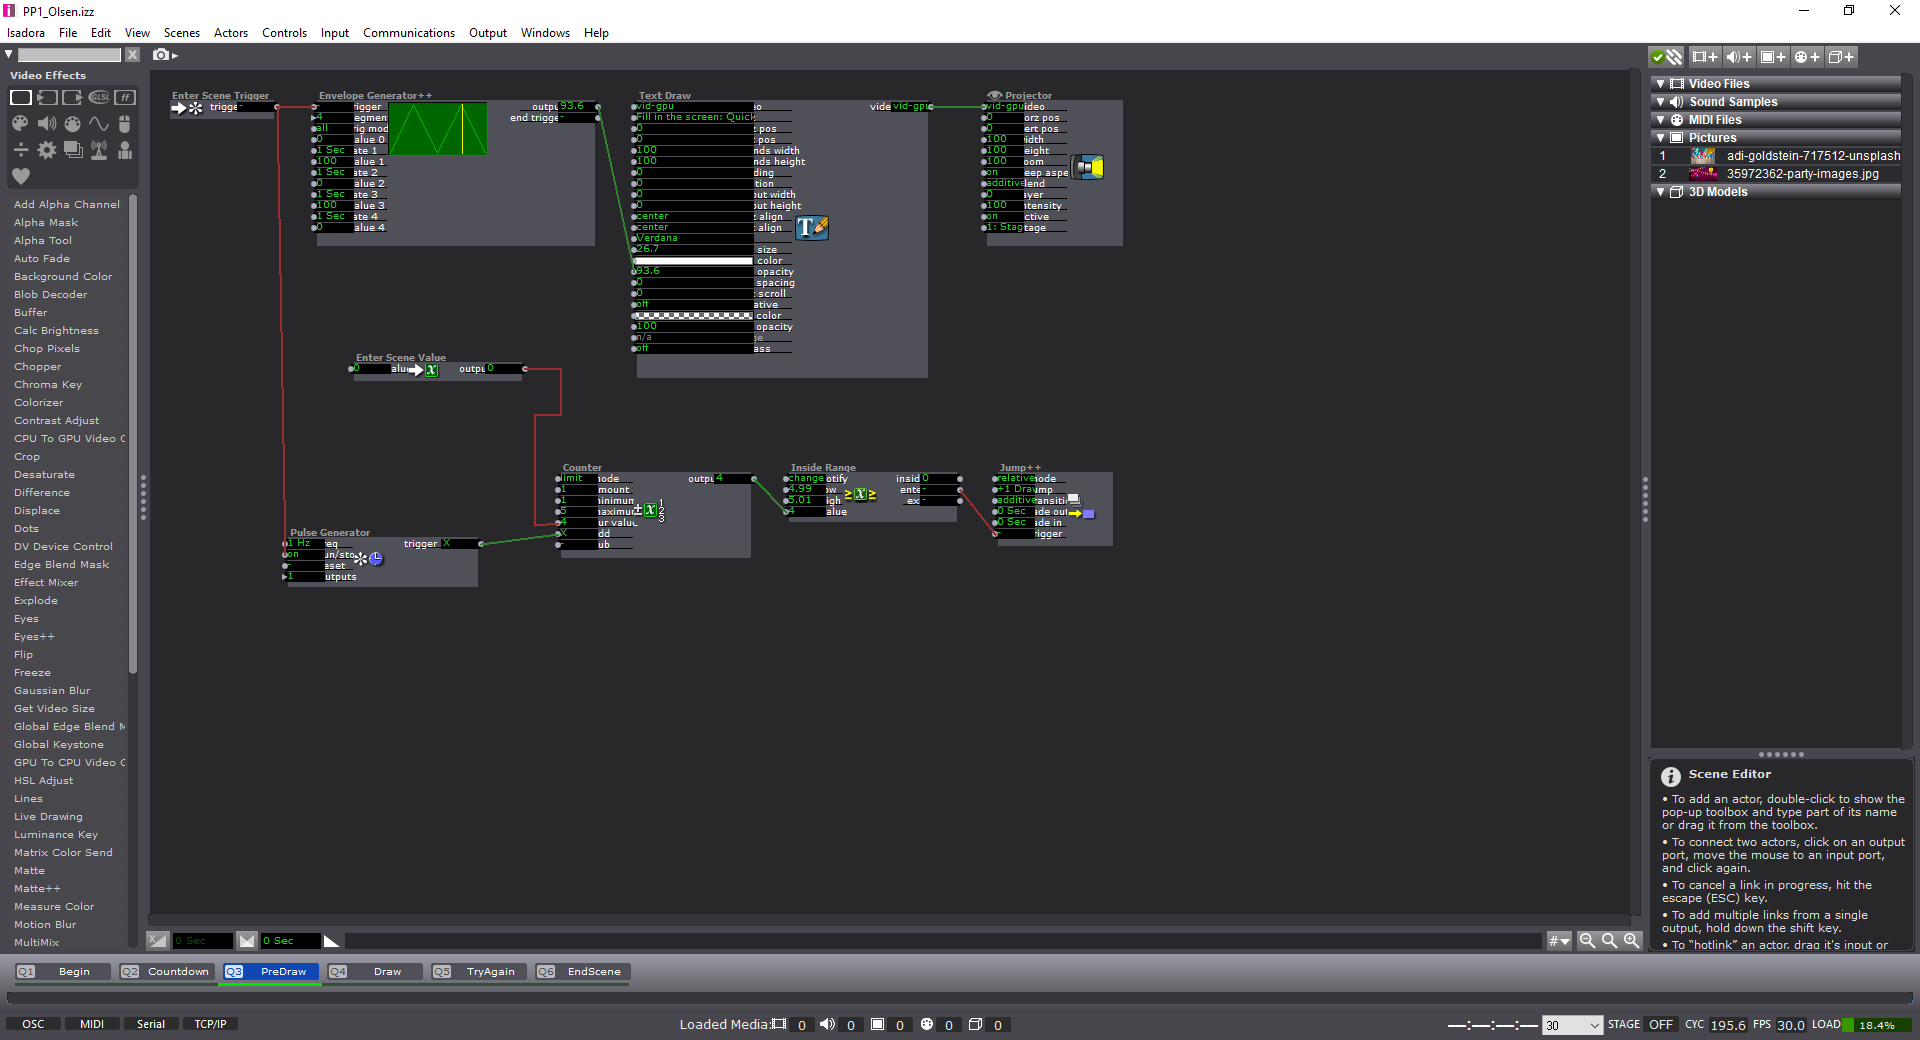
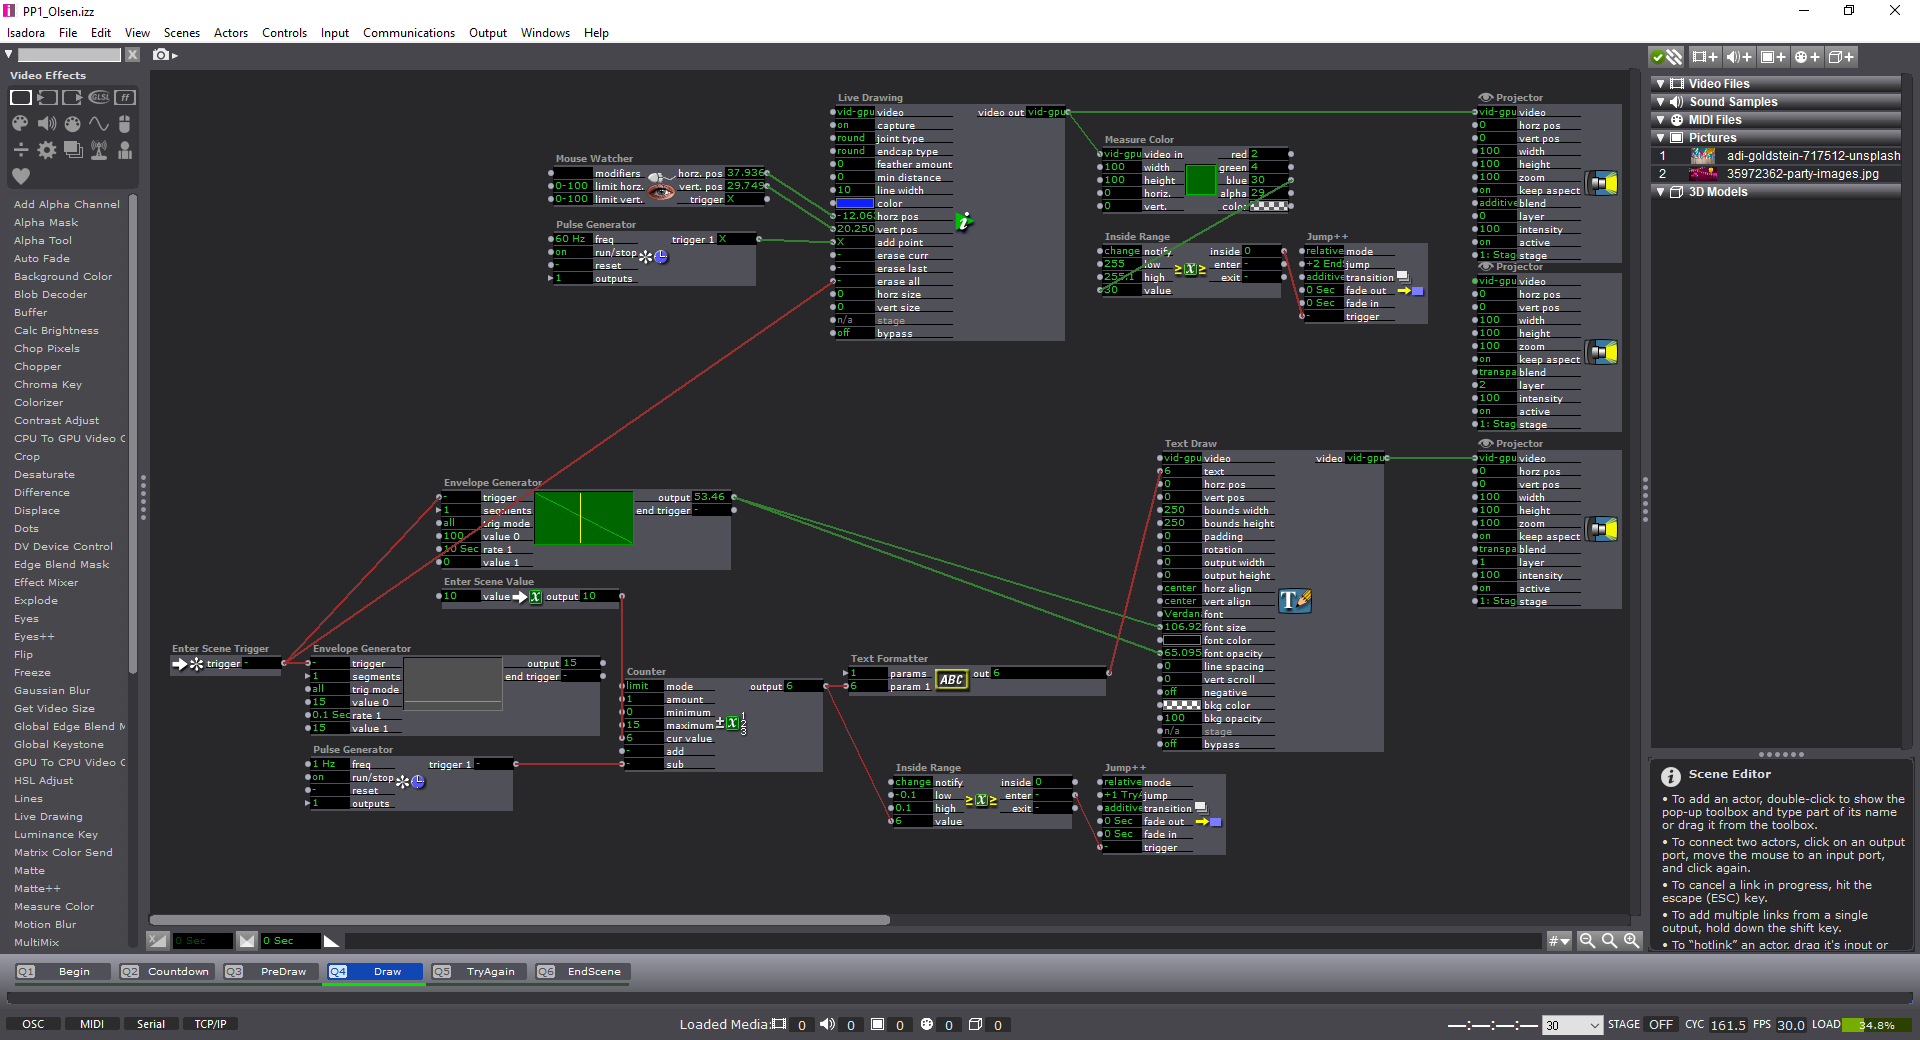
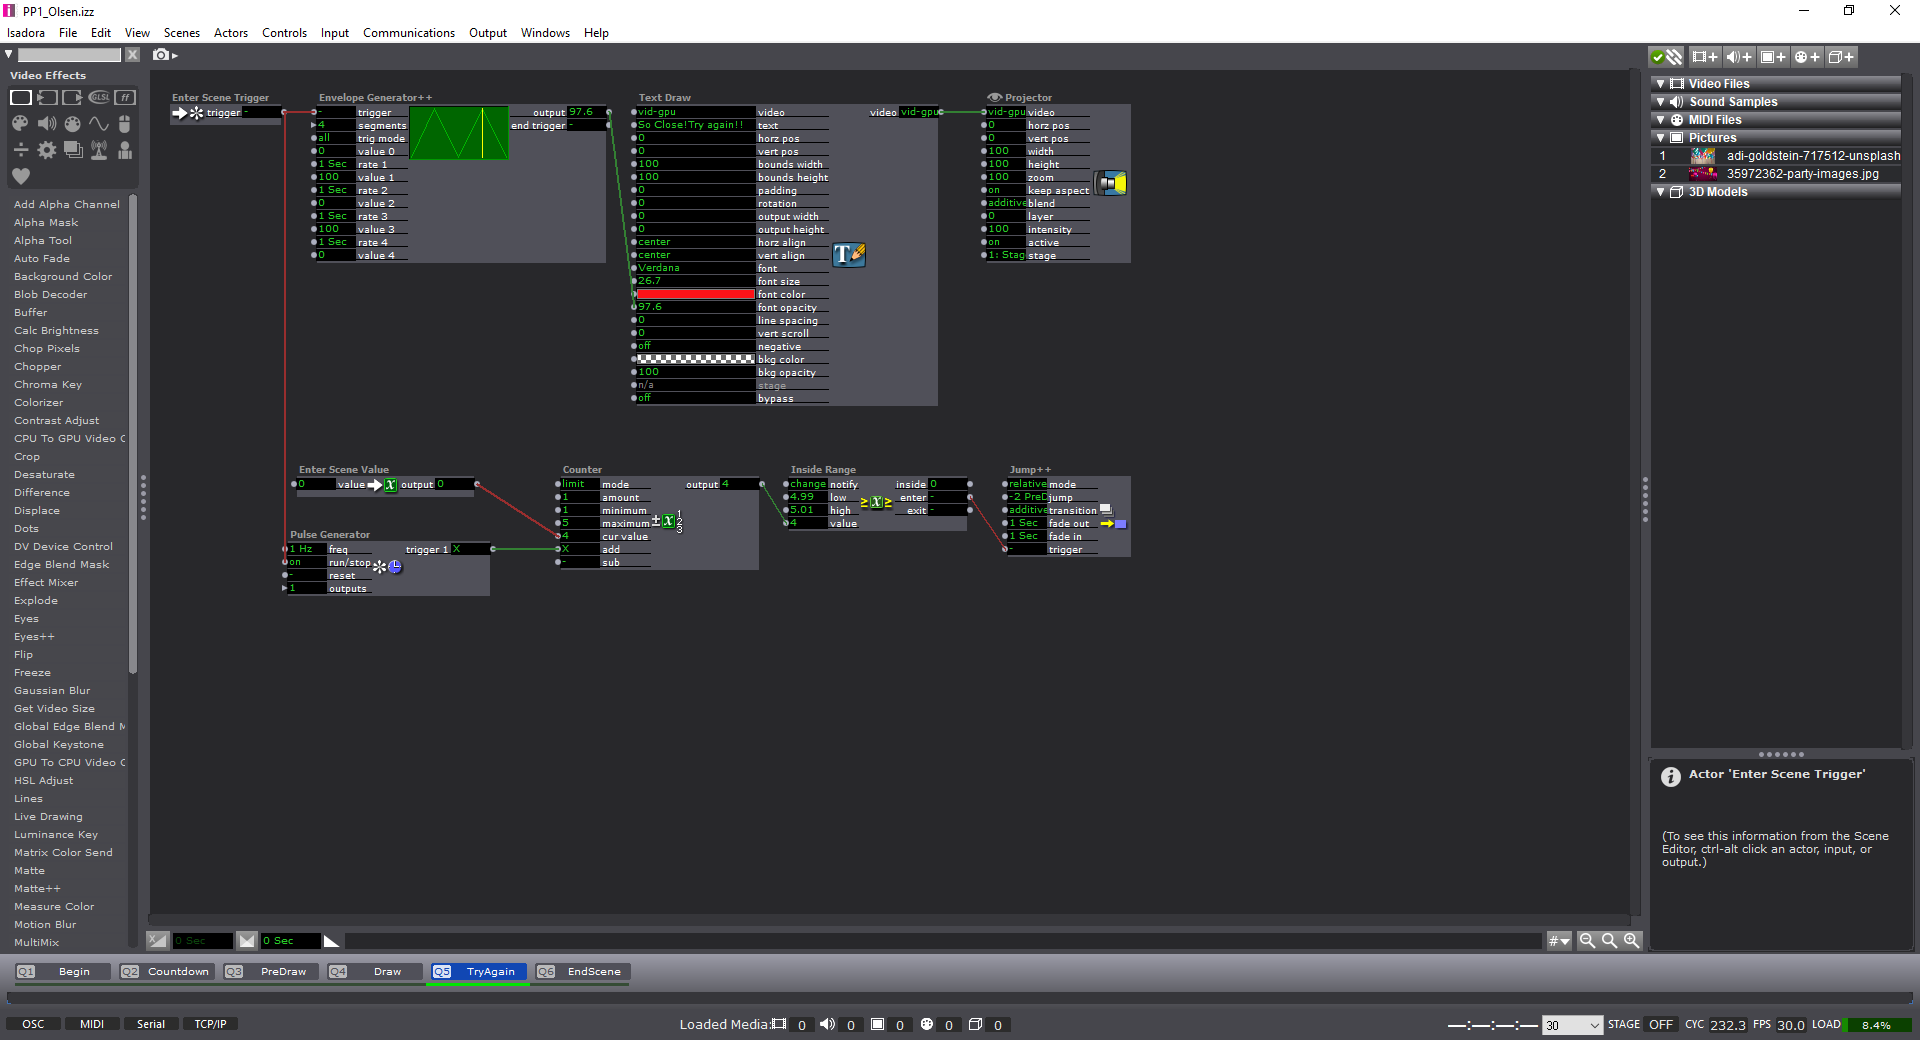
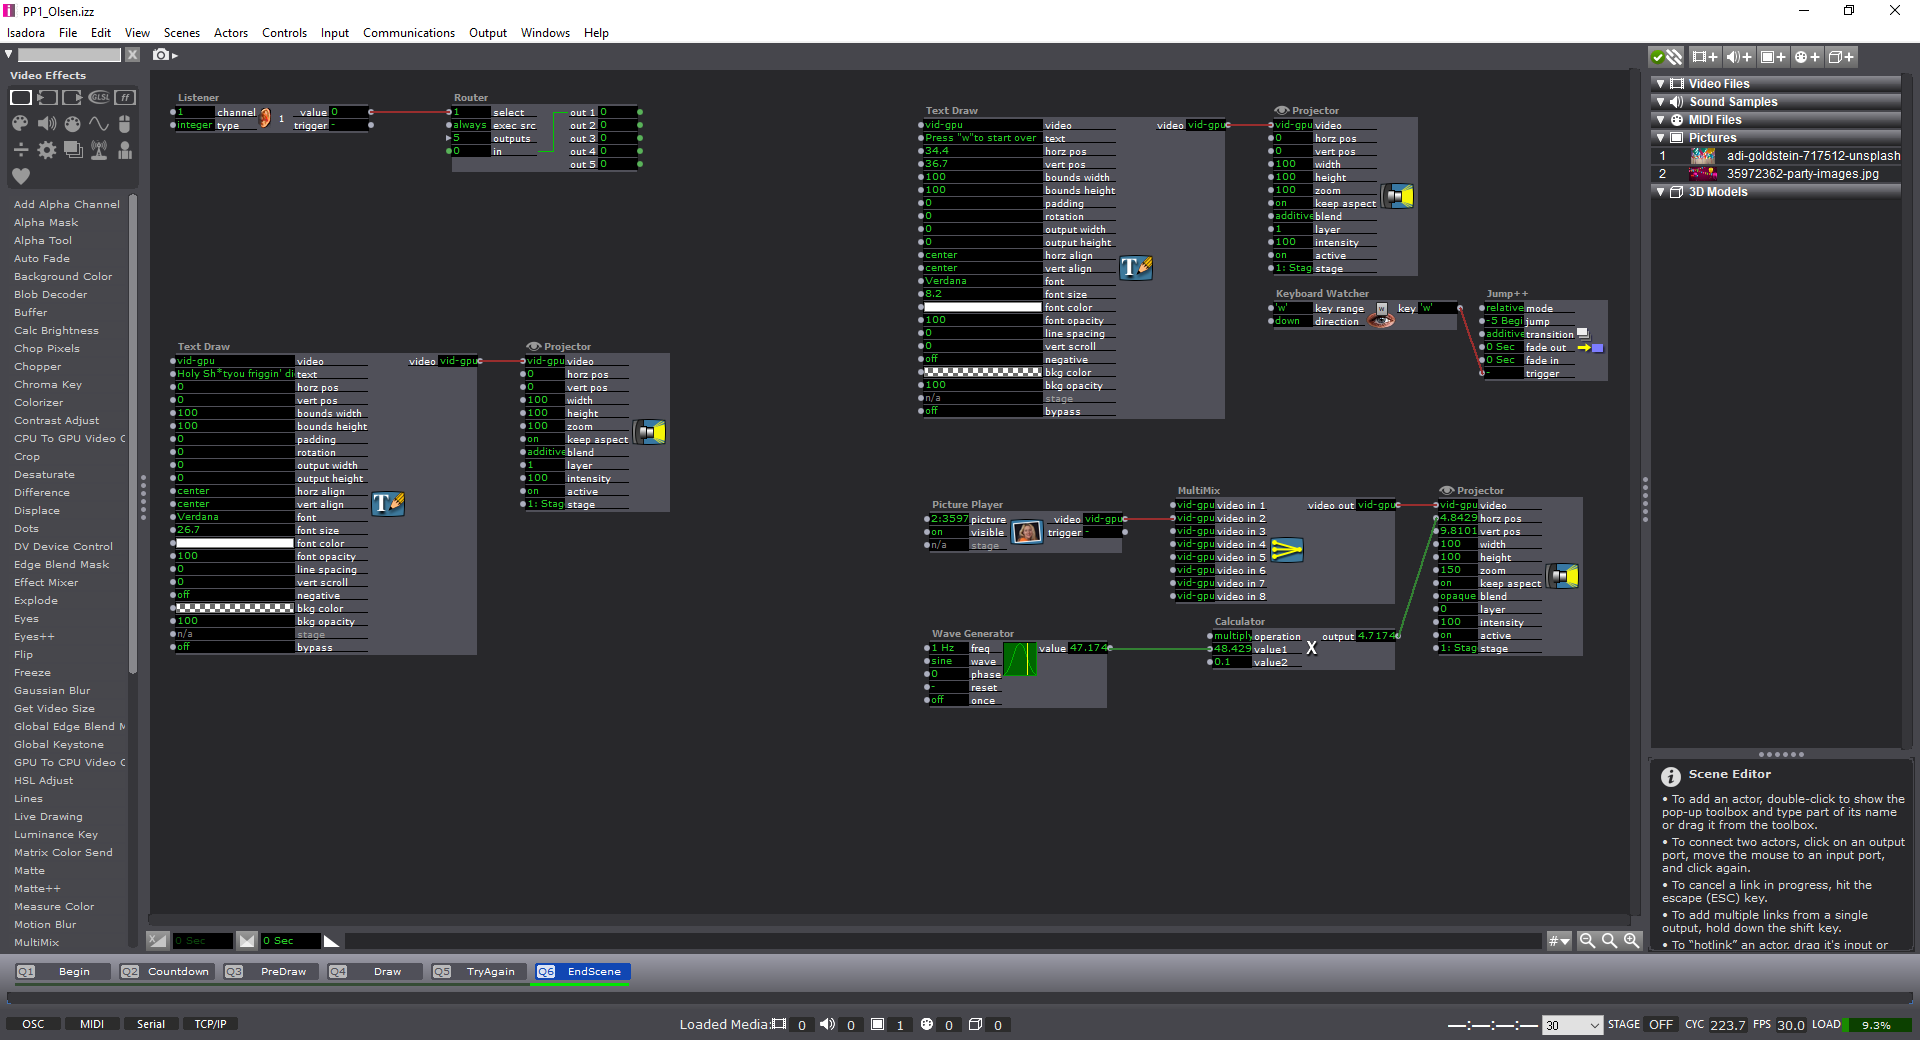
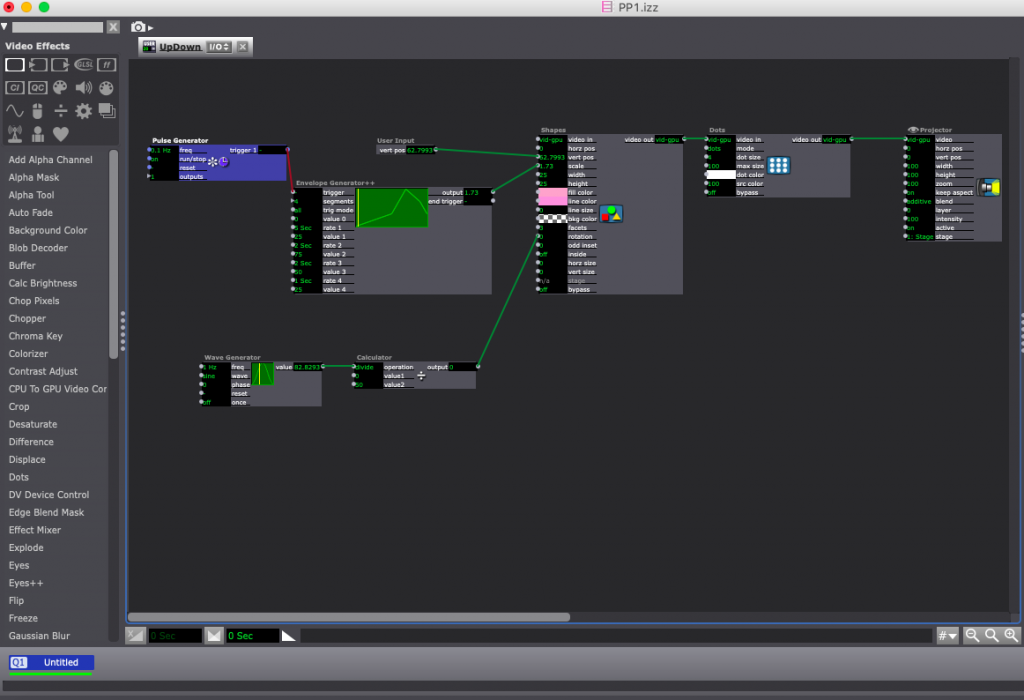
I used Isadora to create the framework for the videos to push through the projectors. I also utilized the Kinnect to follow the performer. I connected the Kinnect to Isadora through the program Vuo. Everything had tested well and worked on the last class period and when I got into the motion lab the day of performance the Kinnect was no longer in the same spot. I even tested the top down projector and it seemed to work. Between then and when I was able to set up again for the actual performance there were changes to the projector in Isadora which caused the projections on the performer not to work the way it had previously.  Luckily Alex was there to create a new projector for the video to go through correctly.

It looked like the audience enjoyed the experience. After the performance I was able to get another video for archival purposes. After that there were three faculty members from ACCAD, Design and Theatre and I was able to run it one more time. After reflecting on the conversation that happened afterwards, I realized that I have grown. I was able to describe what was technically going on fairly easily. At the beginning of the semester there is not a way that I could have done that. Overall, I am very happy with the way everything turned out.

Isadora Set-Up

Isadora Play Scene


Final Project

For our final project, we were instructed to create an experience that we would share at an open house type event.  The idea was to have a project that could be iterated more than once.  For my project, I elected to create an immersive experience based upon a song by Stravinsky called the Firebird.  This song was used in a play with the same name.  Ultimately, this project helped me explore the use of sound within a virtual space and also the additive qualities of loading and unloading scenes within a game engine.  In the first iteration, I had a logarithm that projected the music around the audience in a cylinder.  Then I had an orb approach the user and was going to have them follow the orb around.  However, when I shared the preliminary experiment with the class, their feedback was not that enthusiastic.  Going back to the drawing board, I decided to make something that anyone could “play”  I decided to create an orb pickup experience that was simple and one in which the gameplay wouldn’t overshadow that environment, or the song.  It was really important to me that the actions didn’t overtake the original work.  The final experience was pretty straightforward.  I have 9 pillars that are unlocked everytime the user picks up 9 orbs.  The levels load in the order that the main character in the Firebird ballet experiences them.  At first, we are alone in the universe, we discover a magical land, we find an evil Zsar and then we again rejoin the Firebird in the universe. Also, the user has the ability to “fly” the Firebird.  Even in this project, because of the 3DOF (degree of freedom) of the controller, I was able to add in 6DOF, by including a forward and backward button, to give the Firebird 6DOF, even though the user only had 3DOF.  For future projects, I would try and consider the audience more when creating a project.  The isolated experiments I was attempting in the first experiment was no were near the reception of the second version of this project.  I would reconfigure the controller to add in yaw, pitch, and roll in for the Firebird as currently, it is stationary.


Line Describing a Cone

I’ve been meaning to post this for a while. This is Line Describing a Cone by Anthony McCall. It is a 30 minute 16mm film that is projected with a fog machine, making the light appear solid.


PP3: A Hidden Mystery

For Pressure Project 3 we were to reveal a hidden mystery in 3 minutes without a keyboard or mouse. Bonus levels were to make it unique to each user, have users move in a larger environment, and for users to express delight in the search and reveal.

Rather than making it unique to each user, I wanted to make an experience in which users must work together to reveal the mystery, and decided to make a treasure hunt.

I chose to start with putting a penny into a jar to signify the investment. The Makey Makey is attached to the penny and the tin foil that lines the jar. When the penny enters the jar, it triggers the next scene. In this scene, I video is projected onto a white box, and my voice (which has been slowed down) explains the next clue. They are to find the window and set it on top of the while box. The window has a strip of tin foil on the bottom, so when they set it on the box, it tin foil closes the circuit and triggers the next scene. (If you look at the image to the right, I have wires set up on either side of where they set the frame. These wires connect to the Makey Makey.)

In the next scene, the voice gives some vague directions that become more clear when the projection appears on the window. The users figure out that they need to link hands in order to close the Makey Makey circuit this time. This is the moment when the whole group needs to work together.

In this instance it would have been helpful to use something besides a penny, because the penny used in the first scene got mixed into the penny’s used in this scene.

Then, the next scene provides another riddle. It is pictured on the right.

They figured out that they needed to go back to the jar where they began. Taking the penny out of the jar triggered the next scene. I crossed my fingers that they would get the “Dig” message, but it wan’t clear enough. In hind sight, this scene might have had the voice tell them to keep digging. While we did it, however, I told them to think about the clue, and they figured out that they needed to go into the jar to find the treasure!

I definitely think that they expressed delight as they uncovered the treasure! Inside the jar, but obscured by the tin foil, I had hidden a bunch of chocolate coins.

To watch the experience, check out this video!


Final Project and Plan

11/13 – compiling the audio and projectors


11/15

Cycle 2 Performance
11/20 Critique
11/22 Break
11/27 Laboratory for Final CycleFigure out how the computers communicate (if necessary for Makey Makey signals to reach patches)
11/29 Rehearsal of public performanceSet up Makey Makey and stereos and objects
12/4 Last second problem solving 
12/6 Student Choice:option 1 for public performance during class time
12/7 option 2 for performance

Official final time: Friday Dec 7 4:00pm-5:45pm


light bulbs

audio/stereos

3 projectors

several objects, including smells

makey makey wired between them

isadora programmed for audio and visual trigger of each


Final Project Plan and Schedule

For the Final Project I will be creating a VR experience with three parts:

1. Intro to Firebird Cube

2. Interact with Firebird Cube

3. Environment Change with amount to interactivity with Firebird Cube

[The whole experience will be surrounded by the music of Stravinsky’s ballet Firebird.  The music will be from the following ballet and album


The recording will be the Carlo Maria Giulini recording with the Chicago Symphony recorded in 1979


My Plan and Schedule is as Follows:


PP3

Task: For our third pressure project, we were tasked with creating a mystery the did not use a keyboard and keypad.  I decided on a basic interactive 360 photo mystery. I found this task to be a good exploration of 360 photos and also the workings of 360 photos in the context of Google Maps and the ability to call images of public places from Google Pictures that are placed on Google maps.  I learned a bit about “text to speech” (as there is no dialogue, only auditory speech.)

Process: For this project, I started with a  map of California.  I wanted to take the user on a scavenger hunt up and down the coast with the “mystery” being a theft taking place at the Getty Museum in Los Angeles.  I also wanted the user to get a sense of the environment.

I started with drawing the cities, environments, suspects and the items that were to be used in discovering the thief.  I wanted to scavenge to take the user to cities and landmarks in CA.

Once I had the ideas written out, I found the images of the environments I was going to use.  The environments helped to dictate the pictures of individuals that were to be used and represented.  After I had all the images together, I wrote some dialogue for the suspects.  Once I had all the elements, I brought them into unity and linked them up using some basic scripting and a 360 template.

Feedback: I believe that my project was well received.  Due to the fact that only one person could go at a time,  there were only two classmates that were able to try the experience. However, they really seemed to enjoy the project and kept giving me the note that they had felt like they had been transported to another place.  This was my intention, so I was very pleased with that response.   I also asked for some feedback on the “voice to text” and the users seemed to love it.  This may be something I include in my thesis moving forward.  Text bubbles seem to disrupt the FLOW of the experience.

If I did it over again, I would have changed the photos to basic models.  I could have just used a simple command to then make their face (the photo) appear.  I believe this would be interesting as we have to decide to look at a person’s face in a public area and could have created some intrigue within the scene itself.


Schematic and Schedule

11/1 Laboratory for Cycle 2

Set up other computer. Intro to WiMote. Try regular (not short throw) projector.

Weekend: Make patching with WiMote. Buy and prepare materials for hanging the window.


11/6 Presentation of ideation and current state of Prototypes

Try patches with window, Hang window bars, Map projections


11/8 Laboratory for Cycle 2

Figure out dimensions in final cut for projections to land on window locations.   Continue figuring out WiMote/mapping projections as necessary

Weekend: Edit video (maybe shoot more?) and set them up in patches.


11/13 Last second problem solving

Continue figuring out WiMote/mapping projection as necessary

11/15 Cycle 2 Performance
11/20 Critique


11/22 TURKEY TIME
11/27 Laboratory for Final Cycle

Figure out how the computers communicate (if necessary for Makey Makey signals to reach patches)

11/29 Rehearsal of public performance

Set up Makey Makey with wires for window hangers. Program Triggers with Makey Makey

12/4 Last second problem solving


12/6th or 7th Student Choice:


Public Performance at Class Time or Final Time

12/?  


Official final time: Friday Dec 7 4:00pm-5:45pm


Pressure Project 2

PP2 was to create an interactive fortune teller in 9 hours. Similar to last time I challenged myself to completely begin and end the the process within that nine hour limit (this includes the brainstorming phase). Unlike the first pressure project, I went a route I assumed would be a(n attainable) challenge but instead realized the error of this assumption.

My original idea was to use a program called Max- a visual programming language for music and multimedia developed and maintained by San Francisco-based software company Cycling ’74. The program is similar to Isadora, but I was more familiar with how to use it and various sensors. I wanted to try to create a “fortune teller” that could use some sort of sensor to tell your fortune.

When I had spent too much time trying to figure out Max, I decided to turn to the Arduino, which I was familiar with and thought could work to create a physical fortune teller machine, similar to the 20 questions little game I had as a child.  I also knew that Arduino’s have tons of tutorials and help guides that might be able to assist in case I got stuck. It also helped that I had all the equipment from a previous class to get started (working by the light of a laptop):

My plan seemed straightforward: use an lcd screen to display questions to a user. Two small buttons would correspond to Yes and No answers to these questions.  The order in which a user answers would after a few questions generate a custom fortune. I began by wiring my arduino and led screen, using using a helpful code and preset sketch. This part was a success!


Next, I attempted to modify a few codes online, one being a simple fortune teller and the other being a code that have various forms of  “if this order of yes and no answers (ex: yes no no no yes) then do this (in my case read fortune).

This is where I ran into issues. When I put in a code, Text no longer showed up on the screen and my led stopped turning on. Then, my led light stopped completely. Then when I tried to get the box made so it would be held in something nice, I dropped the Arduino and messed up where the wired had been.

Then I ran out of time.


Pressure Project 3

Our third pressure project included these guidelines:

-Create a 3 minute experience

-user must touch something apart from the keyboard and receive a response

-Must include sound

-User must move in a large environment and a hidden mystery must be revealed

Though I tried to meet all guidelines, I based my experience off of the guidelines “user must touch something apart from the keyboard and receive a response” and “User must move in a large environment”. I wanted to encourage a physicality and adrenaline in the user experience. Inspired by simple video games, I created a game in which the user walked on a path made of aluminum foil and attempted to tag bananas to earn points.

The objectives of the game were as follows: Keep contact with the path, touch all bananas, beat the clock! Level 2 included the user performing these tasks backwards.

I intentionally placed the bananas far from the designated path so the user would have to stretch and reach to earn the points. Additionally, I included an element of time so that the user would have a sense of urgency in his or her movement. I was very curious about the human embodiment of a game that was inspired by a 2-D experience I played as a child.

As a whole, the experience was a fun time for everyone involved. I enjoyed watching the users try and beat the tasks and I think the users had a fun time playing the ridiculous game. My colleagues explained that this experience felt most like a game and that they felt a strong urgency to win.

Though it was a fun time for everyone involved, difficulties definitely arose in the system set-up(see video footage below). The path kept detaching from the floor and caused users to have to start over for no reason. Looking back on it, I should have taped the path to the floor so it wouldn’t move around as much. I practiced the game on carpet and didn’t take in to account the environment in which we would be playing it.

I really enjoyed this project and it definitely inspired certain elements of my final project game I am constructing!

PP3 Isadora Recording

PP3