Pressure Project 3: Thumbnail Generator
Posted: December 12, 2019 Filed under: Uncategorized Leave a comment »Resources
I wanted to complete a project using primarily p5.js and/or Processing to refresh my knowledge on these skills and to work in an environment that felt more comfortable to me than Isadora. Little did I realize how little knowledge I had about connecting Processing to external interfaces.
Score
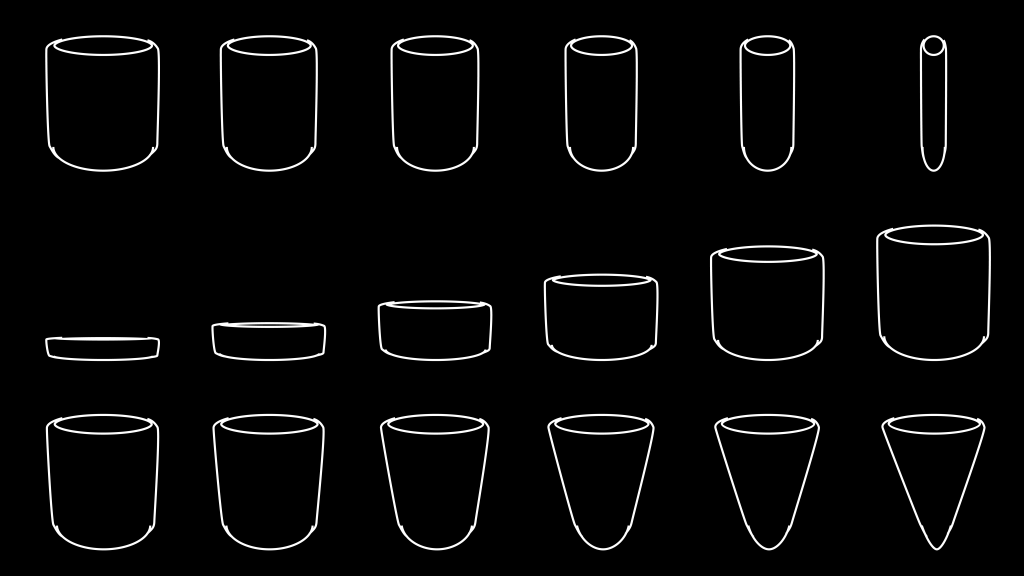
My goal was to create a system that you could enter one thumbnail drawing in and it would iterate over a series of iterations on that original drawing by manipulating width and height and skewing the bounding quadrilateral (i.e. reducing the width of the bottom while maintaining the width of the top).
Valuaction
In my first cycle, I followed a tutorial to take manipulate a single image into a grid of pictures.
In the second, I focused on modifying proportions between images.
Then I created two prototypes.
Performance
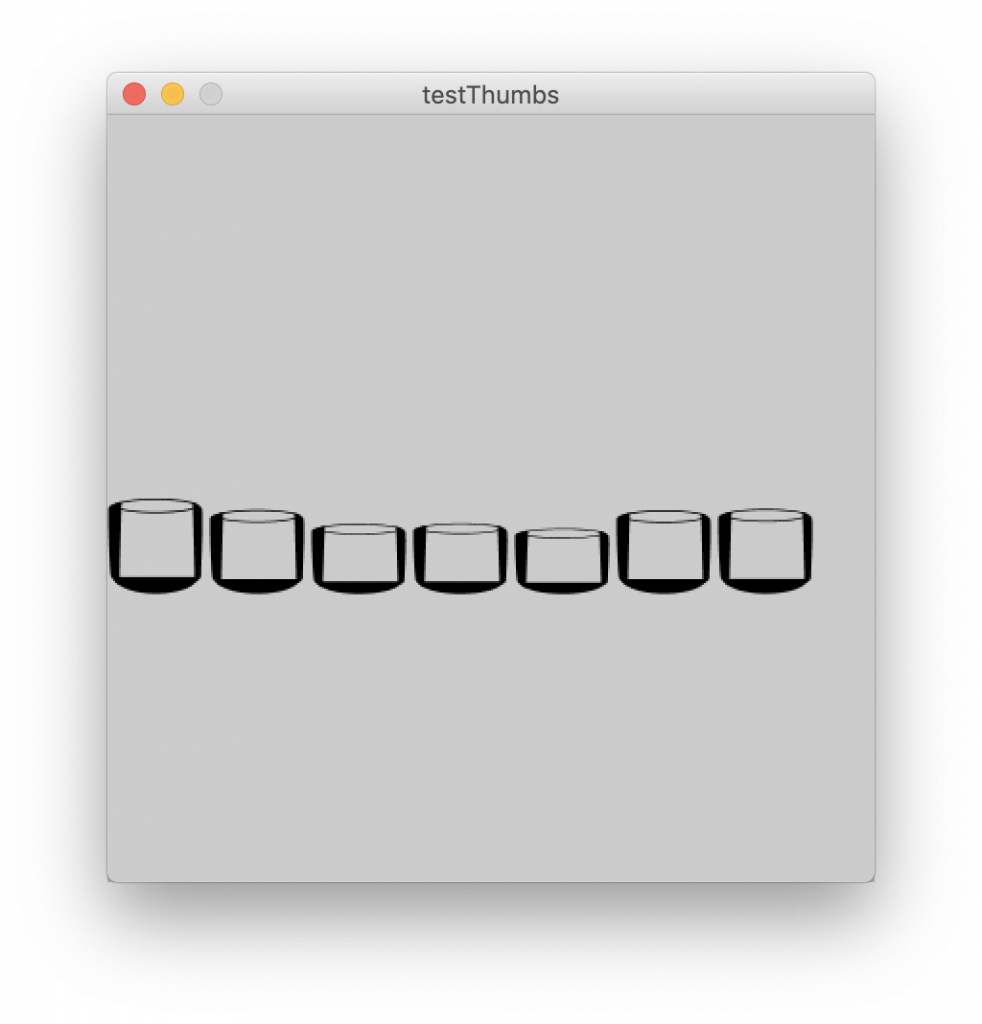
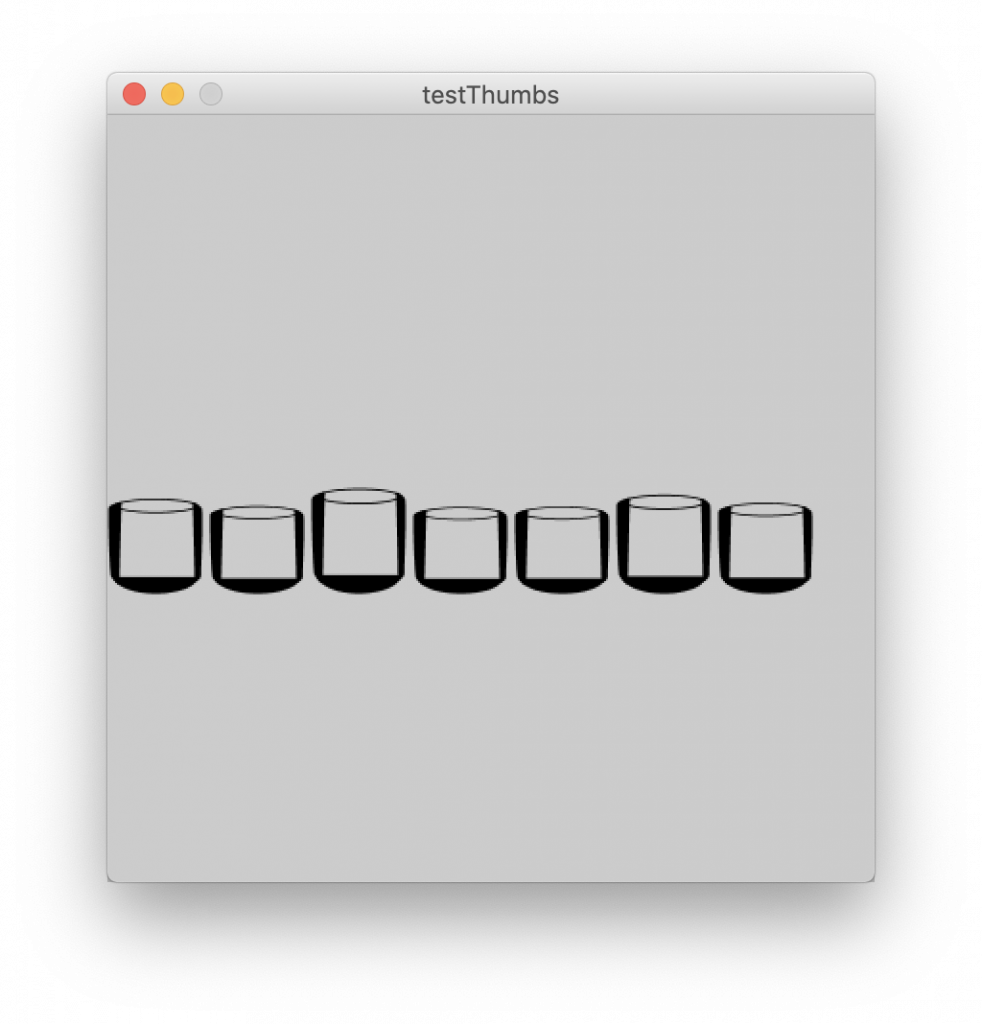
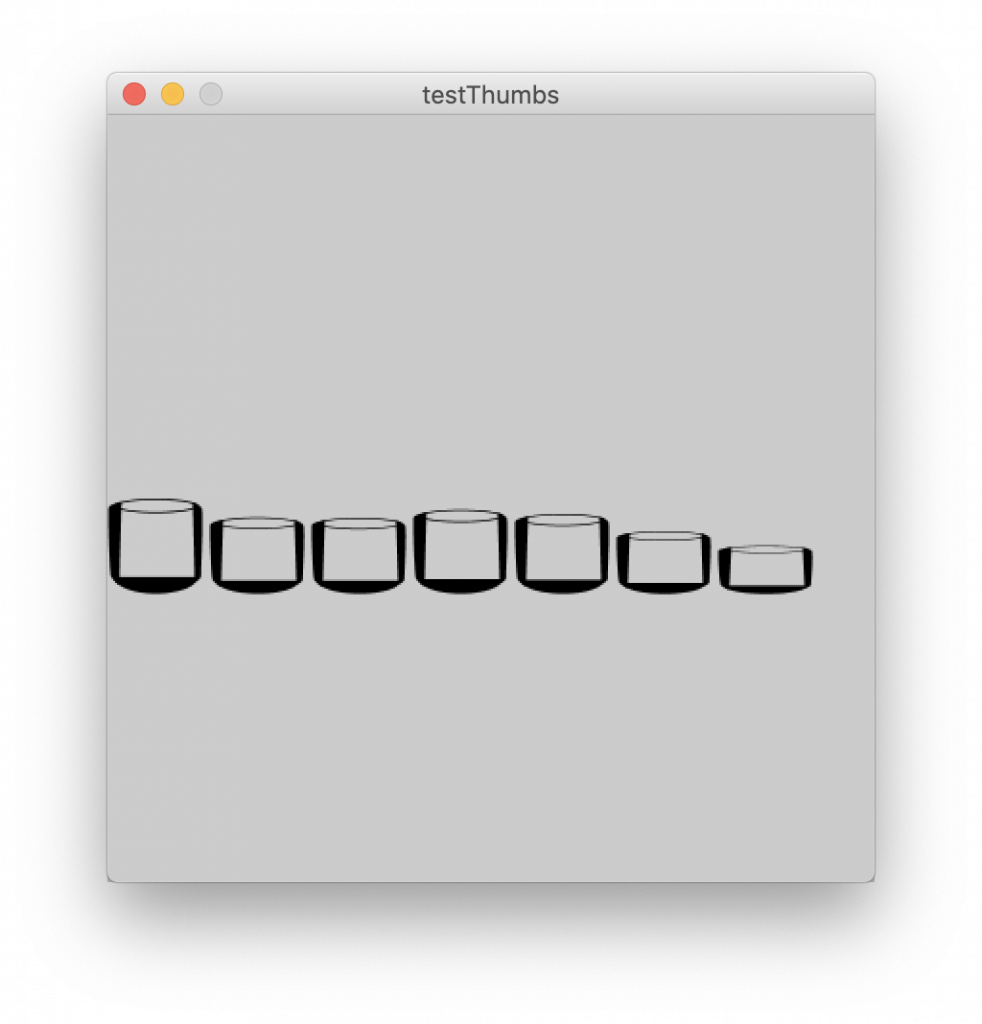
In the end I created 3 Prototypes. testThumbs created a row of cylinders with a variable of their height::width proportion changed.
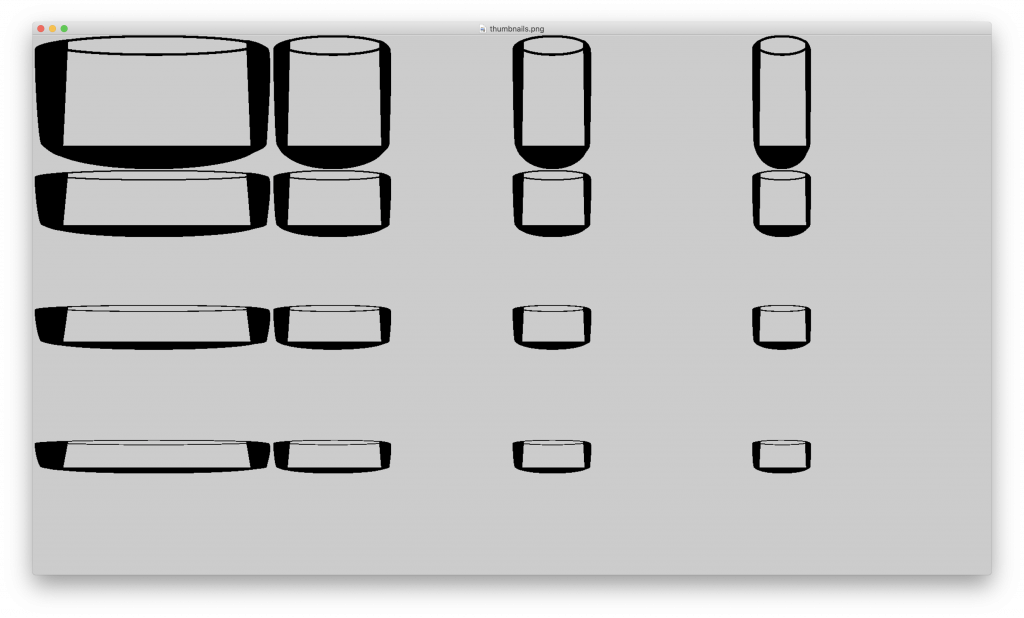
thumbnails.pde created a sequential grid with no randomization.
My final prototype was made in Illustrator to exemplify what I hoped for in the end.
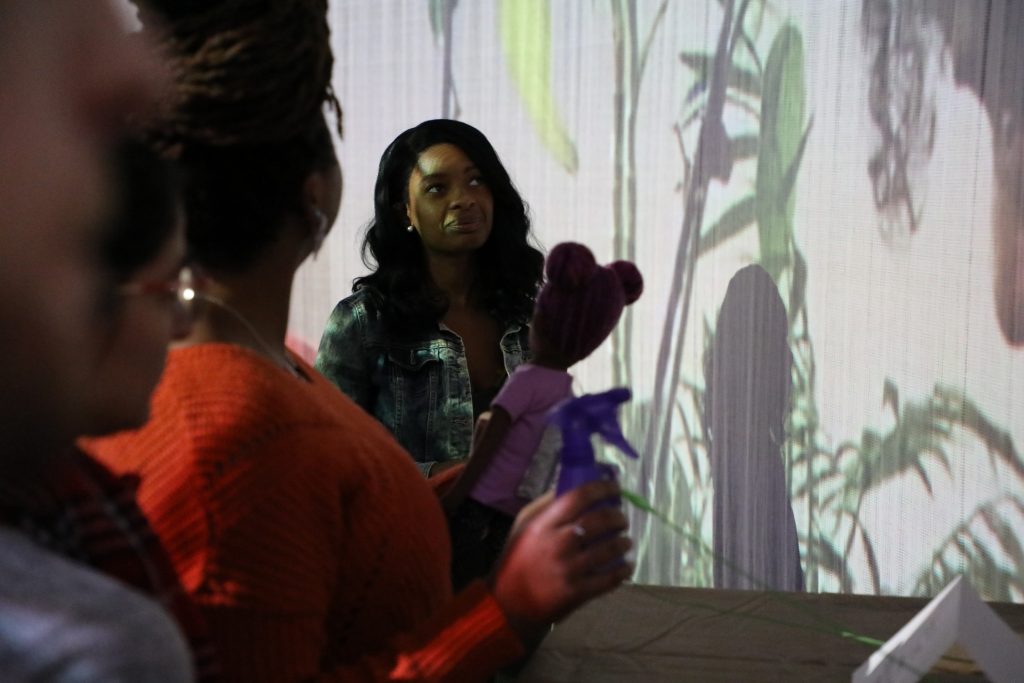
Cycle 3! – Thank a Black Woman
Posted: December 12, 2019 Filed under: Kylee Smith | Tags: Black women, dance, family, hair, installation, intermedia, spirit, thank you Leave a comment »The last round of this project was very fulfilling. I was so happy to be able to share my work with some new faces and for it to continue to be received so well by my classmates. The feedback that I got afterwards was incredibly affirming–it was a valuable and meaningful experience for my participants. Everything didn’t go perfect (I forgot to press record the first time around, whoops lol), but I decided to just go with it, and not be frantic about it. I would love another opportunity to dig the work just a little bit more because I feel that there is still more there to excavate.
This class, and this project in particular, has been inspiring in my personal research practice, and I am looking for ways to deepen these kinds of intermedia installation explorations and how they might inform the way I am crafting my MFA thesis.
I am extremely grateful for this experience. Thank you Oded and Alex for being tremendous supporters of a work that wasn’t about you. That doesn’t happen often.
Go tell a Black woman thank you. We deserve to be celebrated.
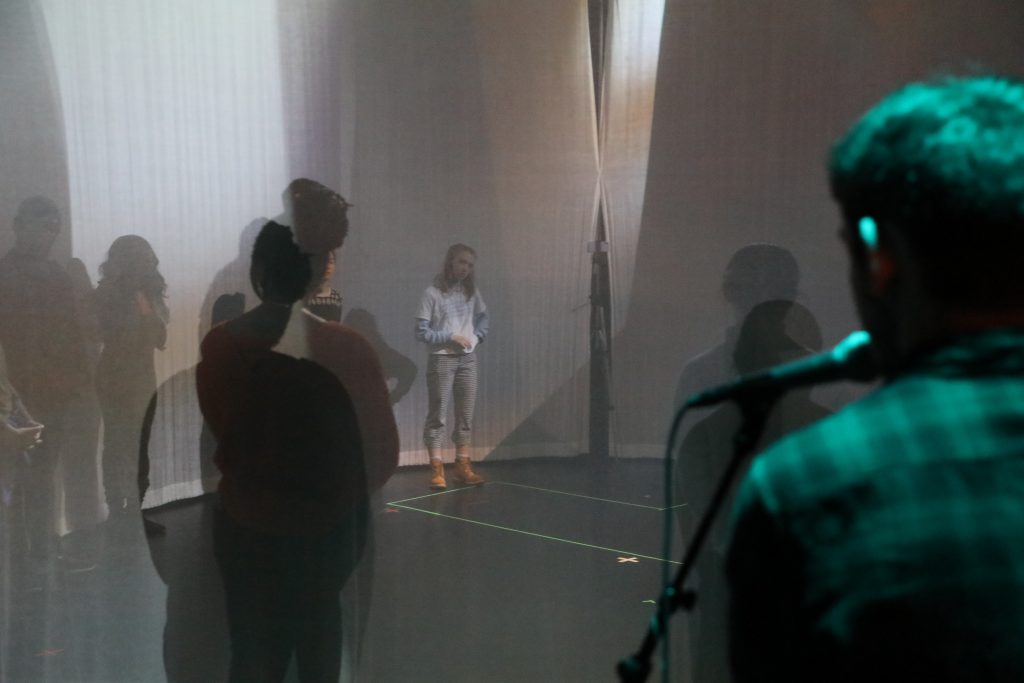
I will leave you with some images from my last exhibition.
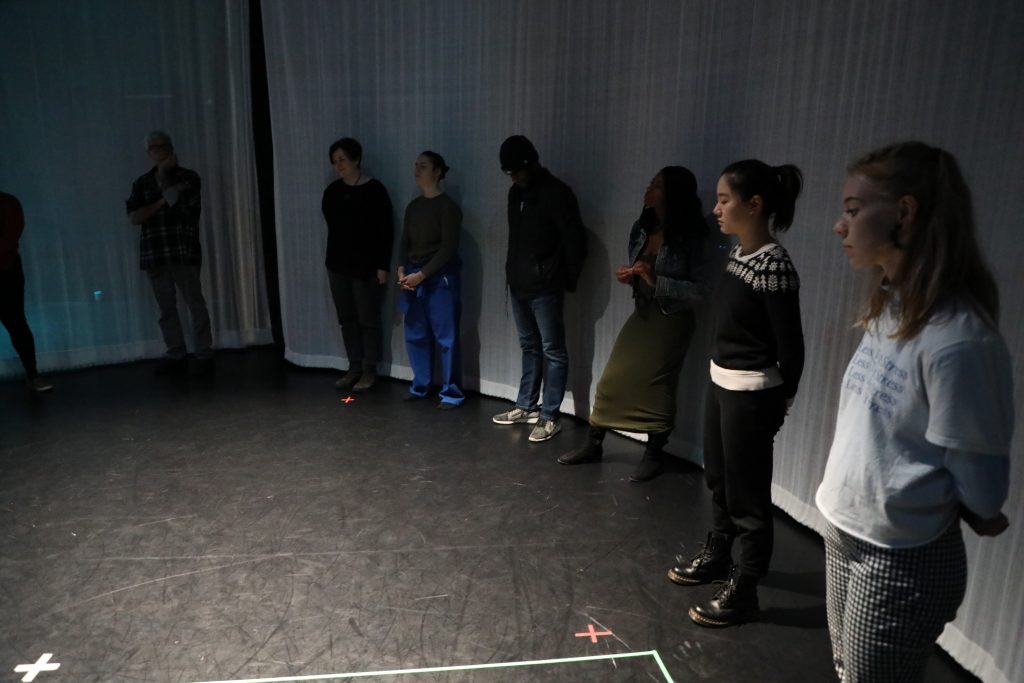
The participants listen back to the thank you’s 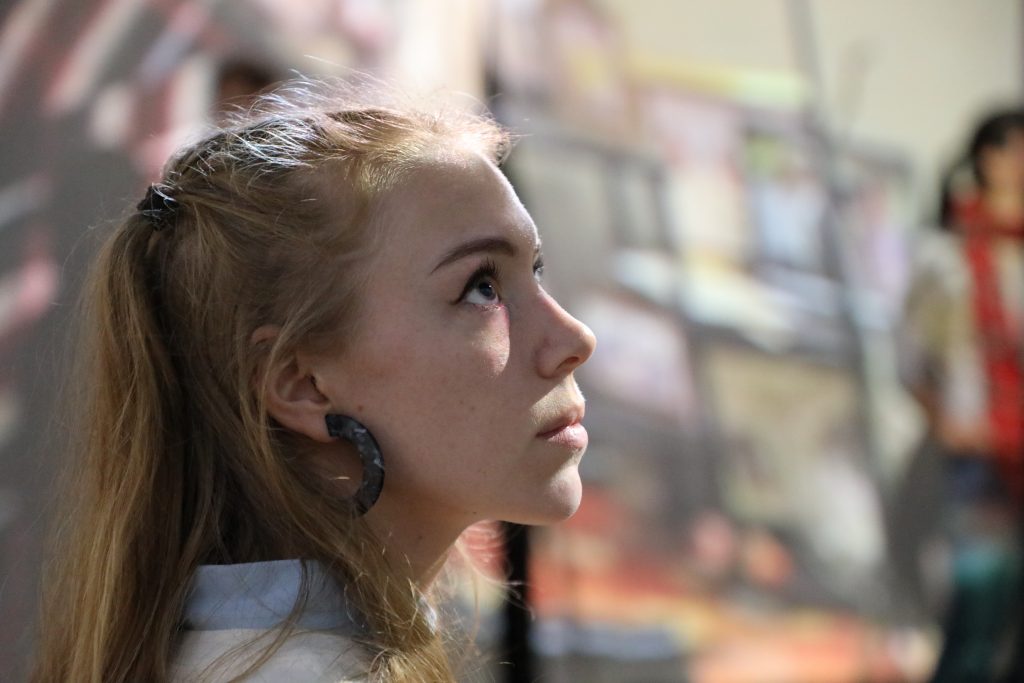
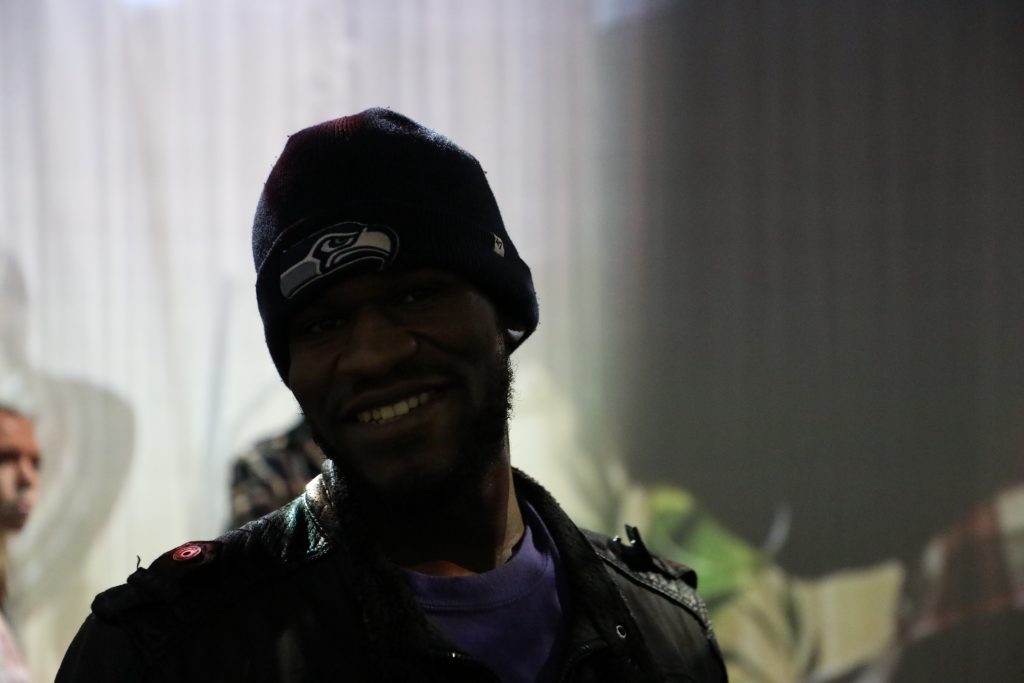

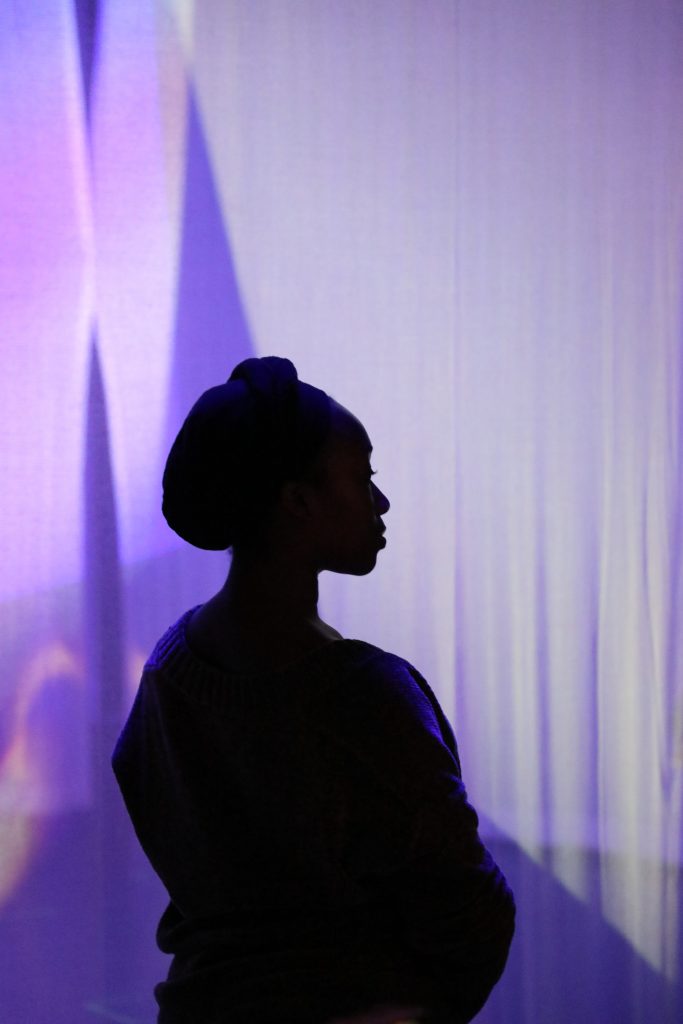
The Black woman behind it all, me — Kylee C. Smith
Final Showing-Design your own Relaxation Environment
Posted: December 11, 2019 Filed under: Uncategorized Leave a comment »I constructed an individual create your own relaxation environment in which one participant at a time could choose from given music genres, background scenes, and background sounds on a Touch OSC interface I designed before entering into a short guided meditation. My goal was to provide a place of escape for students or faculty on campus from the stresses of college, work, life, etc by guiding them through a calming meditation. I wanted the experience to feel safe, cozy, but most of all personal, which reasons why I wanted the participant to make choices about the vibe of their relaxation environment.
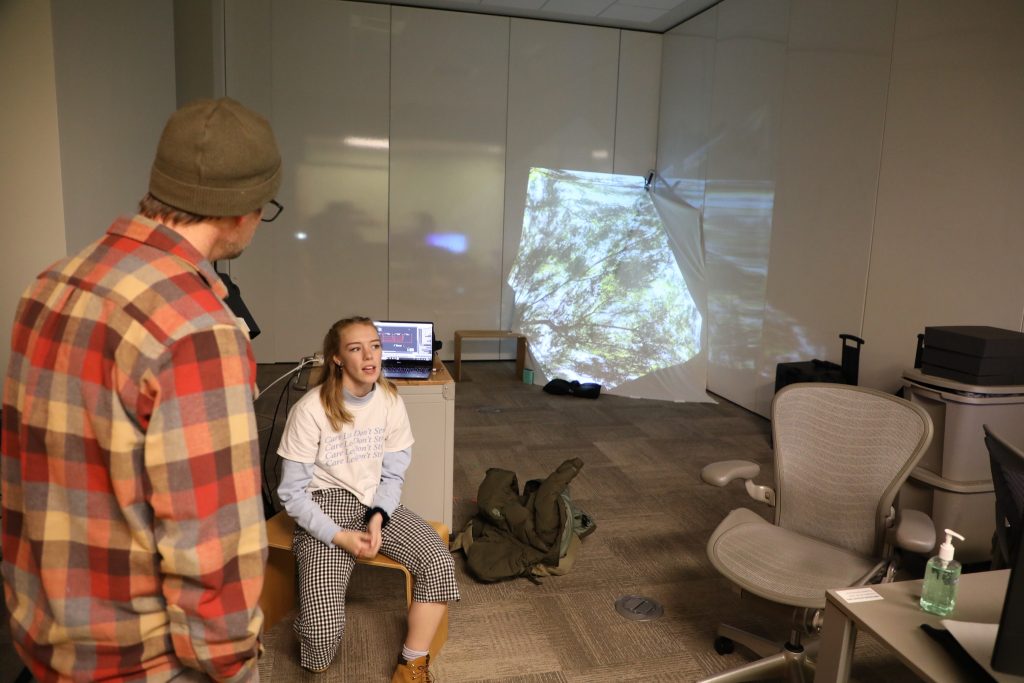
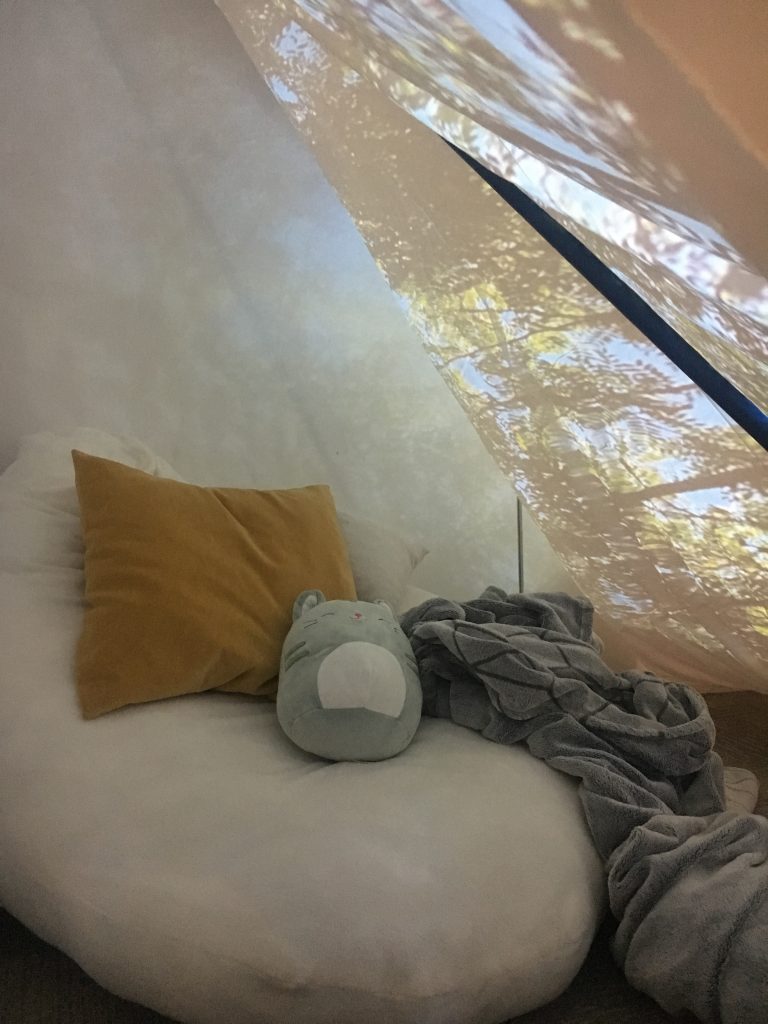
Super comfy!

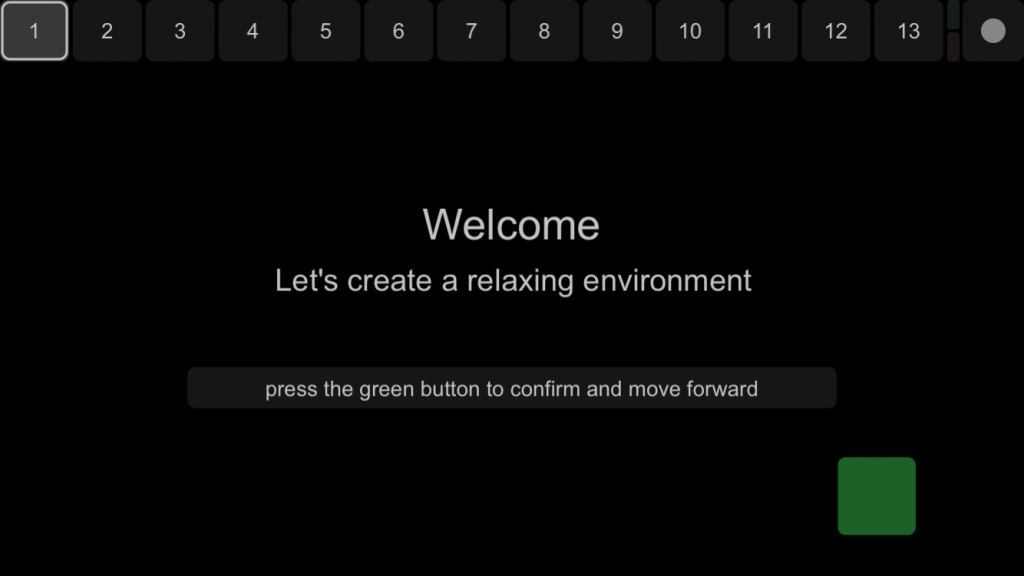
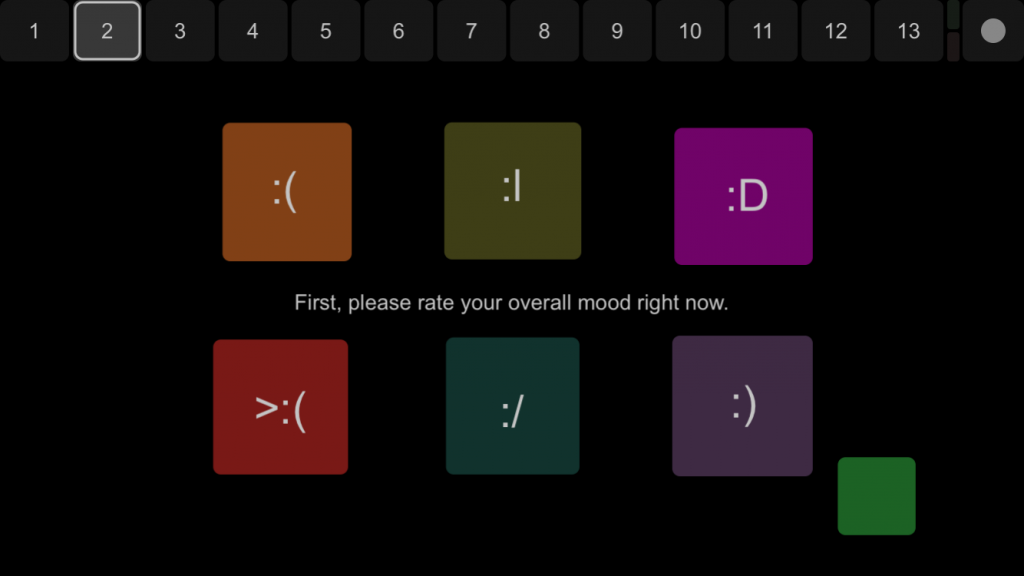
Inside the tent, participants would interact using an iPod touch, following a program I created using Touch OSC. This simplified their choice making by only giving them a few buttons and having them decide on their favorite of the few.

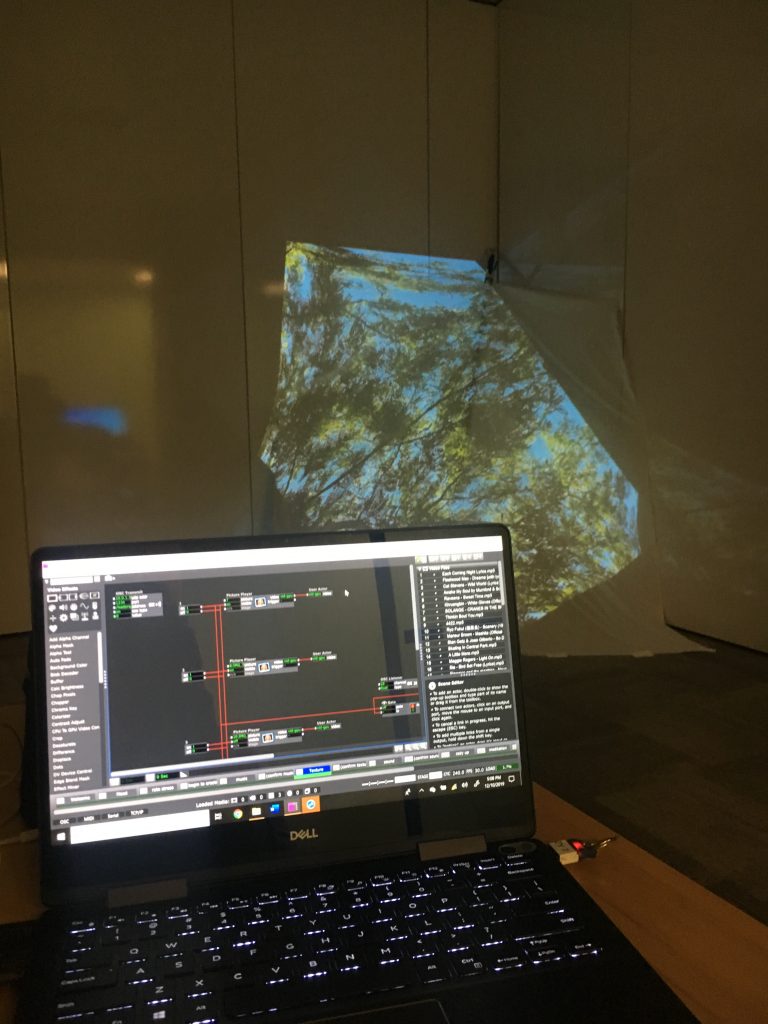
However, while my interface looks simple, my Isadora program is much more complex.
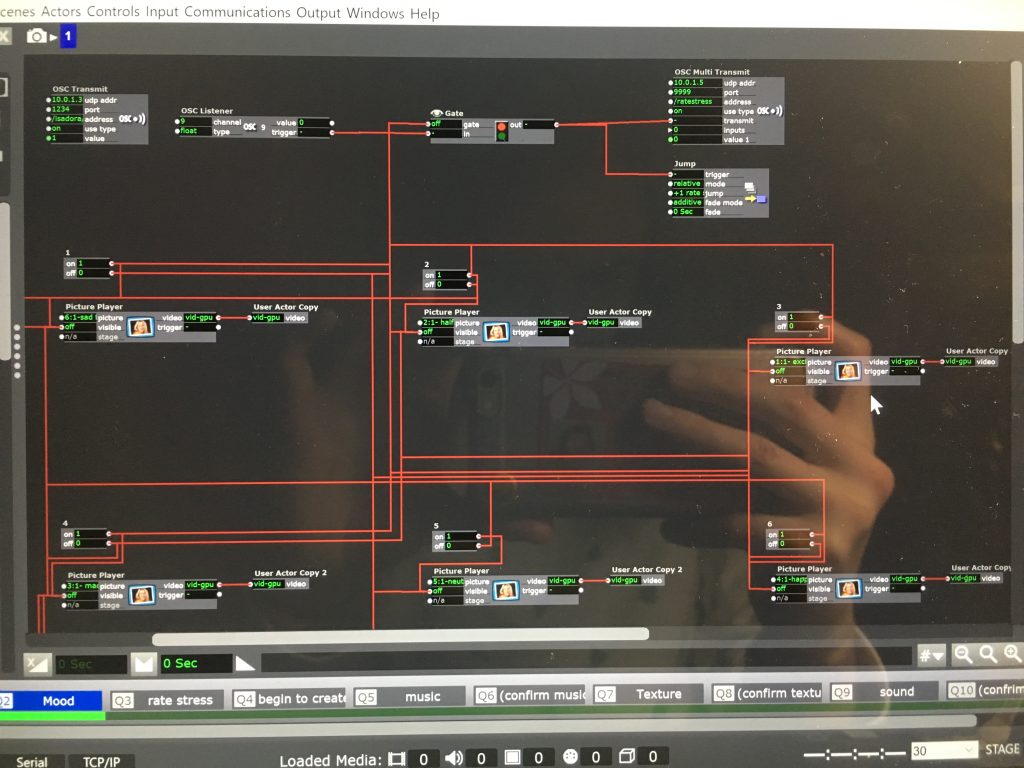
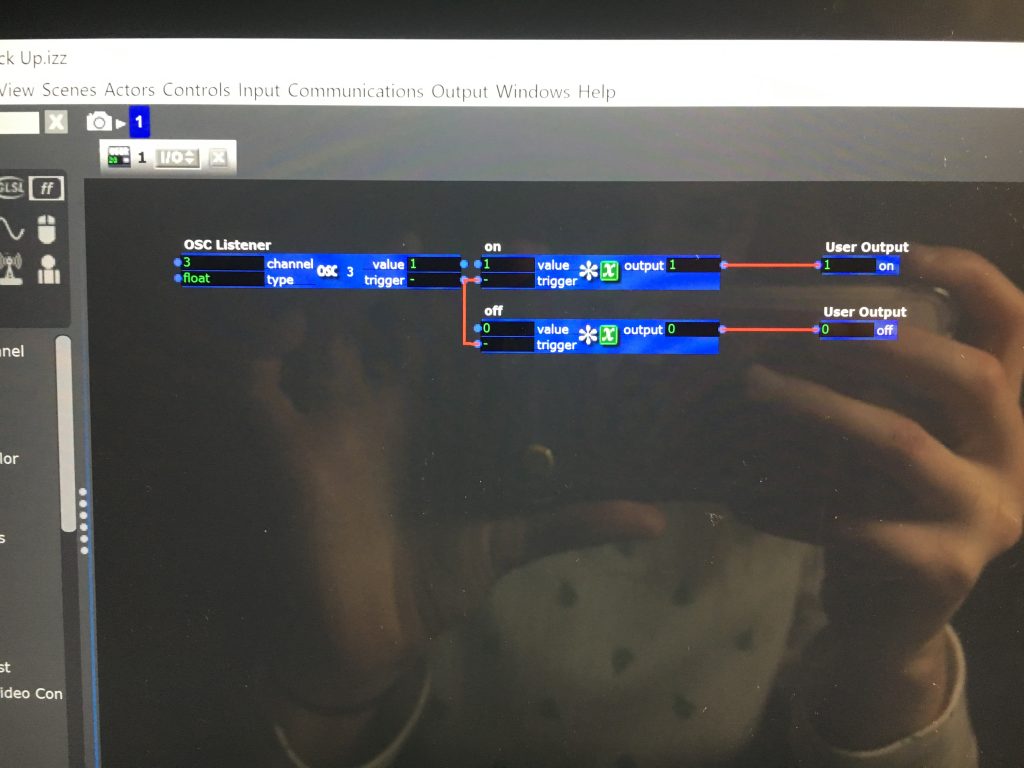
The trickiest aspect about working with Touch OSC and Isadora is actually allowing Isadora to send messages back to Touch OSC. I didn’t want the participant to do any work other than make choices about their relaxation environment. That means, in order for their interface to progress automatically to the next page, I needed Isadora to send it a message to move on. Alex and I worked on this extensively, but eventually resolved this by using the actor ‘OSC Multi Transmit’ and ensuring the incoming port number on OSC matches the port on that actor. In this case I used 9999 seen on the left image in the top right corner. (Also refer to my Cycle 2 post for more on problem solving this task!)
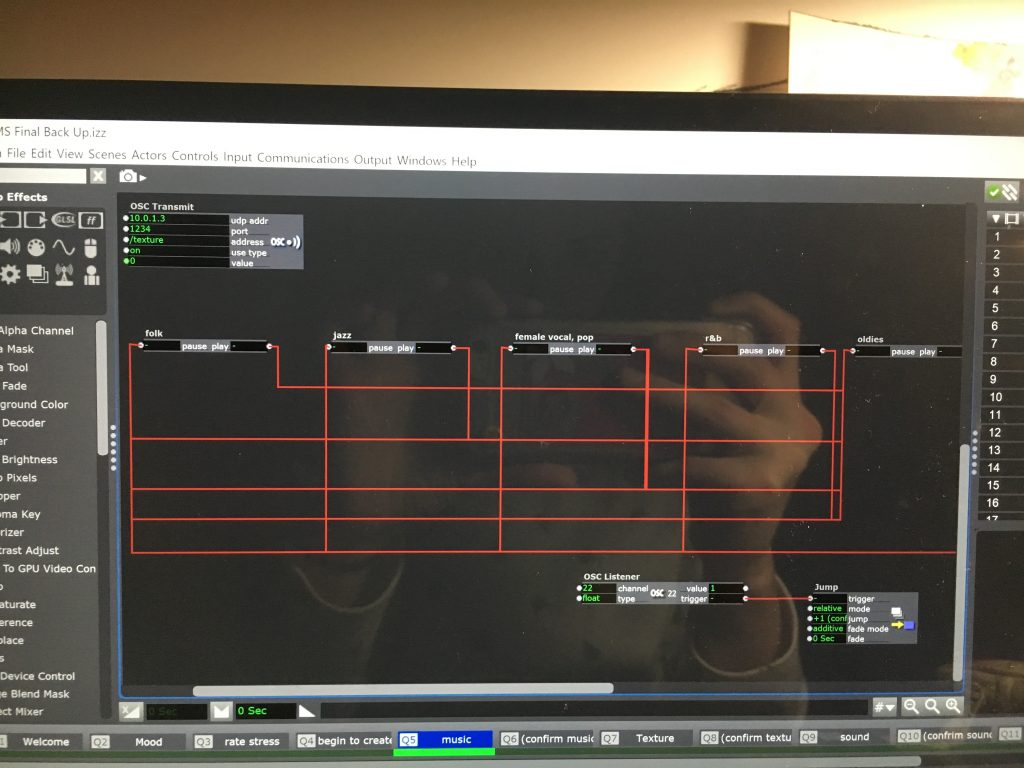
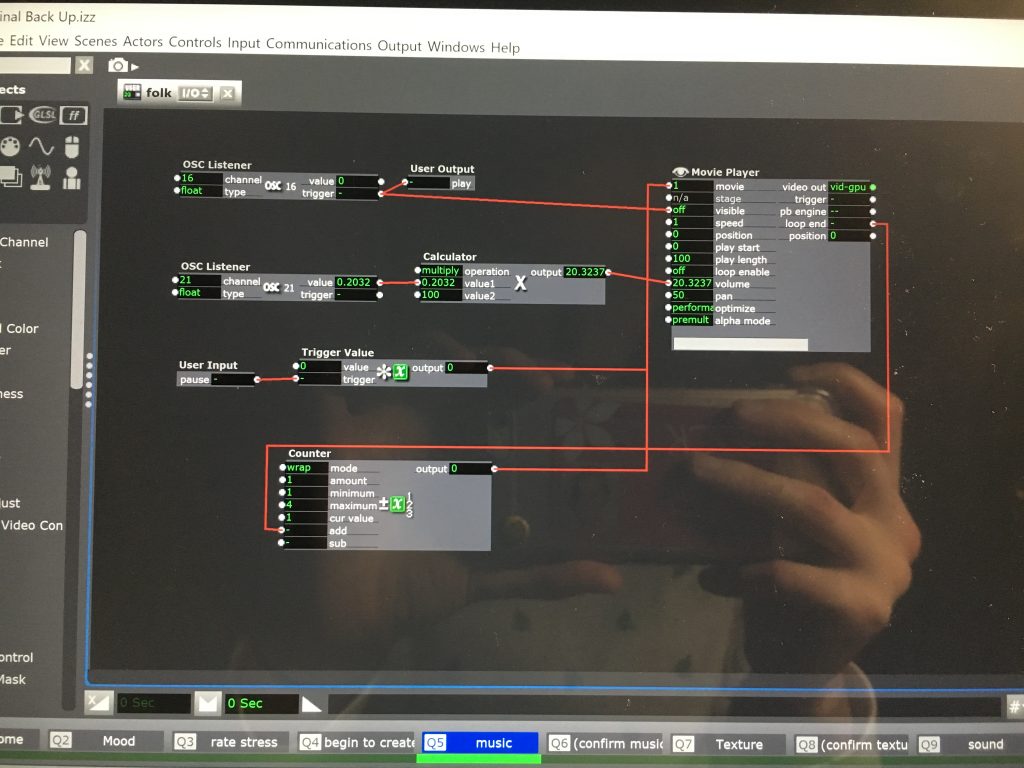
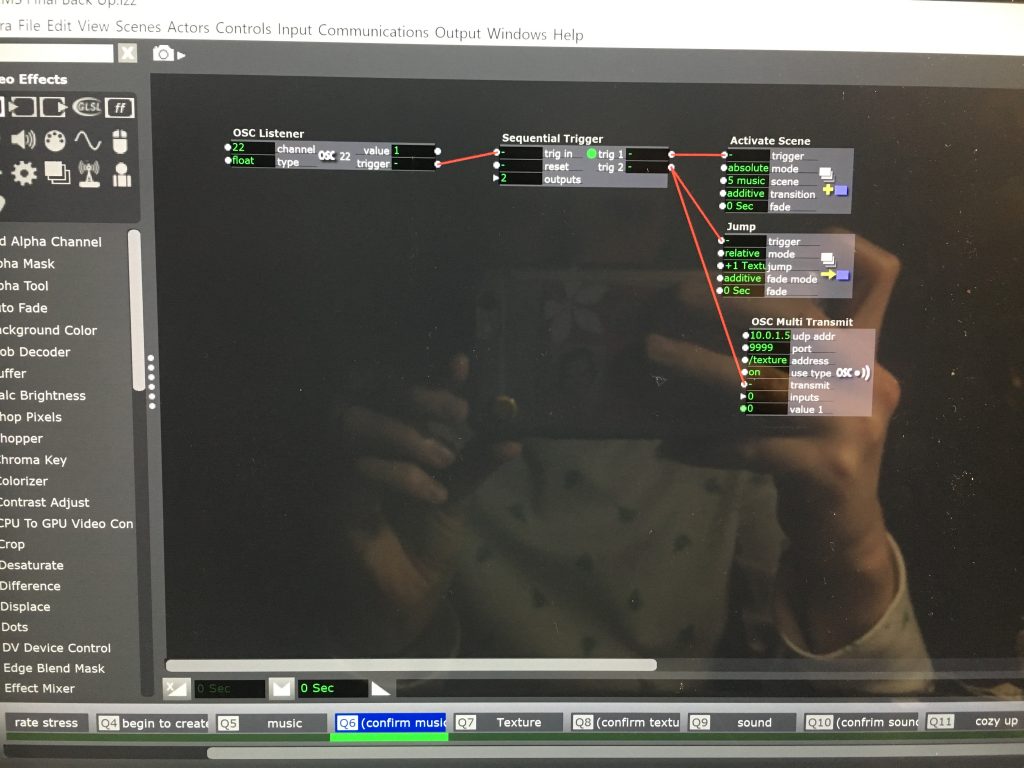
To fix this I inserted a ‘confirm’ scene following each choice scene which included the “Activate Scene” actor. When triggering the Activate Scene actor, the designated scene (in this case music scene) would reactivate and allow multiple scenes to play at once. This way I could have music and background sounds play while having a projection up and run the meditation track all at the same time.
Overall, most of my participants gave positive feedback and encouraged me to further this idea by creating a more established relaxation environment somewhere on campus. I felt my final showing for DEMS was a very successful prototype. I think that my program could become more robust by running it on a machine with a better processor. My personal laptop crashed multiple times while running the program and disrupted some participants mid-mediation.
I think I would be interested in establishing this idea some place on campus because it truly promotes positive well being. Especially being in such a stressful environment, taking care of one’s mental and emotional state in crucial. This program would teach people that it’s okay to need a break sometimes, so why not break in a place you can personalize?!
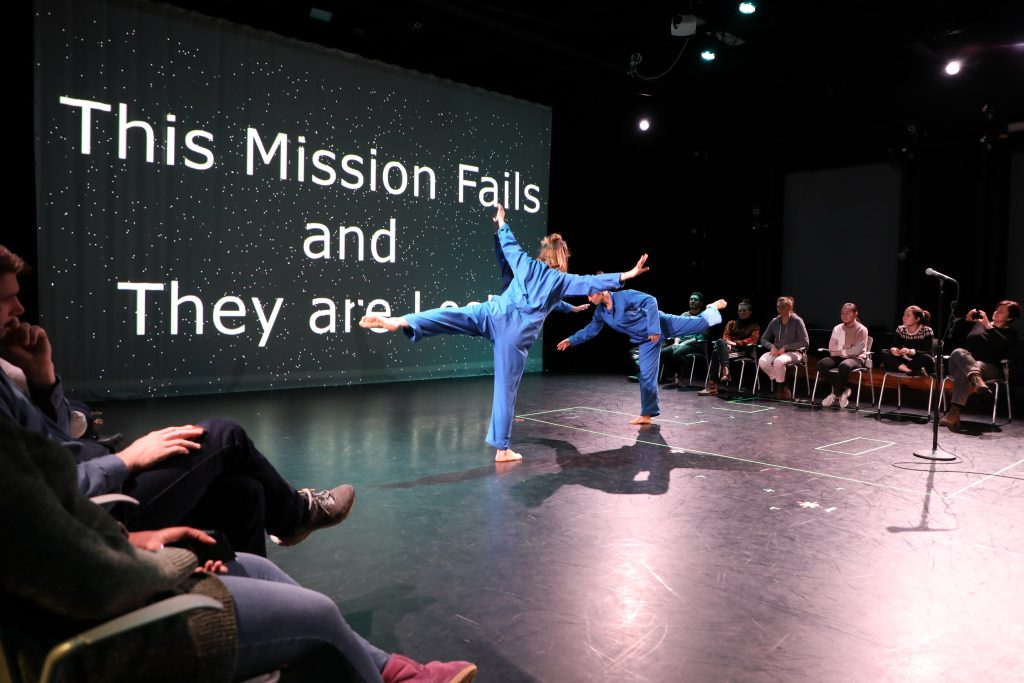
Final Mission: three travelers
Posted: December 11, 2019 Filed under: Emily Craver, Final Project | Tags: choose your own adventure, dance, Isadora Leave a comment »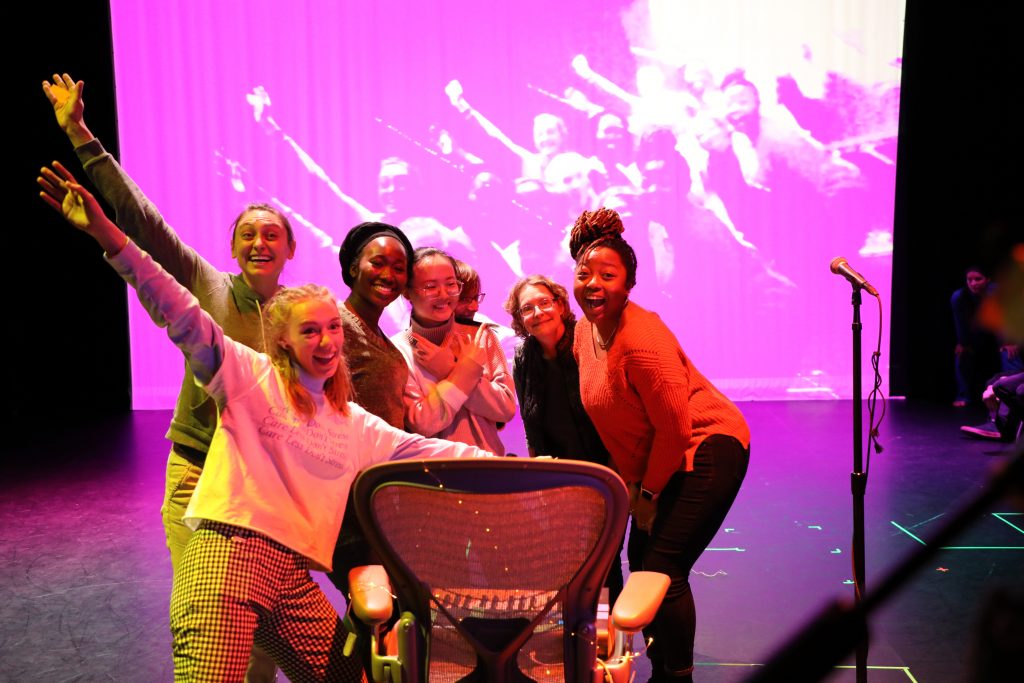
photo by Alex Oliszewski
During my Cycle 3 of Choose Your Own Adventure: Live Performance Edition, I explored how to allow for more timelines. I realized that the moments of failure for the audience provides excitement and raises the stakes of the performance. How to make a system that encourages and provides feedback for the volunteers while also challenging them?
I feel most creative and myself when creating pieces that play with stakes. I love dance and theatre that encourages heightened reactions to ridiculous situations. The roles of the three travelers started to sink in to me the more we rehearsed. They needed to be both helpless adventurers somewhere distant in time and space while also being all-knowing, somewhat questionably trustworthy narrator-like greek chorus assistants. Tara, Yildiz and I added cheering on the volunteers to blur those lines of where and who we are.
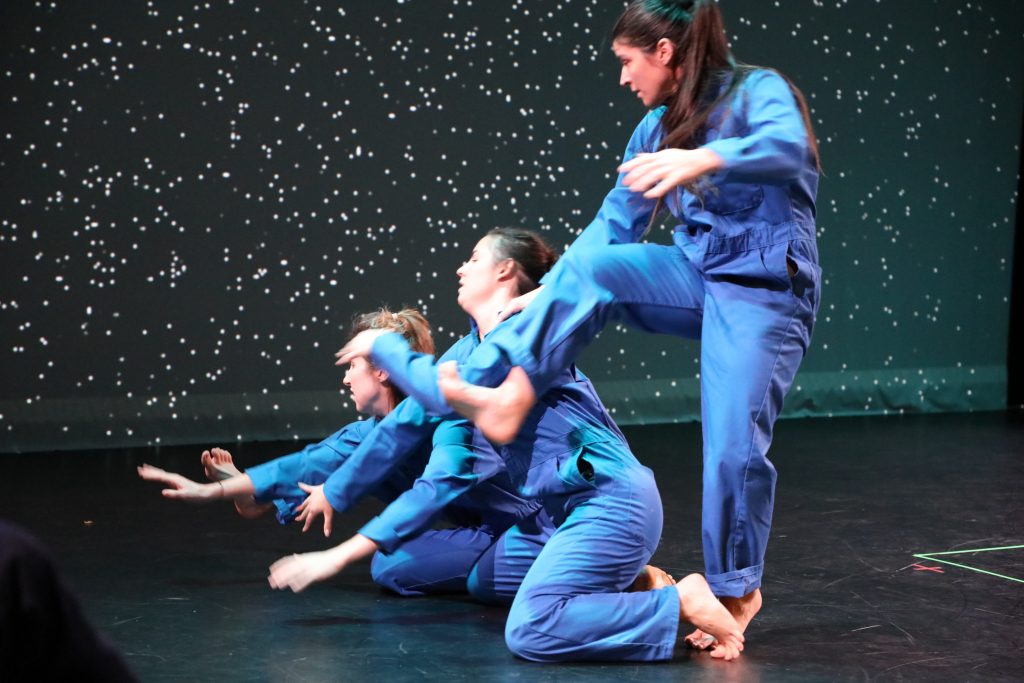
photo by Alex Oliszewski
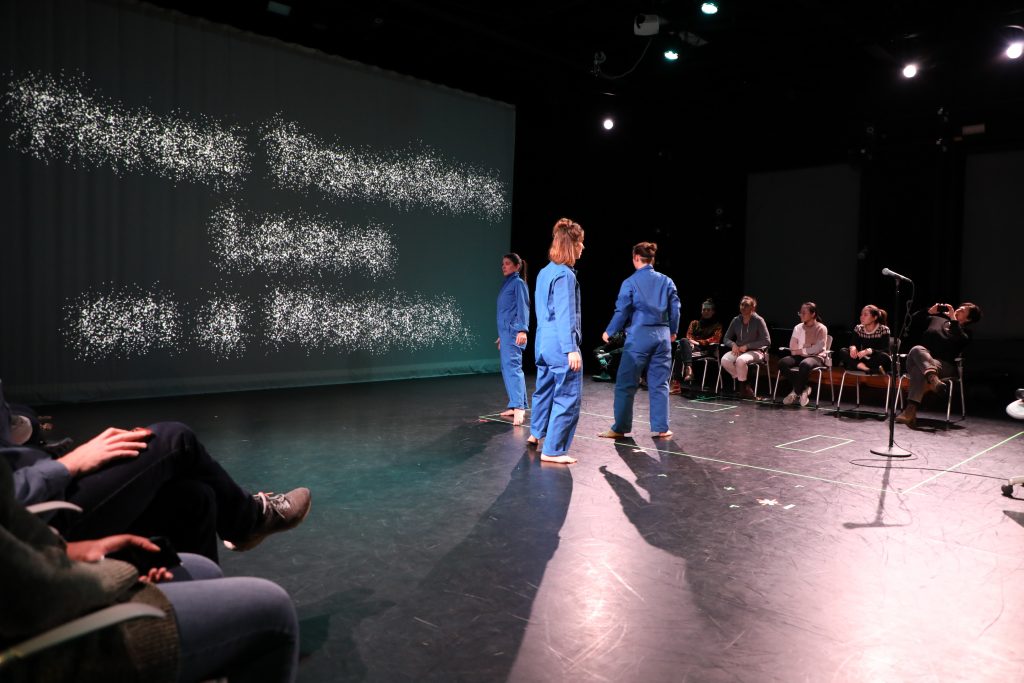
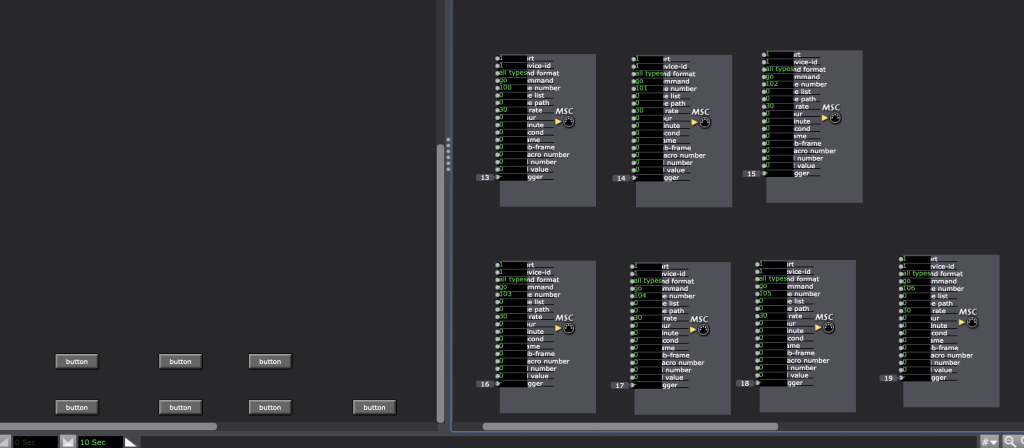
The new system for Choose Your Own Adventure included: MIDI keyboard as a controller, Live Webcam for a live feed of adventurers and photo capture of successes, FocusRite Audio hook-up for sound input and sound level watcher, GLSL shaders of all colors and shapes, and Send MIDI show control in order to trigger light cues.
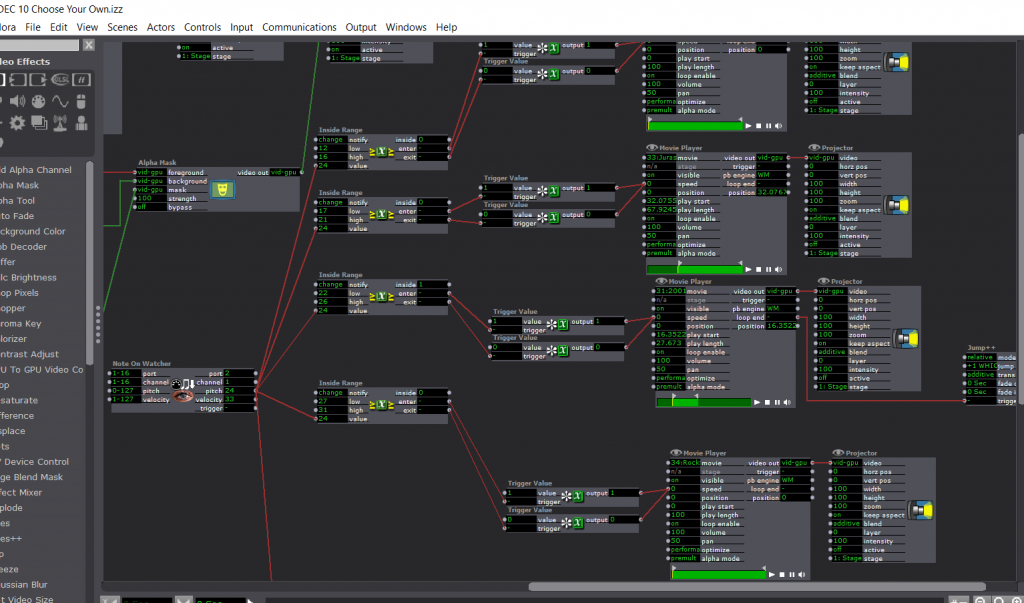
The new system provided more direct signs of sound level watching and cues to the volunteers. The voice overs were louder and aided by flashing text reiterating what the audience should be doing. The three travelers became side coaches for the volunteers as well as self-aware performers trying to gain trust. I found myself fully comfortable with the way the volunteers were being taken care of and started to question and wonder about the audience who was observing all of this. How can an audience be let in while others are physically engaging with the material? I thought about perhaps close camera work of the decisions being made at the keyboard? Earlier suggestions (shout out to Alex Christmas who gave this suggestion) included an applause-o-meter to allow for the non-volunteers to have a say from their seats. A “Who Wants to be a Millionaire” style audience interaction comes to mind with options for volunteers to choose how to interact and have the audience come to their aid. What does giving audience a voice look like? How can it be both respectful, careful and challenging?
Dancing Club 3.0
Posted: December 11, 2019 Filed under: Uncategorized Leave a comment »

In this project, I explored the digital body and the actual body moving together.
Scene 1: People came into space and saw the introduction. (Audio & Video)
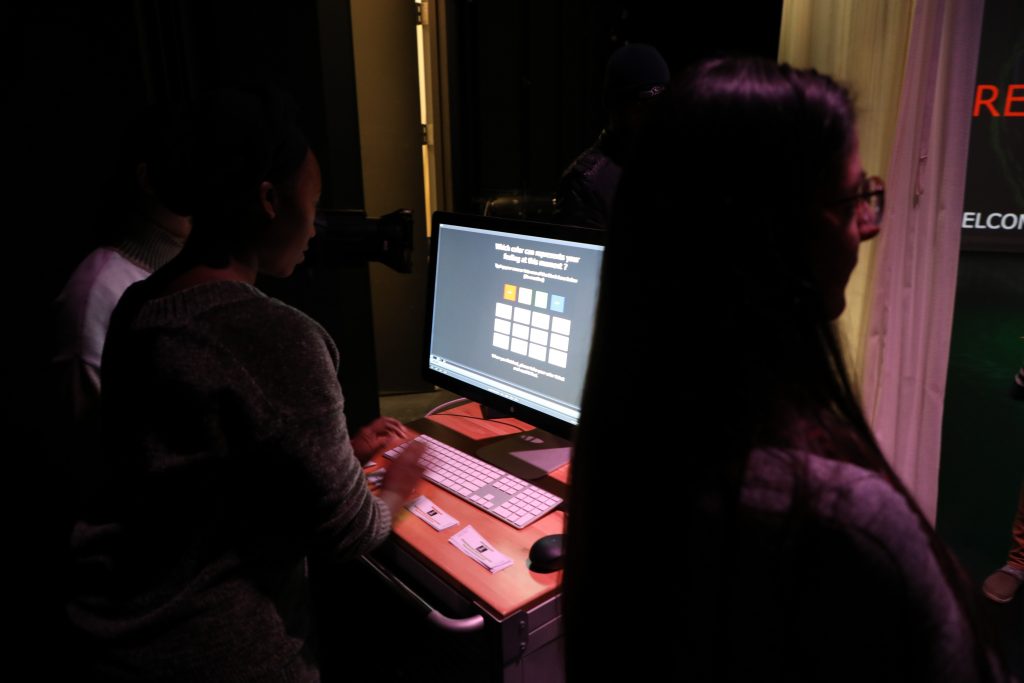
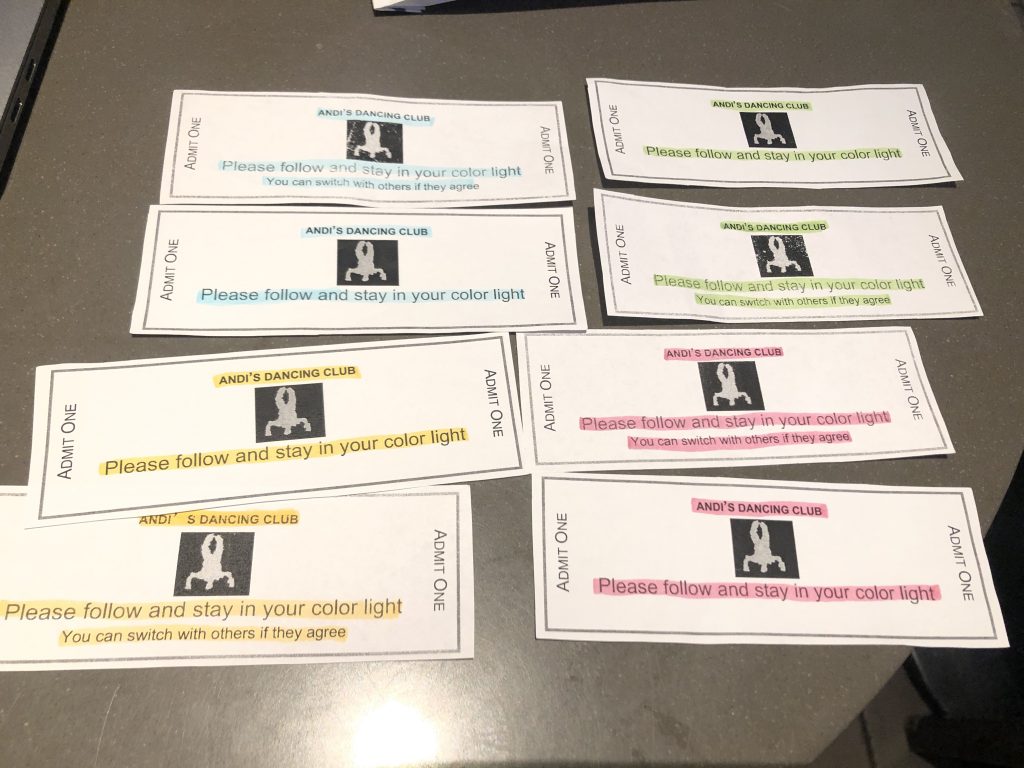
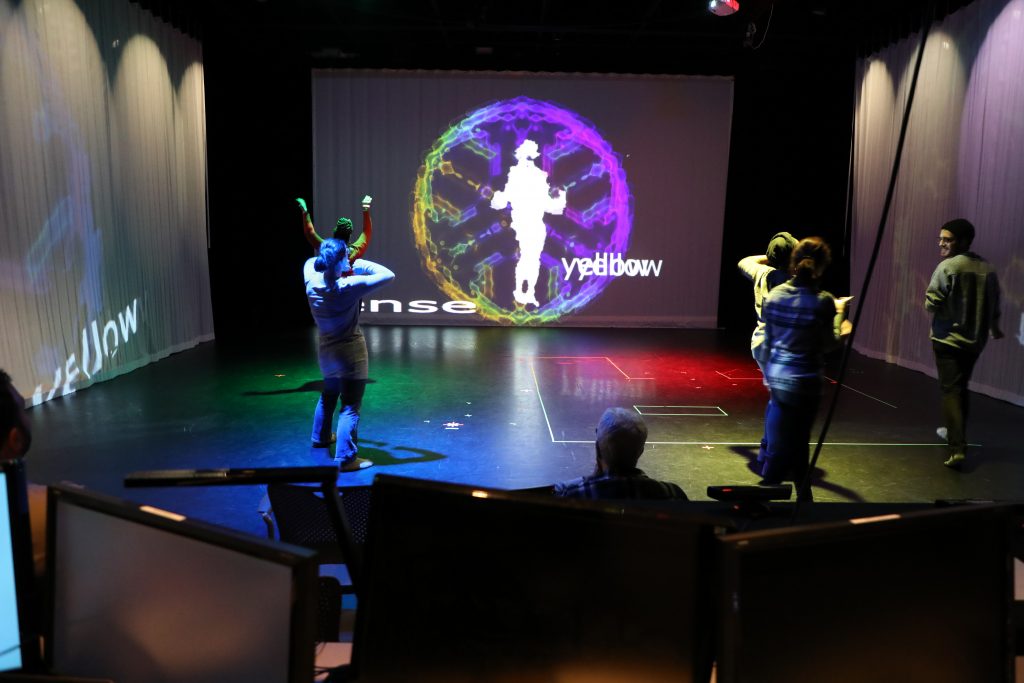
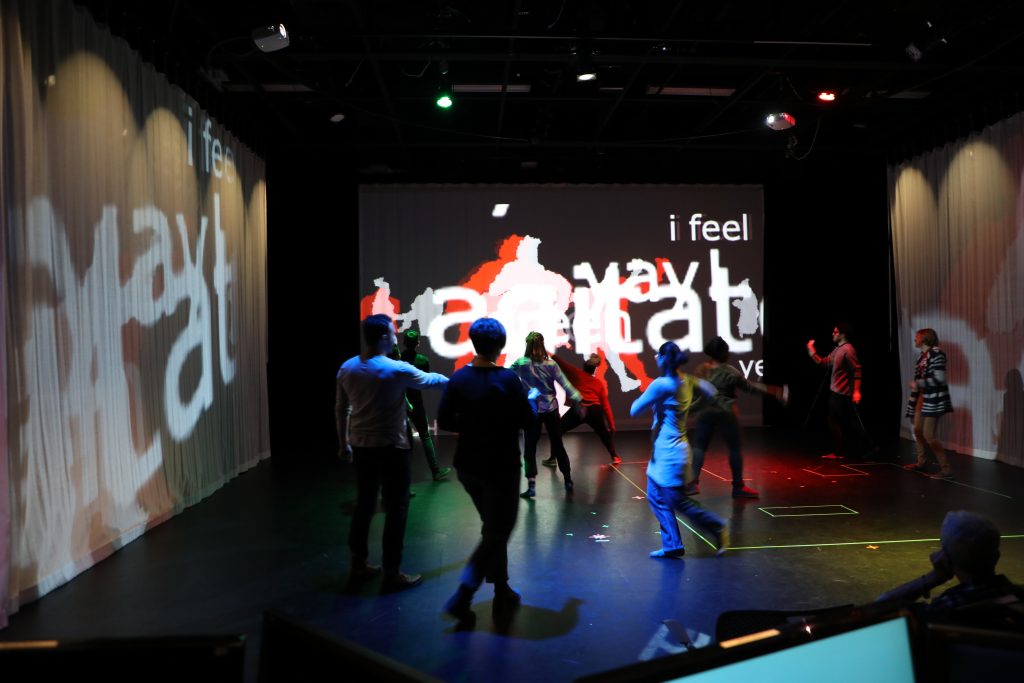
Scene 2: I used two sperate interfaces, which are the Box office and the DJ table. People went to the box office, answer the question, and got their ticket first, and then be permitted to go to the stage. I changed the question into which color can represent your feeling at this moment? People typed their answers, and the answers went to the screens immediately. While people were typing their answers, the screen jumped to scene 2, which was a dancer dance in the middle of a 3D music ball with the music “Alitina by the water.” I wanted people in this part could be more patient since they had to wait for all the people and then went into the next scene. So I choose a piece of soft piano music to erase the anxiety mood. It looks like people were patient. They either watching the dance or talking with the same color person.
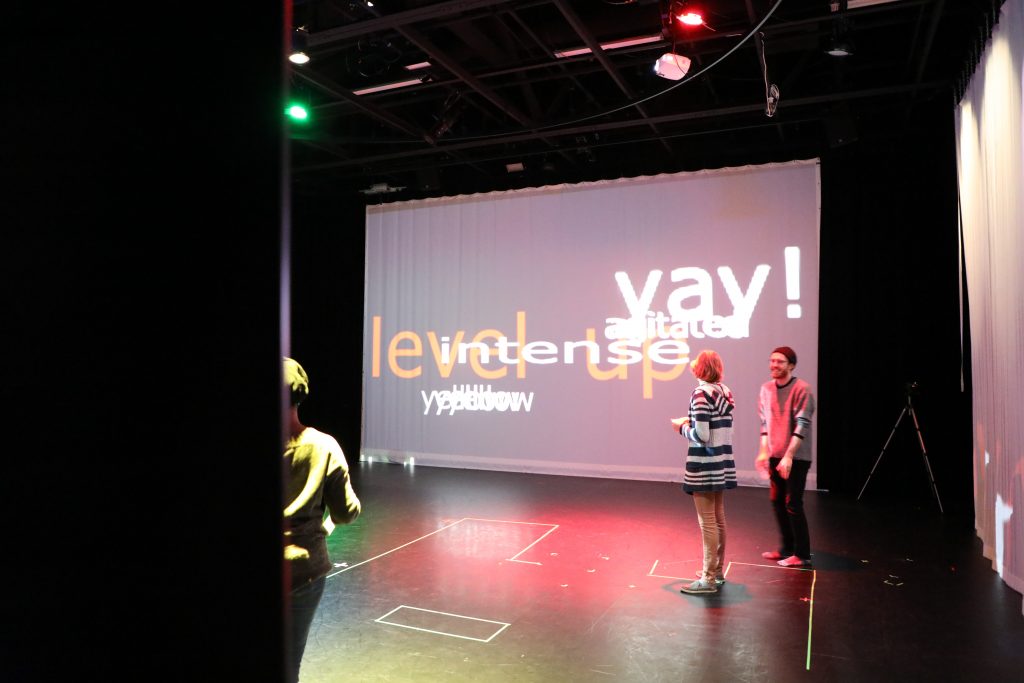
Scene 3: I used a dark red instruction of “Level up” to let people aware that there was some change happening. But some people still not noticed that because the side screens were not clearly showing the warning. I had to tell them “Level up”.
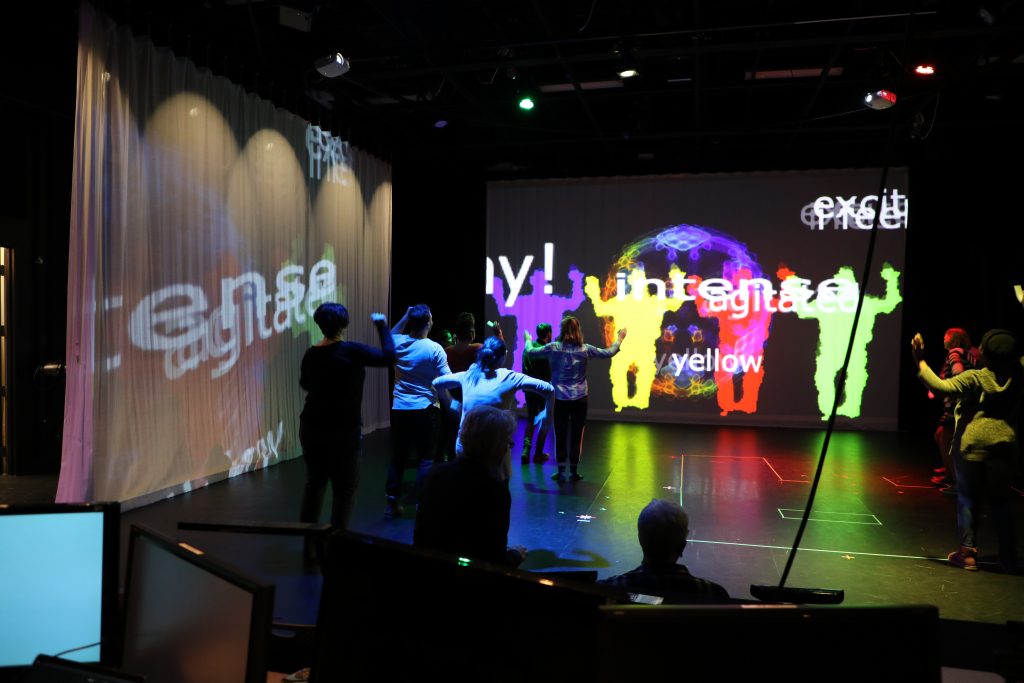
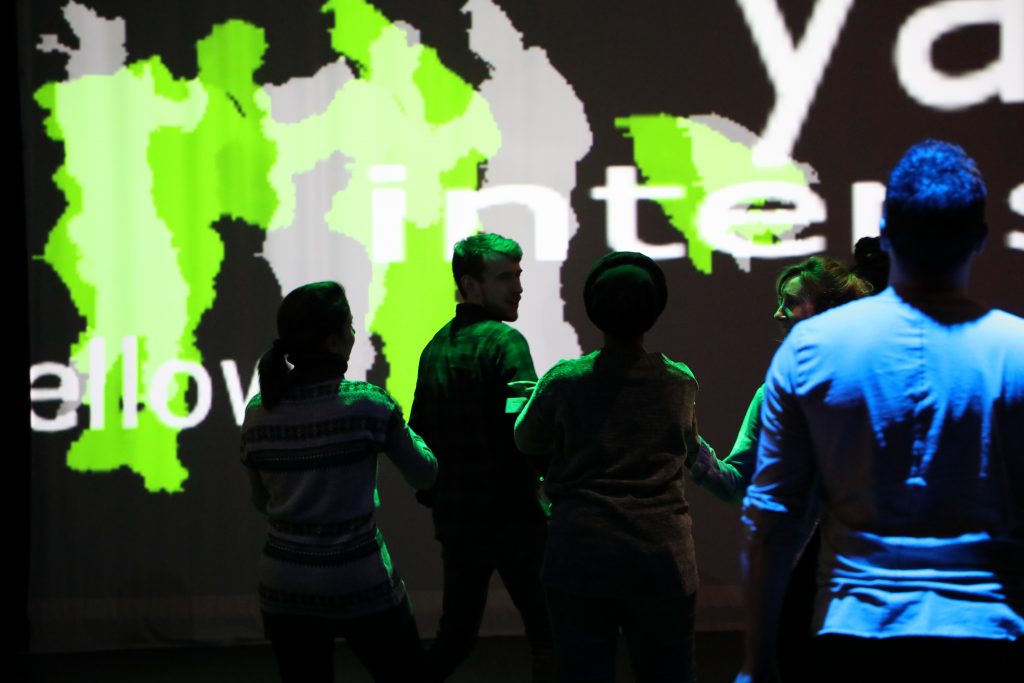
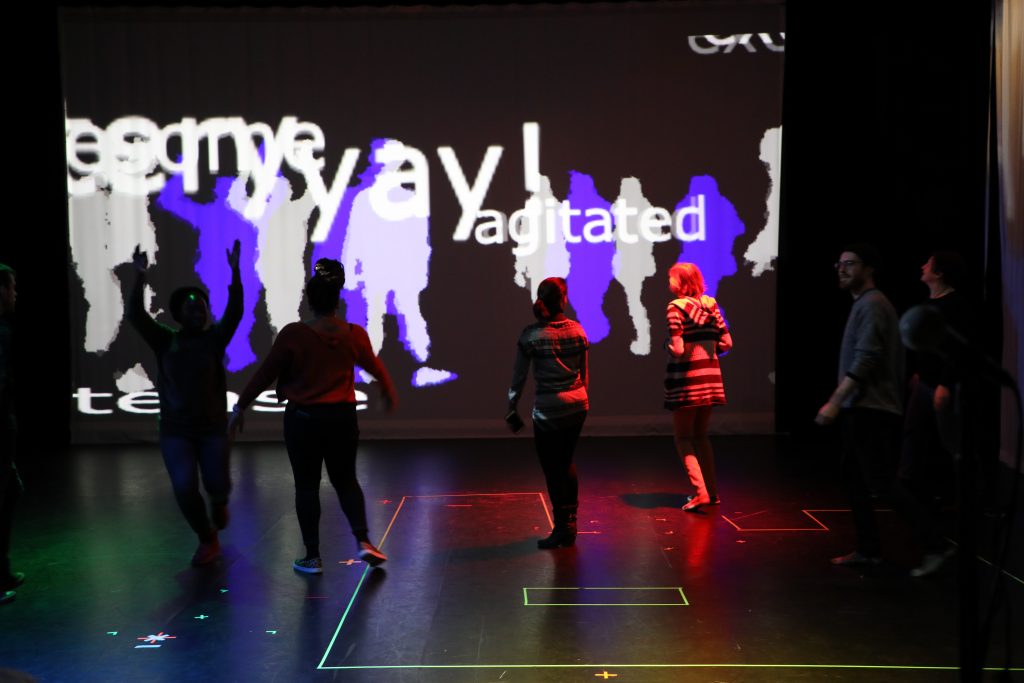
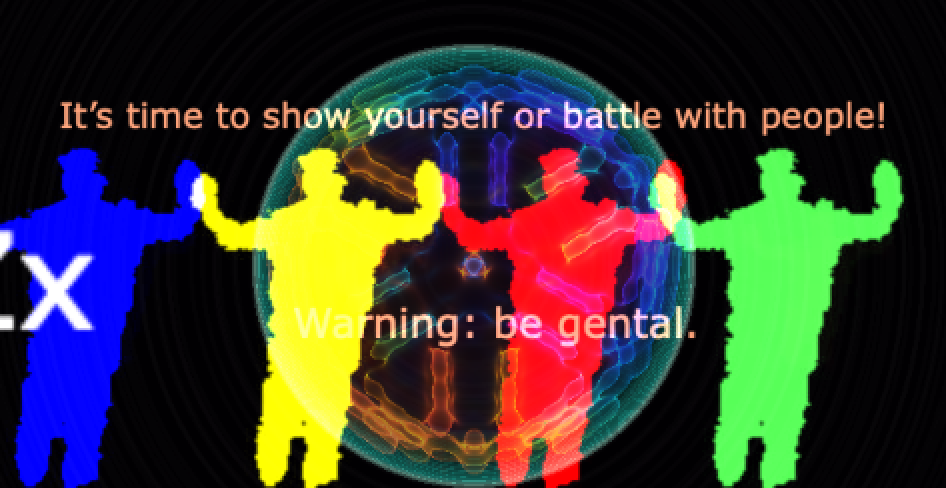
Scene 4: this was the same thing in Dancing club1.0 and 2.0. Four different colors of dancers dance very fast. People dance with the dancers.
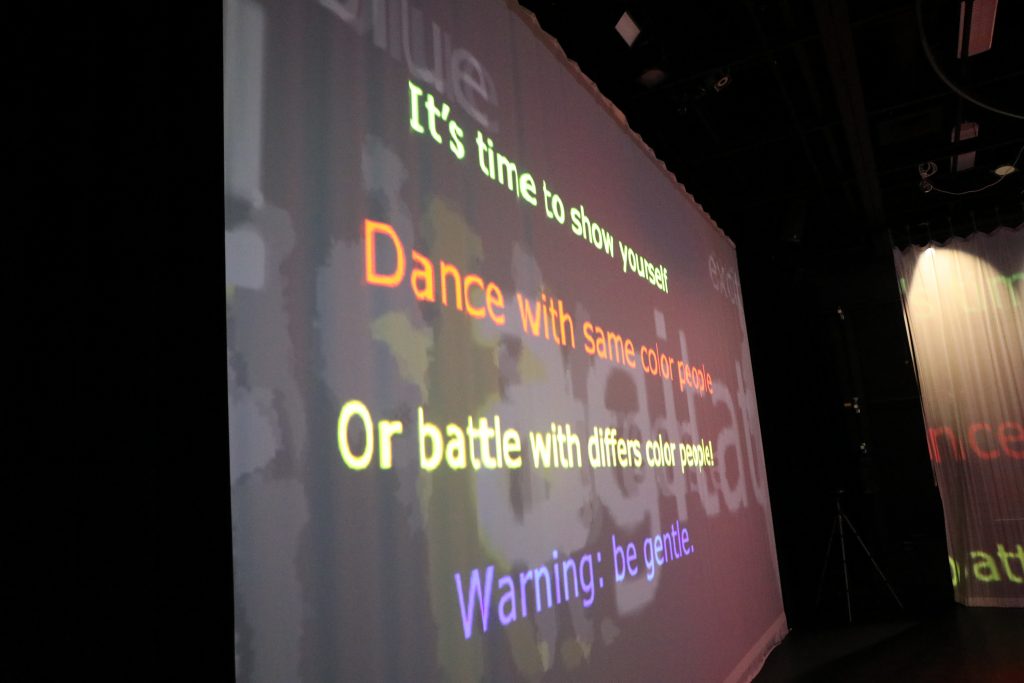
Scene 5: I changed the instruction into an individual scene that people could know quickly. It was successful, people noticed and read those instructions. And they prepared to dance or battle with others!
Scene 6: people danced to each other with music. I still did the lighting change at this part, but some people may forget about follow their light.
Thought: Audiences are uncontrollable! There always something happened, unexpectable! So I have to think more and prepare more form different angles and perspectives.
Dancing Club 2.0
Posted: December 11, 2019 Filed under: Uncategorized Leave a comment »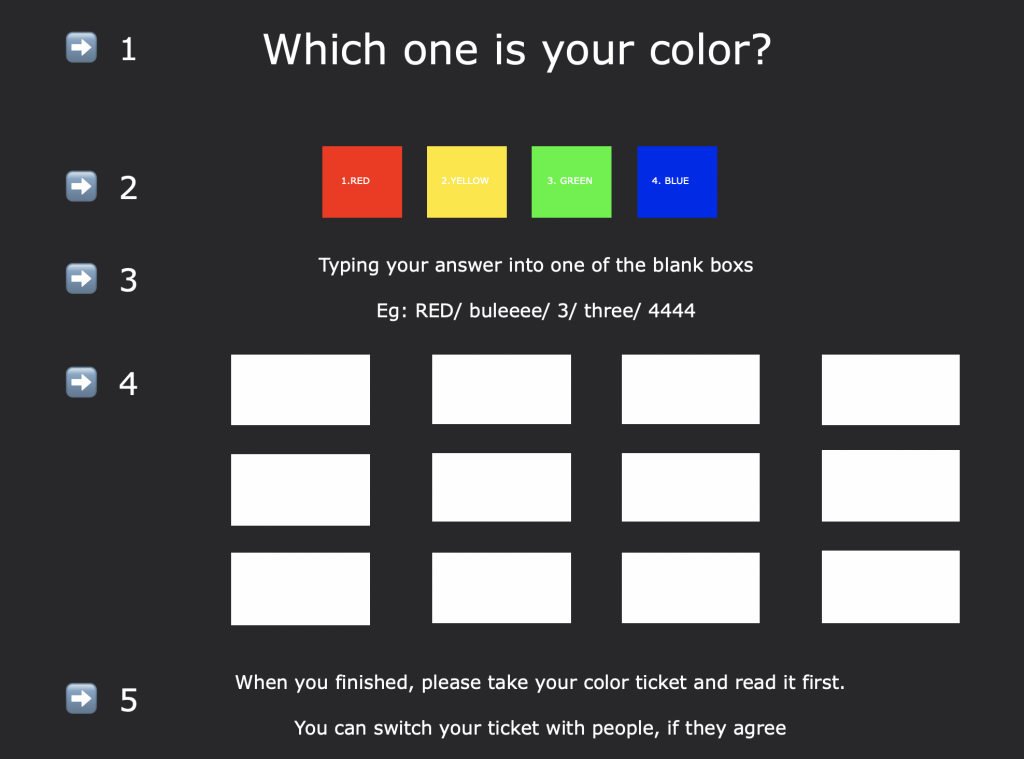
After cycle 1 performance, I added something on my cycle 2. It was basically the same structure as cycle 1. I tried to make each scene going smoothly into the next and made audiences better understand why the scene changed. I used some instructions on scene 2 (I recorded some dance through kinetic sensor and project to the screen) through which people could know the next part is to dance/battel with others. (picture 2) And the scene 3 was the kinetic sensor live recording the dance people did on stage. I also added some light cue on scene 3 (picture 3), so people had to move while recognizing the lighting change and follow their light! In this performance, we had some guest audiences, they gave me some valuable suggestions. They talked about the change between scene2 and scene 3 felt a little fast. Because I pressed the wrong button, the instruction didn’t go as I designed. After this performance, I thought I should make the whole thing more detail and specific, and to guide people step by step with more time so that they can understand better.
Olsen Cycle 3 – Final – Audio Game
Posted: December 11, 2019 Filed under: Uncategorized Leave a comment »Cycle 3:
I decided to move forward with the Audio game as previously mentioned. Through the last few weeks, I had random participants test the game and let me know if any part had any particular confusion to it.
Some of the comments that were mentioned included:
- How would this be different if it were a touch screen instead of a mouse?
- How should I know when I need to listen?
- Is there a way to make the experience move forward at a quicker pace?
- Is there modes of play? Easy, Medium, Hard? What would those be?
—I had considered using the Kinect as a means to play. That being said, I took the time to become part of the Beta testing group for Isadora. Using the Kinect data, it was difficult to calibrate all of the settings for every time the experience would be set up. It was also somewhat buggy, and didn’t necessarily follow the body as planned.
—I hooked up the OpenNi and Skeleton decoder to get the x/y data from the hand of the user, but because of the lag or loss of input, it made the experience unpleasant. I also attempted to use the depth from the Orbecc sensor in the MoLab. This would use the top-down orientation of the depth to create a ‘blob’ to be tracked. Unfortunately, as well, the feedback was buggy and difficult to be managed.
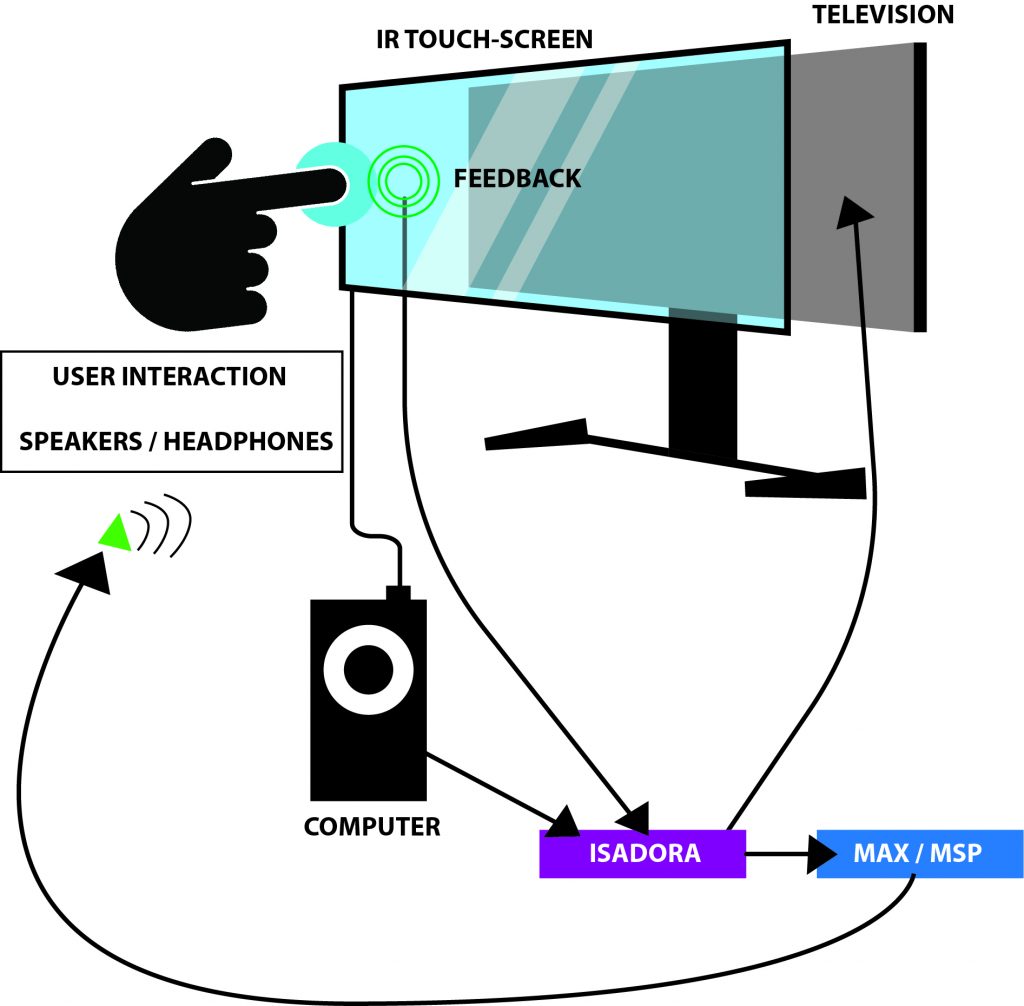
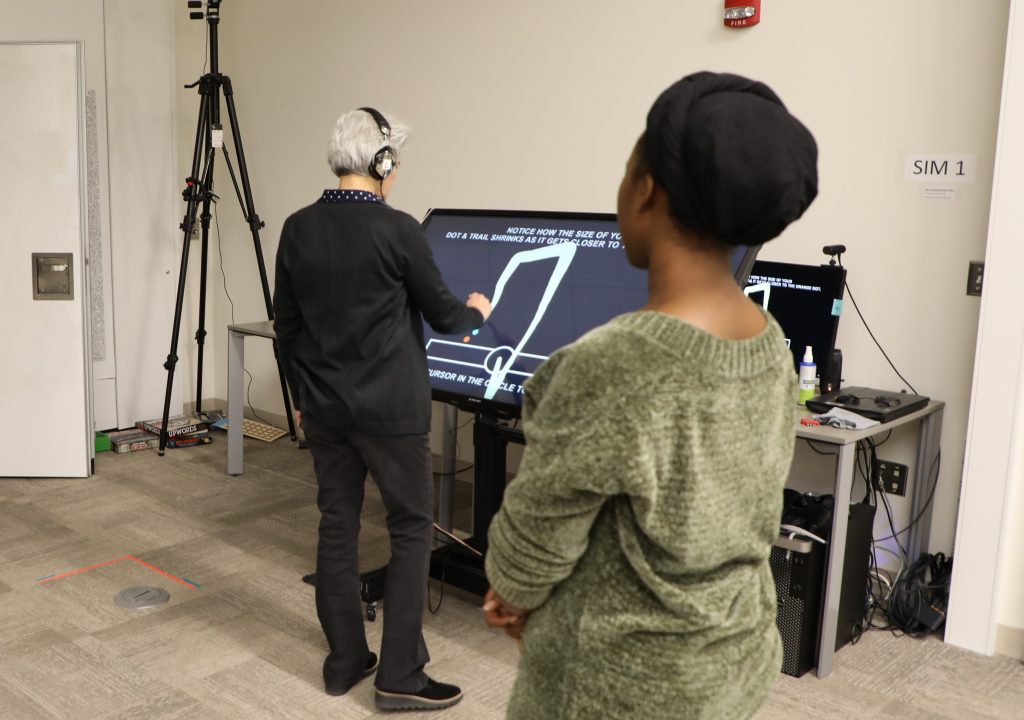
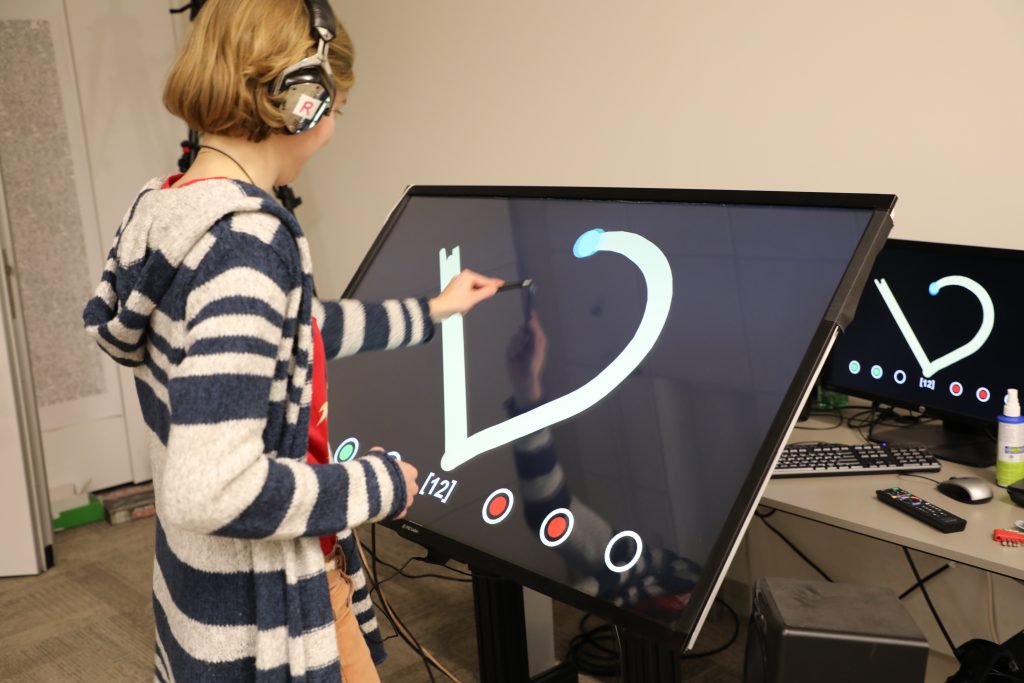
–I ended up going with the IR sensor touch screen placed on top of the monitor as the solution. This allowed a user to use either their hand, a touch-friendly pen, and headphones (simultaneously send to speakers as well) for the experience.
—Below is a visual representation of the layout, including photos from the final day of people playing the game:
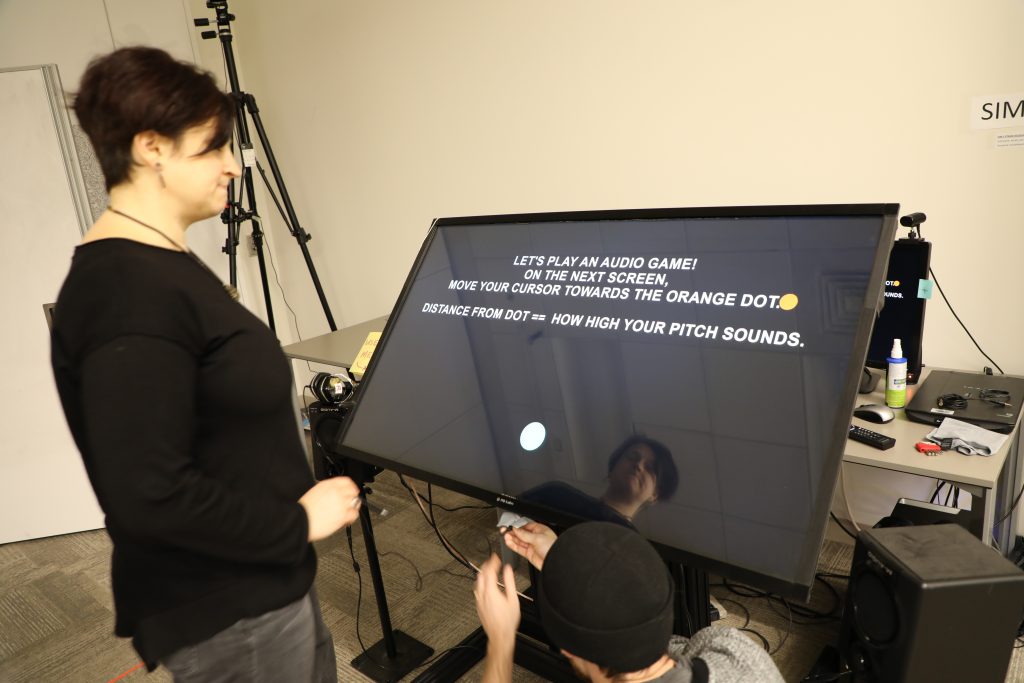
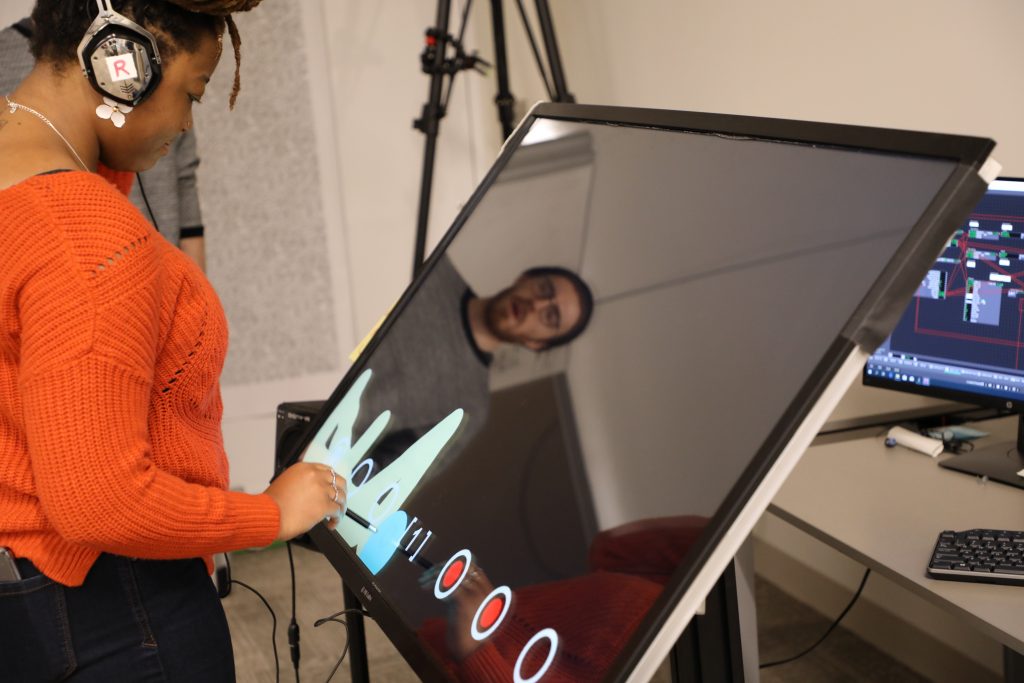
—Below is an example of the actual game being played. It goes through the Easy / Medium modes. If you happen to win the experience, you get a nice treat of music and visuals at the end! Note: the losing screen is not shown, though if you can imagine: No music, and no visuals. Just a plain, “You Lose!” screen with the same options as the ‘Win’ screen.
—I decided to move forward with the project in a way that made it as easy for the user to get used to using a touch screen. This prevented the player from scribbling all over the screen with a mouse to try to find the dot, and added a level of difficulty that didn’t let the participant “cheat” to win.
I also ended up throwing in the different difficulties for the experience.
>>Easy Mode<<
—The user gets a visual trail to track where they’ve been; this includes shrinking the trail as the user gets closer to the target. The user’s cursor shrinks as it gets closer. The audio will also aid in their efforts.
>>Medium Mode<<
—The user’s cursor shrinks as it gets closer. The audio will also aid in their efforts.
>>Hard Mode<<
—Only the audio will aid in their efforts. (Using headphones is the best way for this experience)
The actors used within the Isadora project include:
- Keyboard Watcher
- Mouse Watcher
- Stage Mouse Watcher
- Trigger Delay
- Pulse Generator
- Text Draw
- Shape
- Sound Player
- Video Player
- Jump++
- Enter Scene Trigger
- Enter Scene Value
- Gate
- Dual Trigger Watcher
- Calculator
- Math
- Route
- Counter
- Envelope Generator
- OSC multi-transmit
- Projector
- Multi-mix
- Ease In-Out (2D)
- Inside Range
- Envelope Generator
- Limit-Scale Value
- Shapes
The objects used within the Max / Msp patch include:
- udprecieve
- message boxes
- unpack
- scale
- gate
- toggle
- cycle~
- ezdac~
Outcome:
—I think that my game was well received. Everything about the experience taught me more about working within the limitations of Isadora. I would go back and change a few things about the interaction — like some idle music during the sections where the user needs to read. Or, I might narrate those pages altogether to ‘make’ the user listen, rather than expect them to read the text to it’s full extent. I would also want to add some videos as the explanation screens; and having them ‘catch’ a few of the dots before moving forward seems like it would benefit the experience–rather than throwing them into the experience too quickly. All in all, I see myself using the program more in tandem with Max/MSP, and perhaps Touch Designer, for future projects that could be installations!
-Taylor Olsen
Documentation Box Folder Link
Posted: December 10, 2019 Filed under: Uncategorized Leave a comment »You may access the video’s I took during the final, some docs that Oded has collected over the semester or upload any images you wish to share with the group here
https://osu.box.com/s/nzgzphid06c6htflrr980olnjkmw5dz1
Cycle 2: Choose your own Adventure
Posted: December 1, 2019 Filed under: Emily Craver, Uncategorized Leave a comment »Cycle 2 of my Mission to Mars developed multiple endings and the switchover to a slightly new narrative. Upon discovering that Mission to Mars is actually a Disney Theme park ride-turned film, funny enough, I decided to switch the story. There is now a three person mission that has gone astray and it is up to the volunteers from the audience to find them. Are they rogue? Are they lost? Are they being sabotaged?
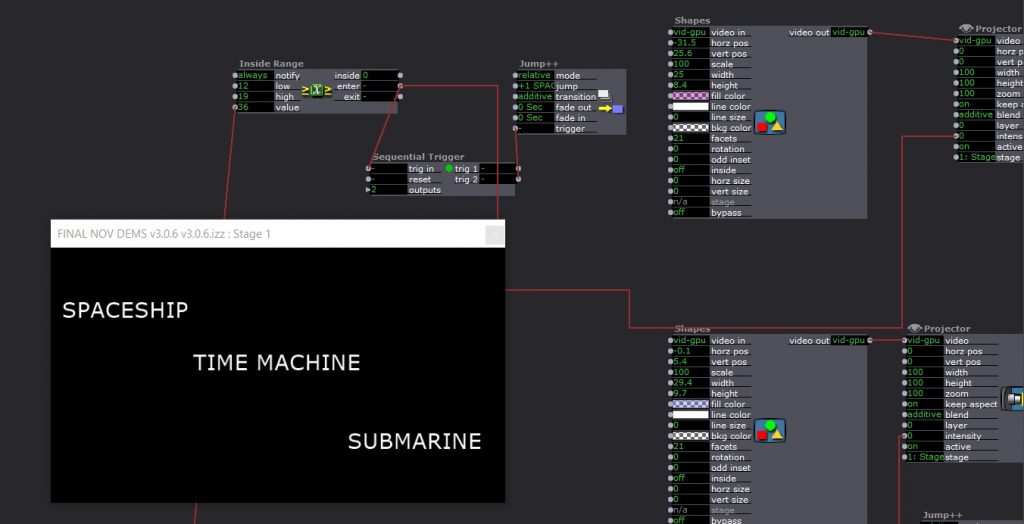
This particular crew chose TIME MACHINE which sent them into journey to who knows what time, accompanied by this GLSL shader and Cyndi Lauper’s sweet voice.
RUN-DOWN of the piece for the PERFORMERS:
LAYOUT of CYCLE 2 CHOREO scenePRESHOW set in three corners of space in chair pathways television and basket preset scenePREAMBLE music starts//text onscreens EM TARA YILDIZ enter from three corners {5 walks getting excited 2 walks trepidatious 2 walks back track 3 walks into trio Slice Phrase} slice/insert/round head/press down 2, 3 3 rotations charging up/dev/kick thru pas de chat/swoop down/walk out legs try to hug/double slap/fail drone faces phrase glob together fancy legs with head going straight frwd, down Left angle, Up above Then look out to audience above heads Realize something wrong//we share something together//a secret} go to Basket and pull three strings to bring basket to center we lay down the strings and walk away from whence we came sceneSTARYAY audience volunteers and cheers sceneFIRST SCENE V.O. Intro sceneTITLES assigned names for players//descriptions out in the space sceneWHICH PATH audience decides how to go sceneSPACESHIP or TIME MACHINE or SUBMARINE text scroll and transition to decide which noise to pick who will volunteers sceneSOUND WATCHER audience picks a sound for the microphone to pick which character will interact with the hologram sceneHOLOGRAMZ TaraEmYildiz run into center light facing the volunteer who won: movement phrase: M with our bodies (Yildi in middle, Tara Em make the slants down) pick up the phone lost connection, hang it up with body– up and down up down and around FACE THE PERSON AND NOD dissipate sceneYOU V.O. Find the light in the vehicle to find out who will volunteer sceneVOLUNTEER instructions sceneHYPOTHESIS flashlight decision sceneMARS or IN THE HOLLOW EARTH or AT THE MALL we celebrate and explain our body language from the hologram: YOU DID IT!!! yayyy MARS: We were approaching Mars when we lost contact with our base and the turbulence was up and down until we crash landed HOLLOW EARTH: We were on a Mission to the North Pole when we lost contact with our base and as we flew over the pole we were sucked into the hollow earth AT THE MALL: Meet you at the MALL, I’m so glad you Called, we went Up and Down Up Down and Around.
Next Cycle will include ways to fail, ways to return to previous sections to make a new decision, a MIDI keyboard that will allow for an easier interaction with the system, and potentially more interaction by the live performers.