Circle 1-Yujie
Posted: March 24, 2022 Filed under: Uncategorized Leave a comment »My final project is to collaborate with my dancer Yukina who is working on a restaging project. She is going to restage Japanese contemporary choreographer Saeko Ichinohe’s piece and then create her own piece responding to Ichinohe’s work. I’m working with her to create the mediation for her own choreography.
We center our project around one question that is derived from Yukina’s own lived experience. Why people in the US expect her, a Japanese woman, to perform and embody Japanese cultural elements on stage. I’m inspired by Rachel Lee’s book The Exquisite Corpse of Asian American. Lee thinks that certain Asian American artists use fragmented body parts to resist the idea of returning to the whole which represents the so-called cultural essence. The whole is also easily to be categorized into racial stereotypes. The fragmented body parts then can be seen as a challenge.
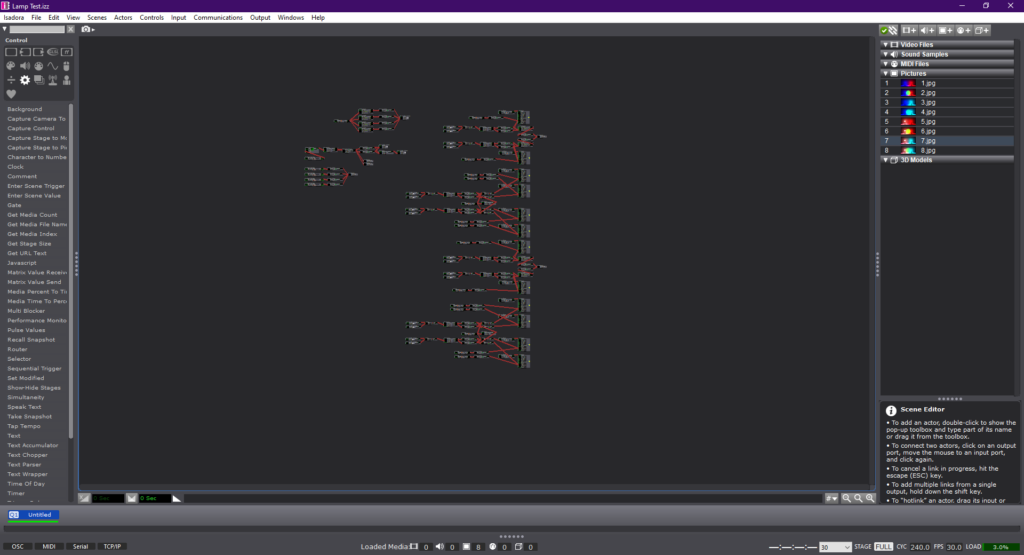
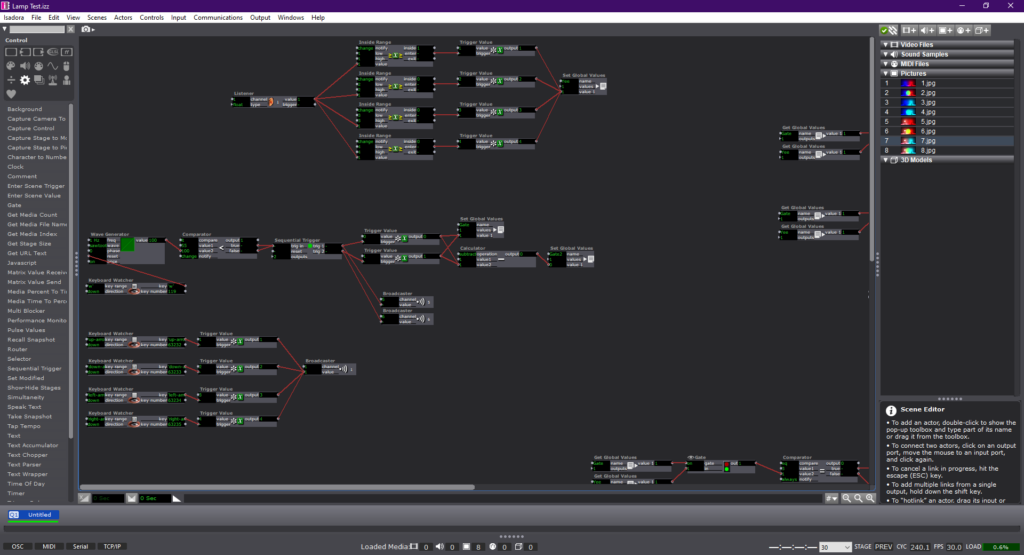
In my circle 1, I use live camera to capture dancer’s body parts and frame it in discrete space on the projection. I also use Isadora to capture the performance in real time and juxtaposition the recording with the real-time performance. Dancers’ body is not just divided in space but also in time. Then, I use video effects to present dancer’s inner state. In the end, I try to put all the fragmented body parts randomly together, but it was not successful in this circle.
Here is one scene in Isadora:

Here is the video documentation of my circle 1:
For my circle 2, I’m thinking of the following development:
- Use two cameras to free my laptop. Work on camera angles to really get close to the dancers’ body
- Develop a version of the surrealist game that invite a more dynamic participation from the audience. I might consider adding the Kinect to include the audience’s motion, so that they are not just gaze into the dancer’s body.
- Consider more possibilities of the projection. I want to try different ways to devise the space with the projection.
Cycle One–Allison Smith
Posted: March 24, 2022 Filed under: Uncategorized Leave a comment »For my first cycle, I chose to practice with motion tracking and what I can do with that. As a dancer, I was excited to play with how the tech could inspire movement both for dancers and for non dancers. My goal was to track the extremities of the user, right and left hands and feet, and use that tracking to paint lines on a projector screen. Noticing how these experimental systems encourage people to play, I was hoping that people would be intrigued to play and then see what the body can create.
Using a Kinect feeding into the skeleton decoder actor, I was able to get numbers for all of the extremities. I plugged the X and Y coordinates into the live drawing actor, and I plugged the velocity of these coordinates into the hue of the drawing. The goal was that faster movement would be a different color than slower movement, cuing the participant to play with different speeds. I also plugged the velocity of these coordinates into a trigger for adding a point of the drawing, so that when the participant isn’t actively moving their arms, it won’t create unwanted drawings.
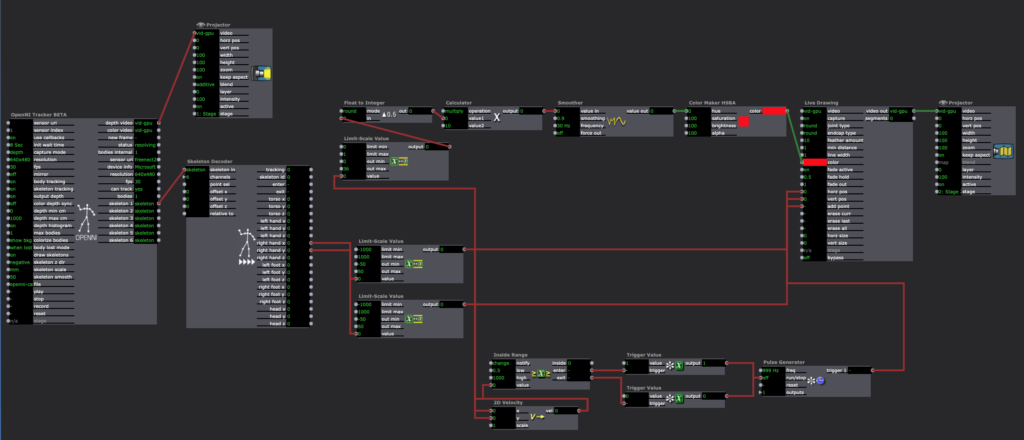
This didn’t go as technically smooth as I would’ve wanted it to. The Kinect was finicky and didn’t track more than one extremity at once. It also was glitchy in its tracking, so the movement of the drawing was rigid rather than smooth. It also took a long time to catch the cactus pose of my first individual, which wasn’t the experience I was hoping for. Finally, as much as I played with the numbers, the color changing didn’t pan out the way I wanted it to. I wanted it to look like paint that was blending into different colors, but instead it looks more like an LED light. I’ve attached a video of my demo here:
I received helpful feedback after the demo. It was brought up how the cactus pose experience was turning off other people from volunteering. People also explained that going up by themselves was intimidating, and it might have been more inviting if they were by themselves or if other people could do it with them. I was encouraged to consider my audience and my setting to motivate how I set up the experience. Do I tell people what to do, or do they figure it out themselves? Would having something on the screen before people approached the screen be more inviting than having a black screen to walk up to?
If I were to work further on this project, I would try to make this experience more inviting. Since I am a dancer, it was helpful to hear feedback on how this is intimidating for someone who doesn’t typically move their body in that manner, and it was helpful to hear how to cater this experience differently. I would also try to make this either fully independent of my instruction so people could engage with it in an installation, or fully capable of tracking dance that could be used during a performance. I am not sure if I want to continue to work on this project in the next cycle or the third cycle, but I will keep this feedback in mind for any of my future work.
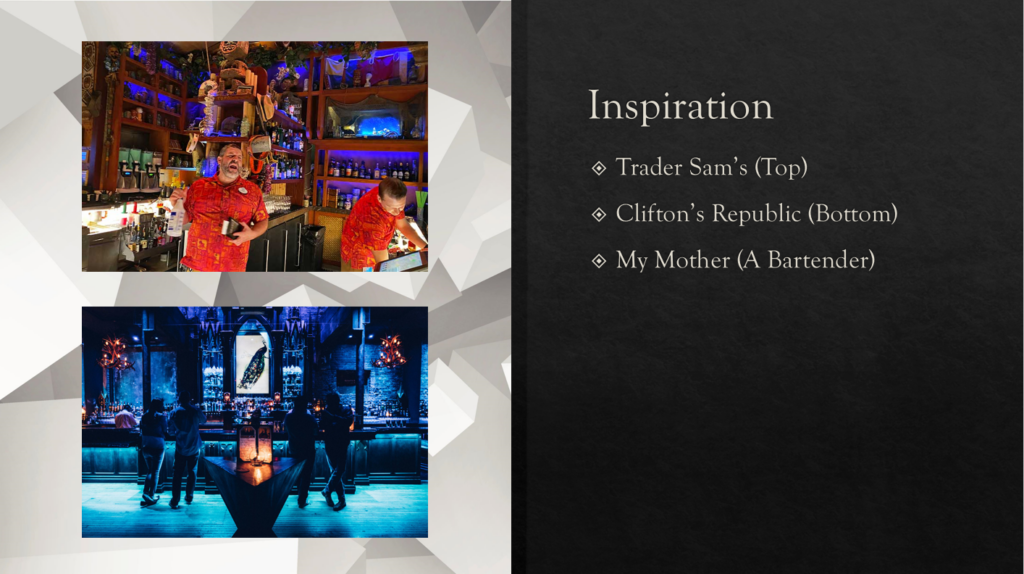
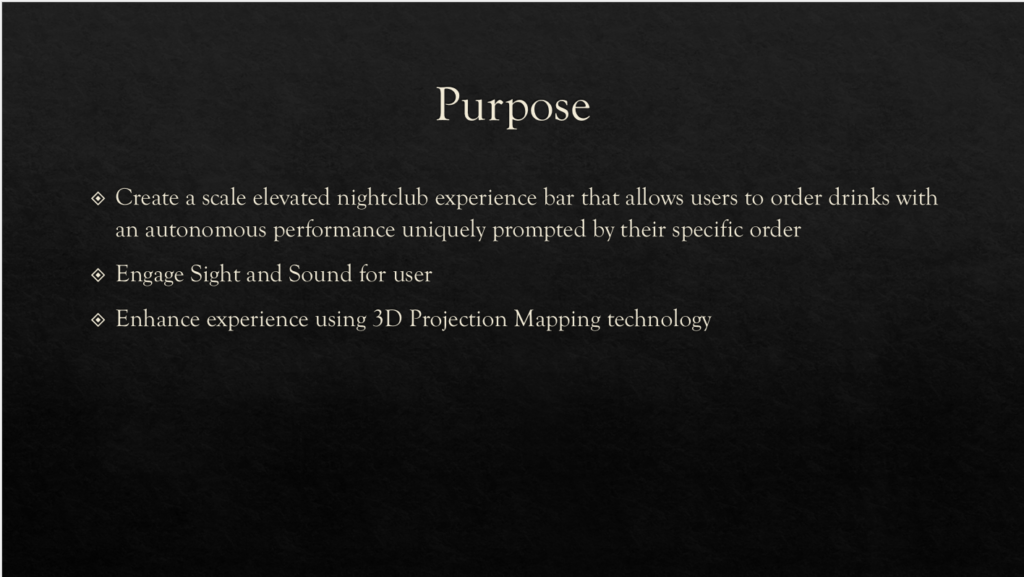
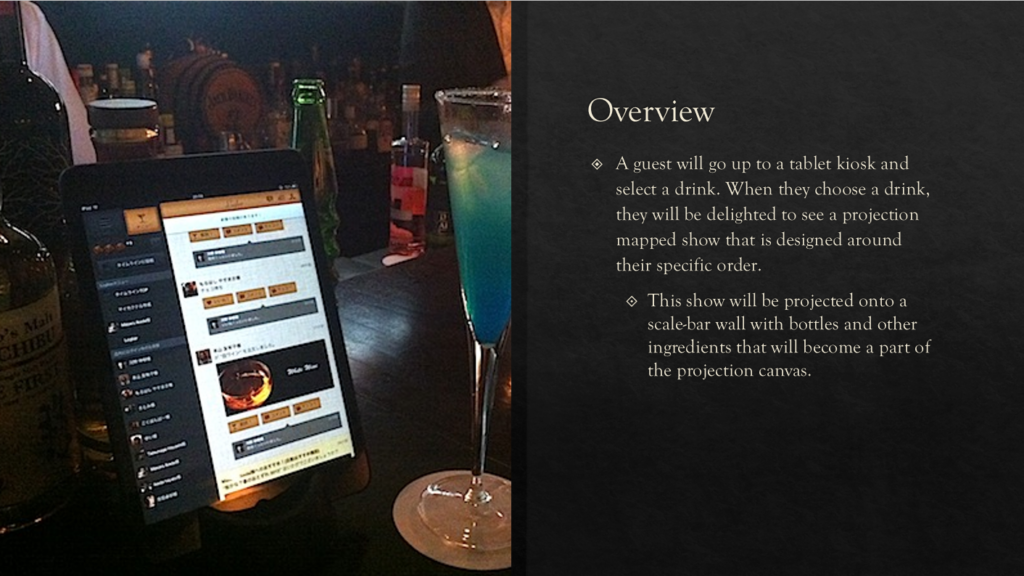
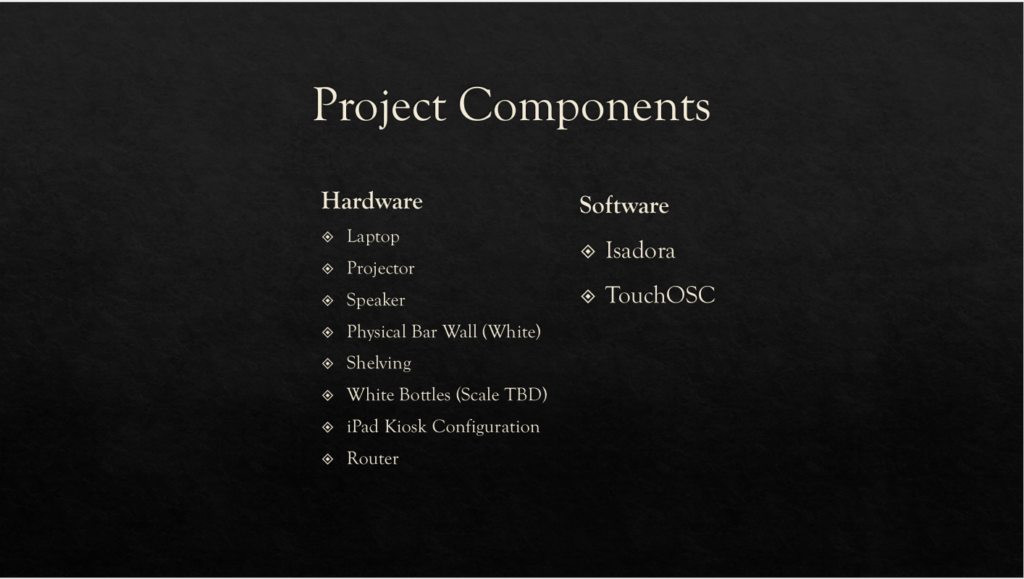
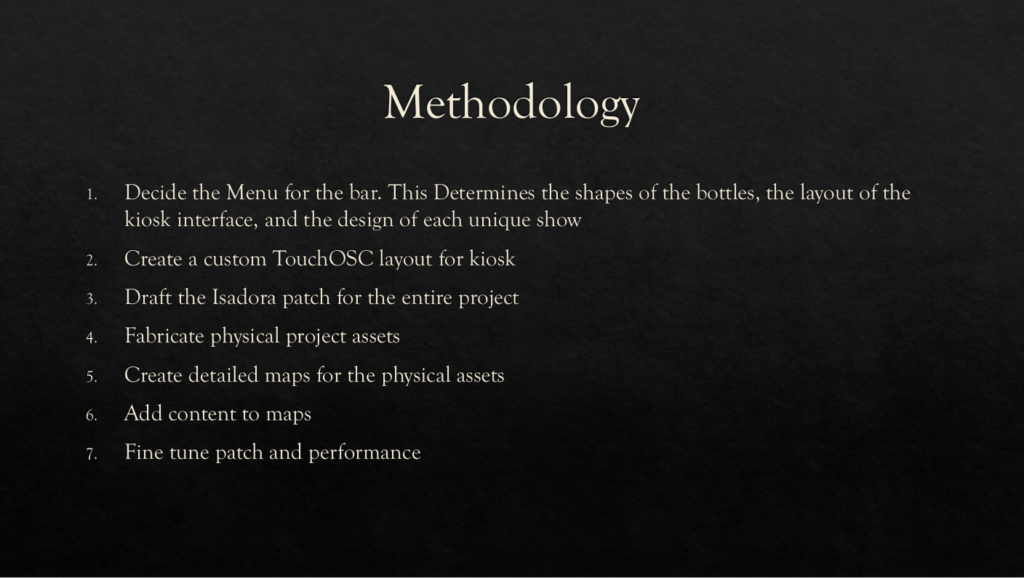
Cycle 1 – Bar Mapped – Alec Reynolds
Posted: March 24, 2022 Filed under: Uncategorized Leave a comment »

Cycle 1 Project Demo, Gabe Carpenter, 3/23/2022
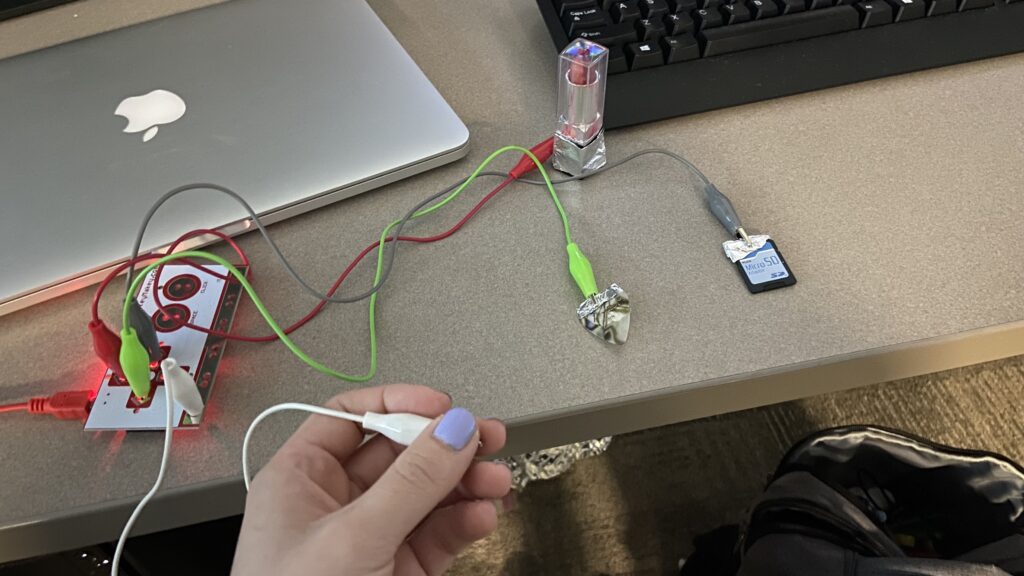
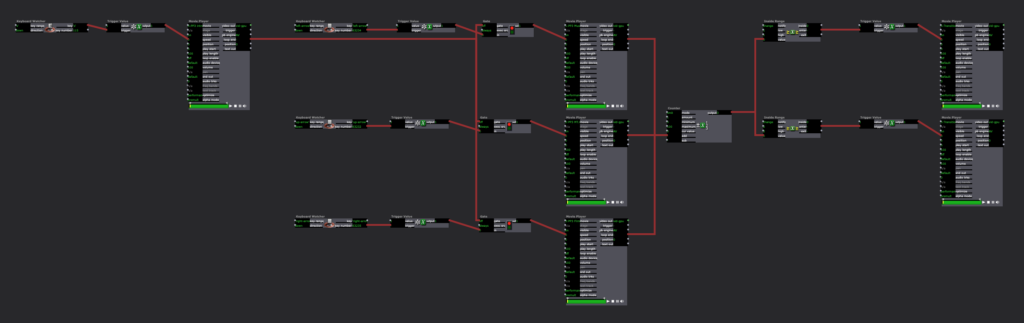
Posted: March 23, 2022 Filed under: Uncategorized Leave a comment »This project is based on a game that allows the player to change the environment in order to gather information and come to a final decision. This demo will allow me to demonstrate the viability of using physical switches to cause changes to a digital environment. The first step to any project involving Isadora is the code, below are images from the completed patch, however, the patch has some issues. The main issue is that the third switch that I originally intended to use as a third option emits a constant signal, which Isadora does not like, so I removed the option for this demo.
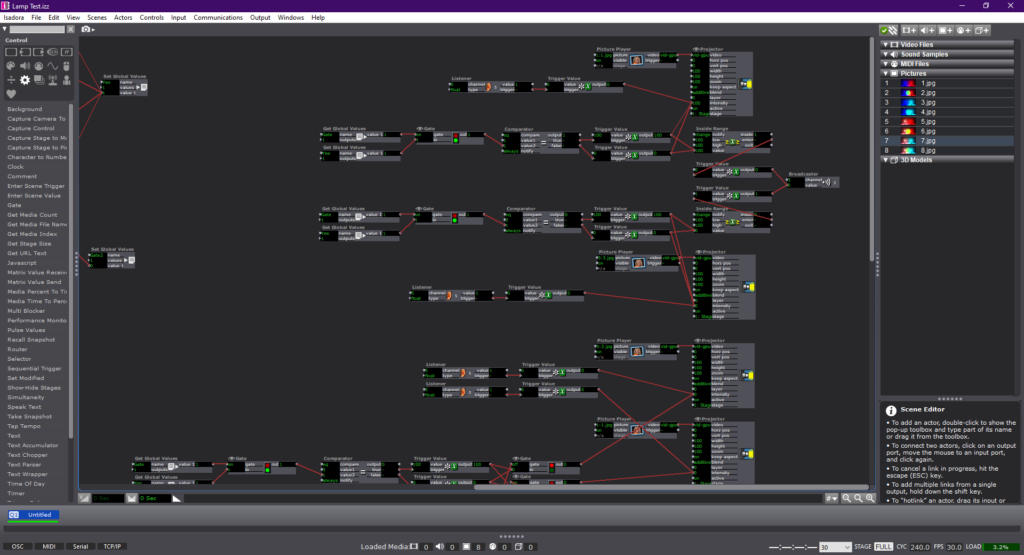
The next two videos are examples of me using the switches to change the environment, first just using the keyboard and then incorporating the physical switches with the help of a Makey-Makey.
Below is a link to a copy of the Isadora patch used in the demo.
Pressure Project #
Posted: March 7, 2022 Filed under: Uncategorized 1 Comment »When I first heard audio project my brain started going in every direction of what to do. I could make a podcast, I could write music score, make a pop song, there were so many possibility. The only problem was telling a story that would make someone laugh. I’m not used to telling that kind of story in a song. I started to write the song but it just wasn’t coming off with the right vibe I wanted to give.
Later that day I was hanging out with my roommate in the balcony watching the neighbor take out their dog and not picking up after their dogs and we were commentating this entire situation from our open balcony (as in if they walked over to our direction 10 feet they could probably hear what we are saying. We were just being stupid, saying things that didn’t make sense like pocket poop that you would throw at people you didn’t like.
Then it struck me.
I didn’t know what to do with the topic of cultural heritage because I don’t have a “cultural heritage” other than my friends that I am closely connected to. After immigrating from Korea, I had to build my new home, a new culture and custom for myself. And I found that home in my friends that I grew up with.
So I started to dig through my collections of recordings I have on my phone to get some inspiration. Found some clips of recordings I got from different times. I wanted to make a sonic dialog that had a message if you dig through but on the surface it just seems like music happening with words. So I started sampling some beats I’ve made, and put the recordings on top of it and create a flow to the dialog that I wanted. Polished the recordings with EQ and other effects that made it sound hazy. Automation for progress of development of the effects.
Overall, I really enjoyed the creation process of the project and I had fun making art (which I have’t felt in a while so it felt good to make something and feel good about it).
Enjoy the recording 🙂
Pressure Project 3 – Marvel – Alec Reynolds
Posted: March 4, 2022 Filed under: Uncategorized Leave a comment »For the final pressure project, I enlisted the use of a franchise that has had a significant impact on my life. Marvel Studios has created a Global Phenomena that has not been matched before. The complexity of story telling and world building that the Marvel films achieve is nothing short of incredible.
The prompt for the third pressure project encouraged students to create a auditory narrative that discussed a piece of cultural importance in our lives. From this, I was able to attribute the influence that the films have had on me as a person. With the release of Iron Man in 2008, I fell in love with the character and the complexity of his suits. I would go so far to say that the character heavily motivated my passions for STEM and especially engineering.
Further, the Marvel films do an impressive job at tackling real world issues through the lens of a supernatural world. By giving characters that are literally God’s, flaws and grounded issues, generates a deeper sense of connection and reflection.
For my pressure project I wanted to create an auditory experience that created a sense of excitement and inspiration for the viewer. I begin the audio with a narration of how I view Marvel in the context of my culture. I have shared so many intimate moments with friends, family and strangers over the existence of these films. The next segment in the audio is a narrative story about the growth of the marvel cinematic universe up to the finale of the Infinity Saga, Endgame. The sounds in this story are designed to evoke excitement, inspiration and appreciation for the dynamic capacity of the films.
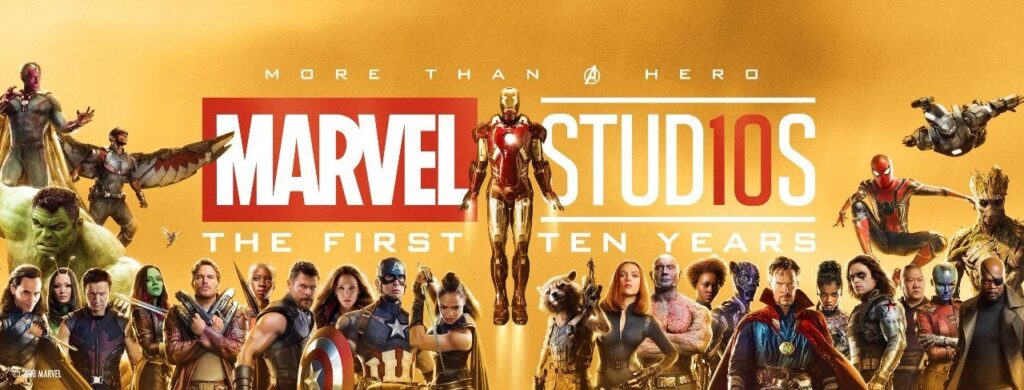
I chose to focus the visual aspect of the experience around the Marvel 10 Years promo, since this was an important time in the MCU where I really reflected on how big of a role these movies had on me. I think back to all the times that I was obsessing over these films at a very young age, and to see the passion stick with me all these years is so fascinating. The medium which I shared the image is through a 3D printed picture called a lithophane. These are 3D pictures that you can feel due to the contoured depth that they are printed with. I accessorized the experience with RGB LEDs to highlight specific moods in the audio.
If I had more time with this project I would love to print the banner in a much larger format and then create a lighting system that illuminates each character when they have a sound bite introduced in the audio. I also would have created an audio track that was 120 sec versus 180 sec.
Pressure Project 3 – The Story of Mulan – Min Liu
Posted: March 3, 2022 Filed under: Uncategorized Leave a comment »In this project, I retold the story of Mulan, a woman hero in Chinese history who disguised herself as a man and fought on the battlefield instead of his father. As a Chinese, I found it hard to tell a cultural story in English. The language itself affords meanings and I am not a good translator. That’s the main reason why I chose the story of Mulan. I knew there were several versions of movie about this story and two of them are in English, which could be good resources for me. I chose the Disney version. I reorganized the story to different parts (start, development, climax, end) based on the poem, the ballad of Mulan, an old poem that almost everyone can recite in China. Then I found audio resources (background sound, music, dialogues) for each part and tried to make the music transform smoothly between each session. As a totally new hand in compiling audio and video files, it’s not easy. Alex asked about the choice of the Disney version. I admitted that some of the scenarios and dialogues in the movie was funny and awkward. Actually, the short poem is more vivid and inspiring, and that’s why I added the poem in the video. I am learning to be a good storyteller of my culture. I am also happy that this project gave me an opportunity to learn about Au and Pr. I will incorporate audios in the following projects because sound is so powerful. Here is the final work:
Pressure Project 3–Allison Smith
Posted: March 3, 2022 Filed under: Uncategorized | Tags: Pressure Project 3 Leave a comment »For our third pressure project, we were asked to share a story of importance to us and relevant to our cultural heritage, and to share this story primarily through audio. Additional goals were to tell someone a new story, to make someone laugh, and to make the experience interactive. Alex gave us the freedom to define cultural heritage for ourselves; we all grow up in a specific culture…whatever that may mean to us. I decided to focus on my family’s culture growing up, because I believe that is something that particularly shaped me into the way I am today. I also chose to look up the definition of heritage, as I find definitions very helpful to me. Here’s one definition that stood out to me:
Something transmitted by or acquired by a predecessor
I brainstormed passions that I have that were heavily influenced by my family environment, and the biggest one that stood out to me was art. In my family, there were also several mediums used to engage in art, and I wanted to give the participants that variety in my story telling, so I chose three art mediums that I felt were influenced by my family’s interests. Within that, I discerned what we were specifically passionate about within each medium. As you can see in my notes, I chose Musical theatre because of its immersion in a new world, movies because of the creative processes of facilitating deeper meanings, and music because of how its dynamics could be played with for expression.
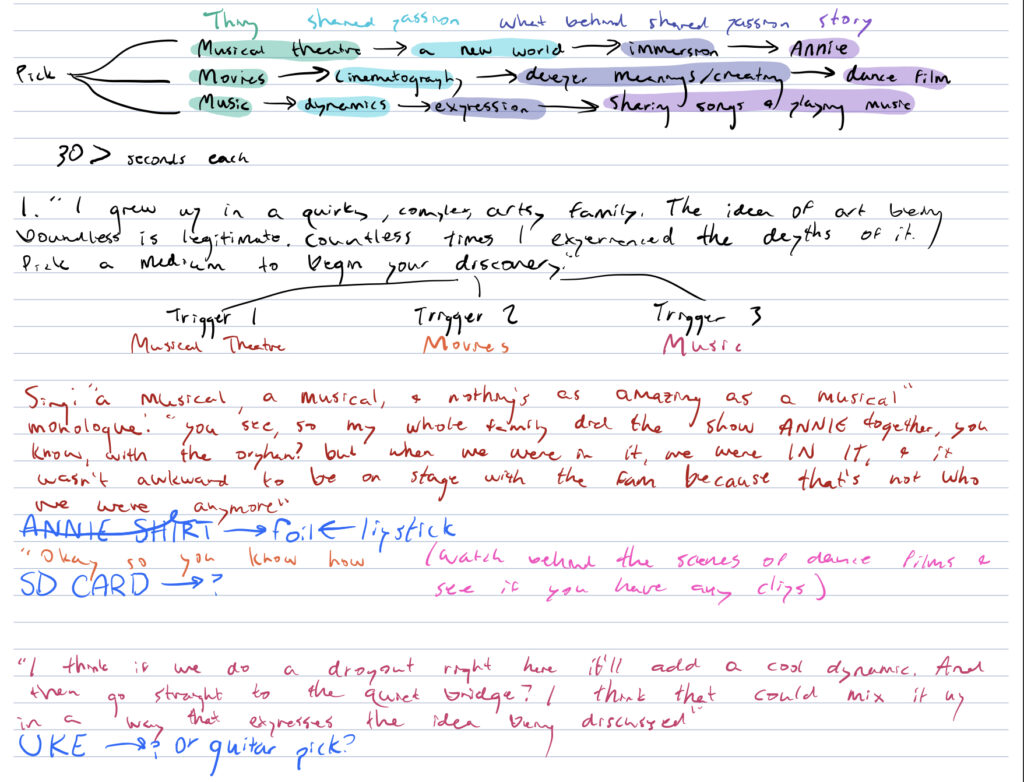
One of the overall threads I have seen in art is its deeper meaning and space for interpretation. So, in my different approaches of sharing my stories, I didn’t want to clearly communicate the specific passions of each art medium. I chose to imply what I appreciated through the way it was communicated. These are the sound samples I used for each short story:
Then, I added an intro and transition. Focused on the theme of art, I made the intro a bit more poetic sounding, and the transition was focused on discovery:
Finally, I wanted to make this interactive. In order to explore each medium, I provided a small object that represented it for me, and used those as triggers by connecting them through the MakeyMakey. I used a guitar pick for music, and SD card for film, and lipstick for musical theatre. My peers explained that having this textural connection to the audio helped them connect more to the audio and immersed them more in each of the stories.
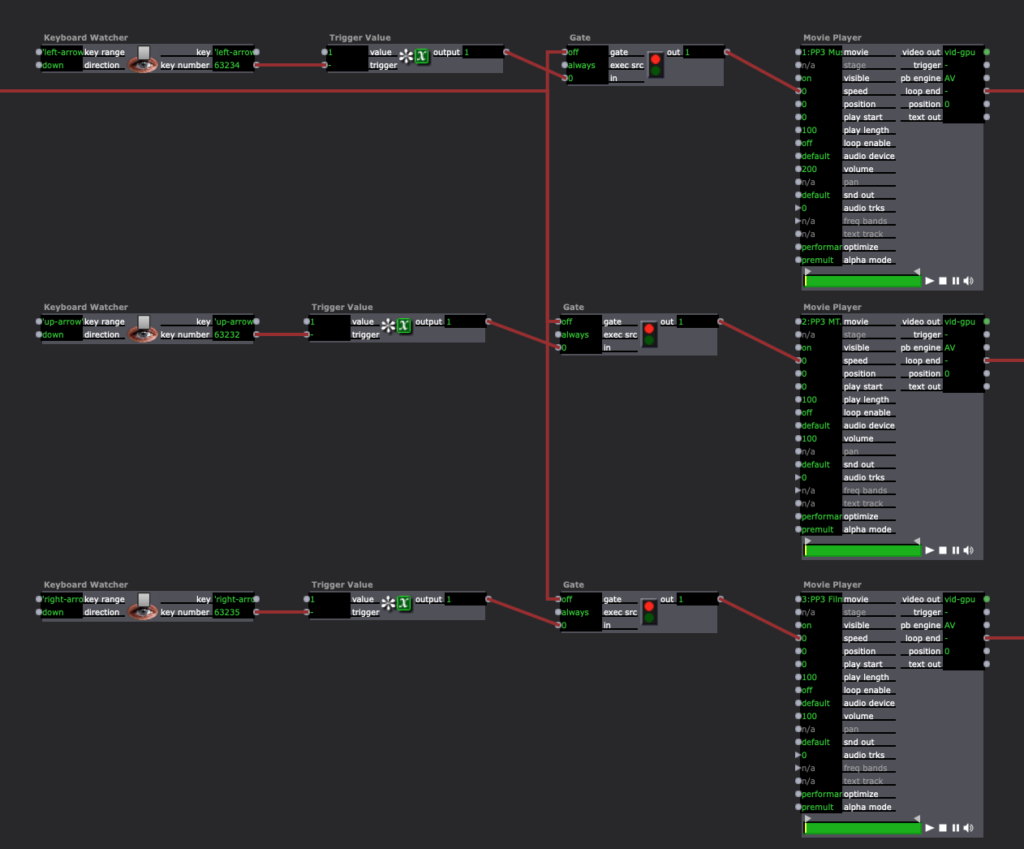
In Isadora, I had the intro play with my cue, then opening the gate to let people play around with the different objects. Using the keyboard watcher, each object triggered the sound, and then when the loop ended, it went into the counter. When the counter was between 1 and 2, it triggered the transition audio, and then after all of the audios had been listening, putting a 3 into the counter, there was no longer a transition audio cued.
I originally wasn’t very excited about this pressure project, as I prefer to have more longevity in my projects, and this one was meant to be shorter, and I also am not a huge fan of more light-hearted, comedic projects. That being said, I was pleasantly surprised by the enjoyment I got from creating this and seeing it play out with my peers. I’ve attached a video of the full experience.
Pressure Project 3 – Ashley
Posted: March 3, 2022 Filed under: Uncategorized Leave a comment »My pressure project 3 uses the Makey Makey to create an interactive auditory experience from one of my favorite novels. Our task was to share a story that was important to us and culturally relevant, so I decided to include an excerpt from author Akwaeke Emezi’s “Freshwater”. Emezi is a queer, Nigerian and Tamil writer whose practice is rooted deeply in the footing of Black radical feminism and Igbo folklore.
This novel is an inspiration and was foundational to my research and art practice when I first entered graduate school. For a little bit of background, the book is what Emezi describes as “autobiographical fiction” in which they pull from parts of their own experience and mix it with fiction to create these fantastic moments of storytelling and truth.
For the interactive element, I knew that I wanted to include my copy of the book because it’s so important to me. I returned to using the conductive paint, where I made my own fingerprints as triggers on the pages to activate the sound. The sound is an excerpt of the book, read by Emezi themself. I also wanted to be intentional about where I placed the fingerprint marks, so that they would resemble to act of holding the book as you would naturally.
My Isadora setup was fairly simple. I made a patch that connected the sound player to a keyboard watcher that would trigger it to play. I also had background music that would play when you entered the scene.

Here is documentation of the interaction:
Pressure Project 3 – Yujie
Posted: March 3, 2022 Filed under: Uncategorized Leave a comment »The pressure project 3 asks us to use audio to tell a story that is related to our cultural origin. This is a broad prompt. I’m a Chinese who live in the United States and I feel cultural differences in the daily bases. But when it comes to tell a significant story, I still feel like no way to start. So, I just spent a few days for brainstorming. Even though I didn’t do anything in the first few days, I became very sensitive to culture related elements. I was preparing my presentation for one of my research papers that studies a Chinese queer dancer. So, it just came to me that I can just tell a story based on my research. One of the dancer’s pieces has historical and contemporary references to a Chinese female legend, Yu Ji. Her story has been told in numerous cultural works of literature, film, opera, and performance. She would be a perfect example for telling the changing gender and sexual ideals and norms in Chinese history.
I decided to use visual clips along with the audio because I try combine four diverse sources from distinct historical period. The videos will help the audiences grasp a rather complicated story. I downloaded videos and sounds from the internet and record my own written script that tells a combined story.
Here is the screen shots of my voice-recording:
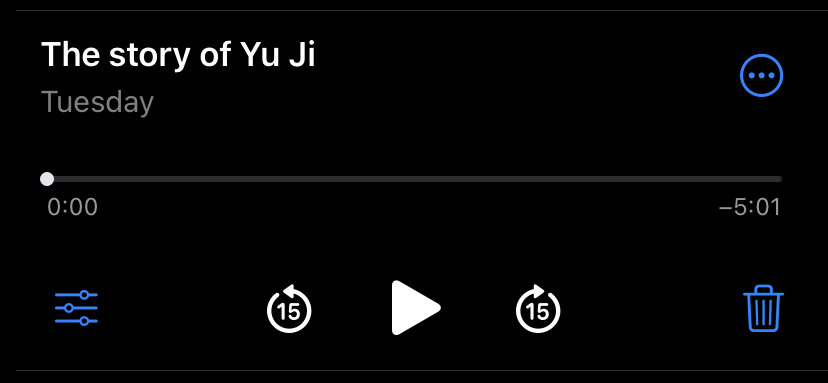
Here is the final video-audio project: