Aaron Cochran – PP1 2019
Posted: September 13, 2019 Filed under: Uncategorized Leave a comment »Initial Goals
For Pressure Project 1, my initial first priority was to meet the objectives in a timely, efficient manner. The objectives for our assignment were:
- Make someone laugh
- Keep the audience surprised for 10 seconds.
- Keep the audience surprised for 30 seconds.
- Make the program listen for and respond to numbers 1-5.
Planning
Starting with the first objective–make someone laugh–I saw this project as an opportunity to work on something from my list of side projects: learn how to efficiently create animations in a style similar to the sequences in the British film comedy series, Monty Python’s Flying Circus.
My first half hour I spent planning and dreaming. I initially wanted to have three sets of assets: images, animations, and sounds. These three sets would be shuffled and randomly paired together each cycle, creating a cacophony of random, ridiculous sequences.
The time constraint made me contentious that I might not be able to flesh out all the layers of what I wanted to do. So I broke my goals down into three levels:
- A single animation with user interaction.
- One sequence with multiple animations triggered by listening for the numerical values from the network.
- A full mixture of multiple animations that worked with multiple sets of images and could be randomized to different positions around the screen to generate animations that I had little to no control over.
My planning steps were:
- Research (watch Monty Python 🙂 and take notes)
- Gather imagery (make PNG files)
- Design animations
- Randomize animations
- Trigger with numbers 1-5
- User-designed animations using sliders.
Research
My next half hour was dedicated to research. I watched a few Monty Python animations and my eye was caught by still images where body parts were cut out of pictures and collaged to give the impression of a mouth moving, an arm waving, clothes being removed, etc.
Gather Imagery
I then decided to make a prototype of my first animation using Photoshop. I showed one of my friends the sequence I was planning on emulating and they reminded me to be conscious of my audience if I want a laugh. So after looking through some Ohio State imagery, I settled on the bust of William Oxley Thompson as my subject for my first animation.
Design Animations
I entered Photoshop and had to play around with a few different methods to make Oxley’s bust’s mouth open. I initially tried to repeat the top line of pixels defining his lip, but it turned out that those pixels were not all true black. Eventually I settled on 3 images: a black background (the inside of the mouth), the main image (a PNG with an empty hole over the mouth), and a cutout PNG of Oxley’s mouth and chin.
I then built a prototype in Photoshop where I could move the mouth up and down and showed it to a peer that was in ACCAD. They laughed instantly. SUCCESS! Objective 1, CHECK!
Roadblocks
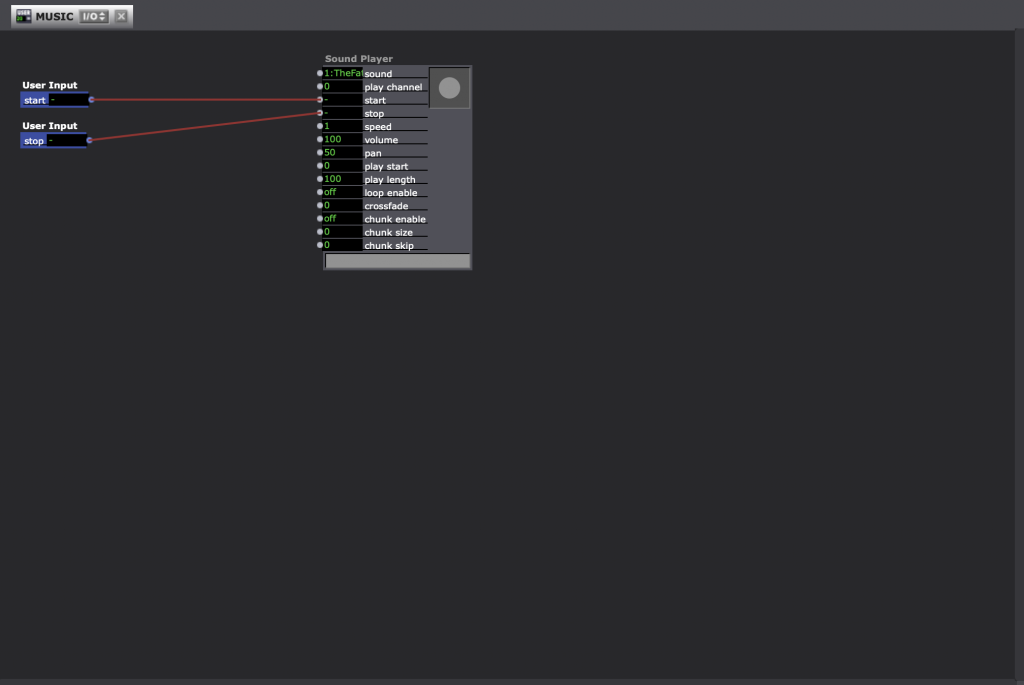
I had my Photoshop prototype completed and my assets were ready to move to Isadora. I am using the computers in ACCAD for my work for this course this semester. Unfortunately our license was down and I lost a half hour of time. Additionally, I couldn’t just stop my stopwatch on the project because I had allotted my time to butt up directly against the beginning of classtime. Fortunately, we were able to get the licenses up and running again with a little over a half hour to spare. I quickly aligned my images, turned on the transparency blend setting for my PNGs, and tried to hook up Oxley’s mouth to respond to an audio sequence of Buckeye Battle Cry on a circus-y sounding MIDI file. Unfortunately (last unfortunate occurrence) no one in the class knew how to make the system react to music played internally. (This turned out be be an issue with other classmates as well.)
Conclusion
My final sequence reacted to mouse input to move Oxley’s mouth. While not ideal, it brought instant laughs to everyone in the class and I think the operator messed with the mouth for at least five seconds.
I enjoyed the experience of having a time constraint as it allowed me to prioritize my life outside of class while still providing successful work in-class. I look forward to fleshing out this fun generator in the future once I find the tools to operate the mouth and can implement my other prototypes such as “Hand entering from right to tickle Oxley’s chin” and “Drum major hat dropping from above with musical accompaniment.”
PP1 Documentation
Posted: September 13, 2019 Filed under: Uncategorized Leave a comment »This project I found to be very fun because the time constraint took off the feelings of needing to have a well thought out idea. At least for me, I allowed my ideas to come as I developed more of my project.
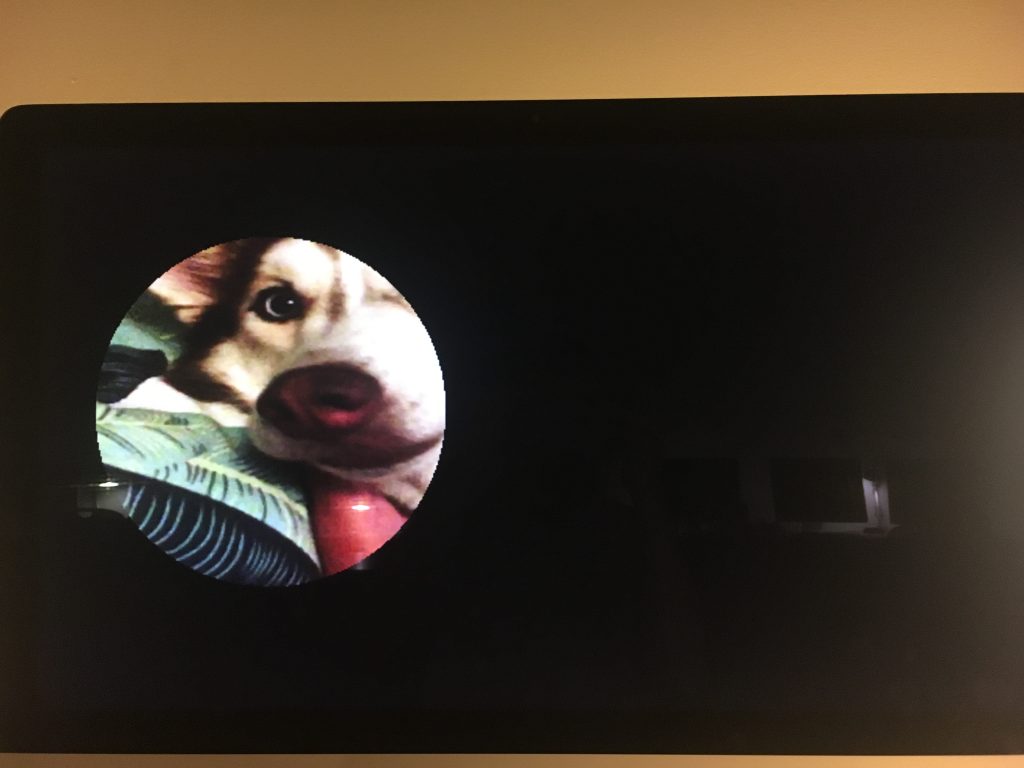
As for my project, I wanted to focus on practicing using the alpha mask actor, especially in creating a spotlight effect overtop an image. For this I connected the image of my roommate’s dog as the “foreground” and a circle shape to the “mask” and then used the envelop generator ++ actor to move the vertical and horizontal positions of the masked circle. This self-generated movement and restricted sight of the image created the spotlight effect.

I also wanted to practice using the colorizer actor because in the past I’ve struggled understand that to manipulate colors, you must have an input that takes numbers. I connected the a wave generator to a colorizer which then affect the color of my background image. The fast changing colors made it look like a dance rave, especially because I also had fun dance music playing in this scene.
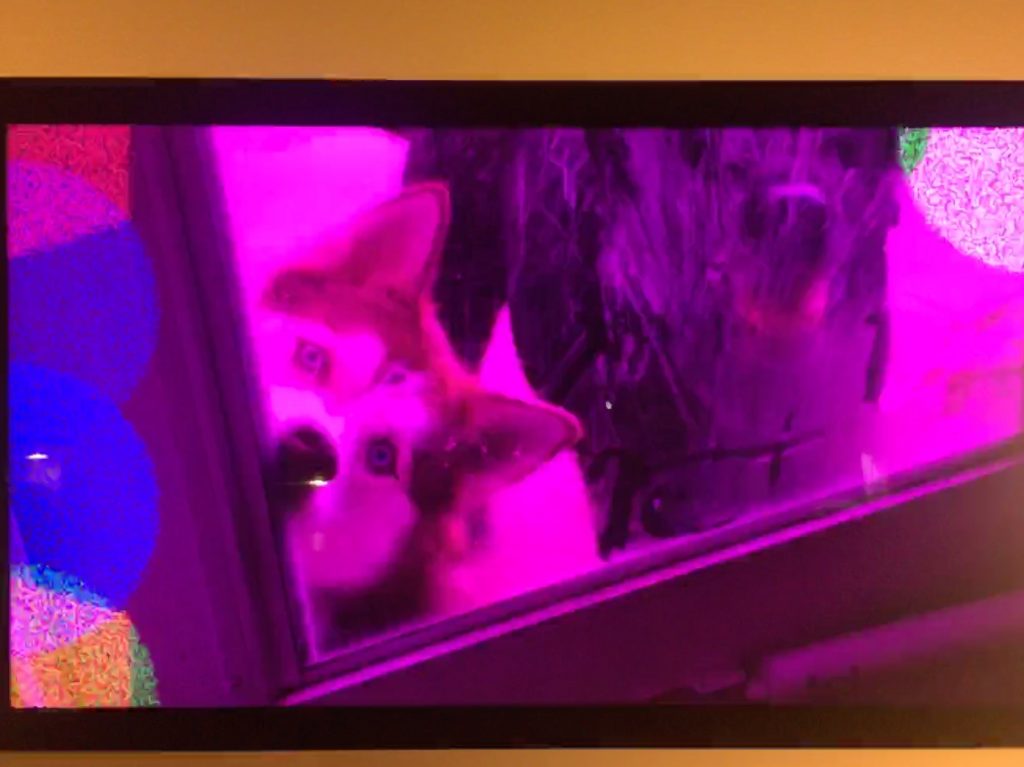
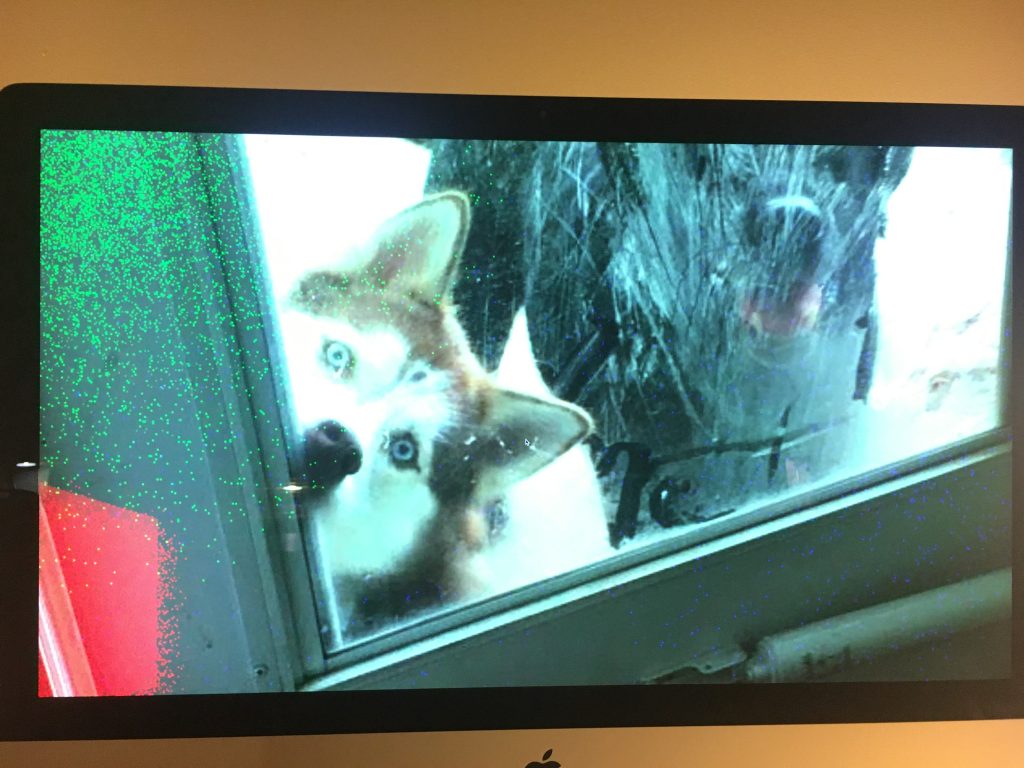
You can also notice the colored shapes and ‘explosions’. I discovered the Color Maker RGBA actor which also allows you to take number inputs and create a color from those numbers. I didn’t need to use this actor in the end because you can set color on the shapes actor, but I still enjoyed discovering what potentials that actor could create.
Pressure Project 1
Posted: September 12, 2019 Filed under: Uncategorized Leave a comment »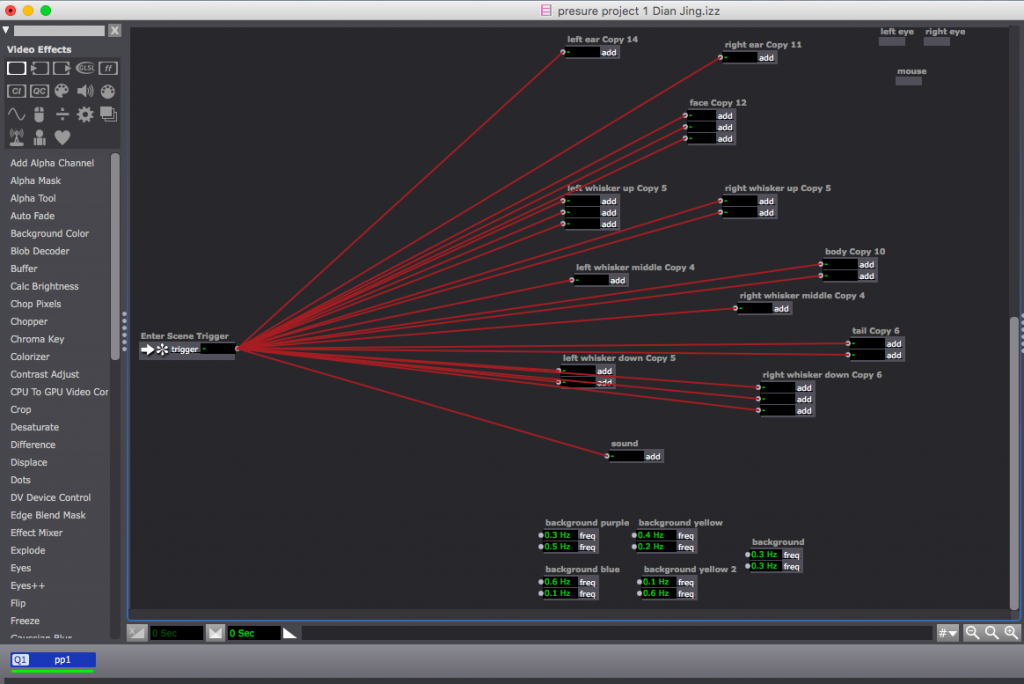
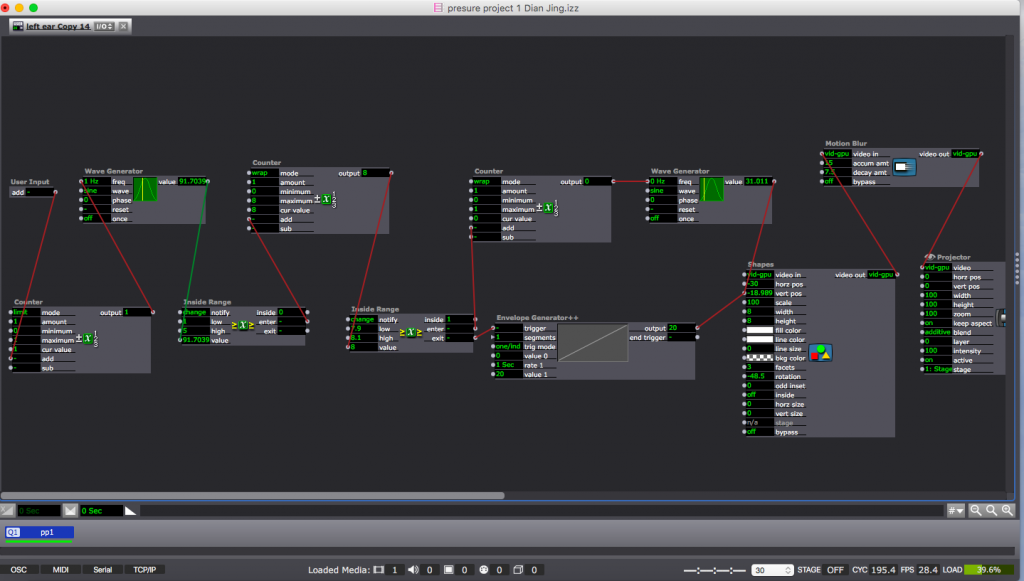
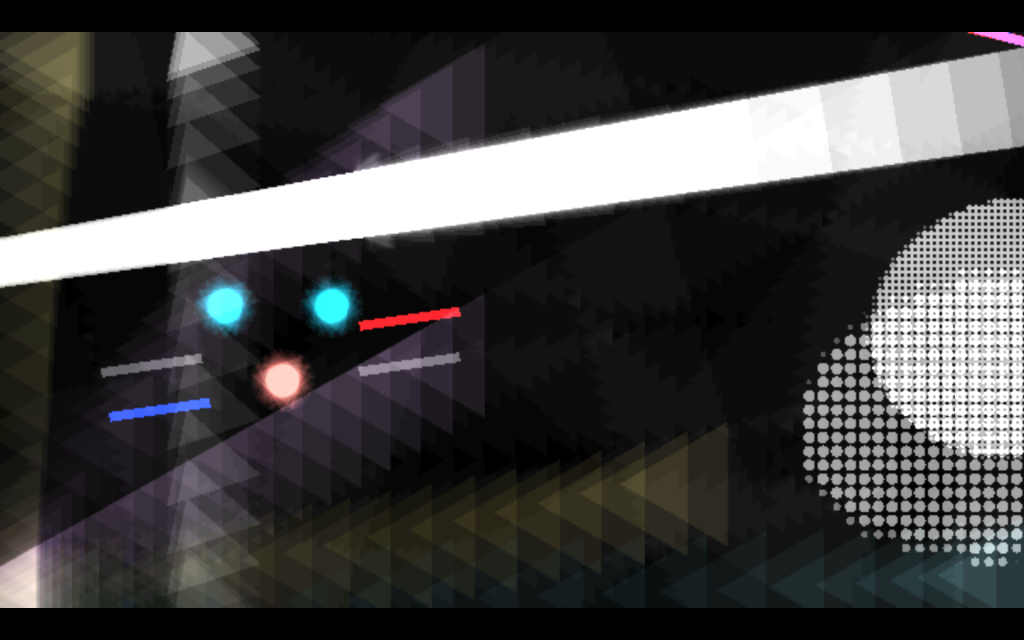
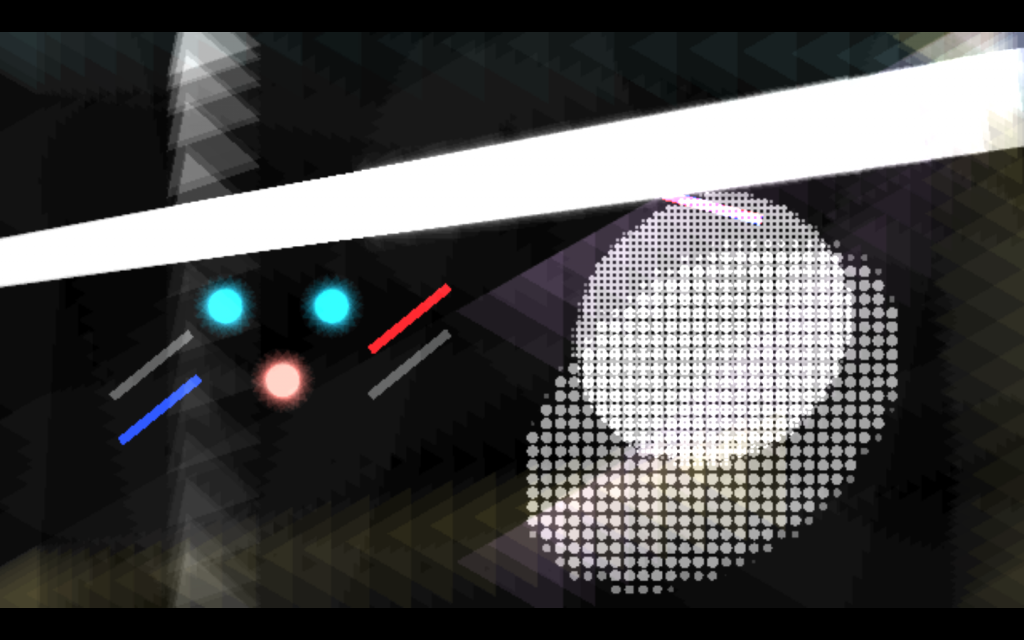
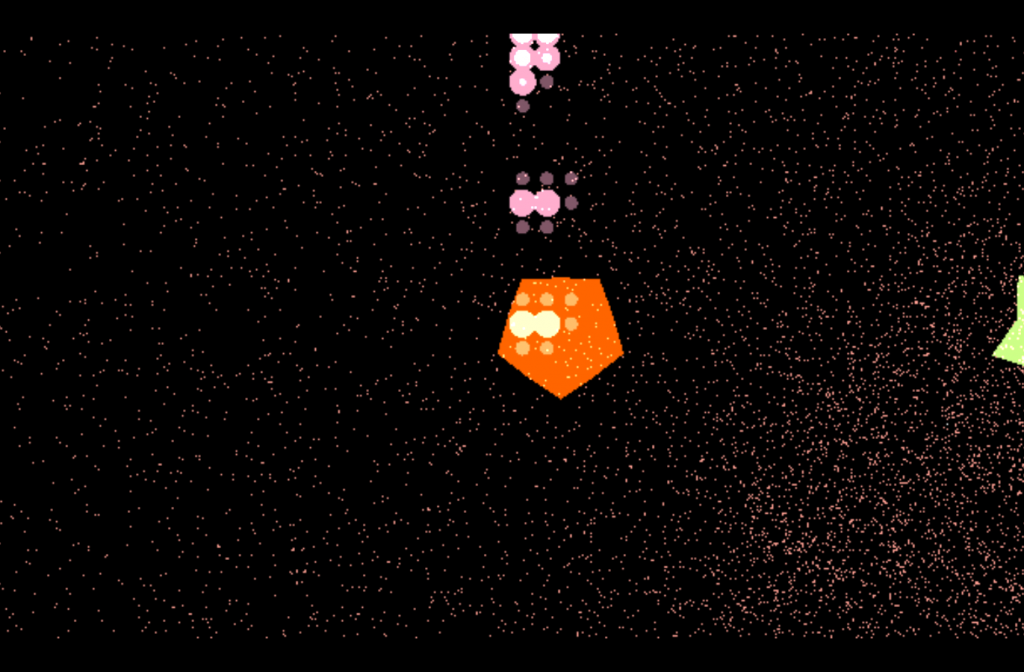
In this first pressure project, we have 4 hours to really investigate a self-generating patch. With a deep interesting in the “Shape” actor, I decided to just use shapes to complete my visual design.
When thinking about how to make people laugh and how to maintain audience members’ attention, I try to shape a recognizable image after giving a disorientation. I shape a cat by series different shapes imitating each body parts at the very beginning, and try to make them really disoriented so that audience can not figure out what the moving patterns are doing. The shapes which imitating the cat’s body parts are moving all together with some background patterns. And then I settled those body parts and build them up into a real cat image so that the audience can finally figure out what is happening on the screen. Also, when all the patterns are moving on their on path, I add some mew sound of my cat which can build up the curiosity of the audience.
I separate each body part into a user actor so that I can design each body part’s moving path. In each user actor, I have “Inside Range”-“Count”-“Inside Range” connected together to help me count a mount of time for all the body parts moving. While at the end of this amount of time the “Inside Range” can send out a trigger to the ” Envelope Generator ++” to help the body parts settle down and keep still for several seconds, which is the time when the audience can figure out the cat image.
My purpose is trying to give myself limitation of only using “Shape” actor to design visually and to let audience members actively figure out something from the disorientation. But the surprise cannot maintain after the audience figuring out what it is. And I got feedback about if I try to make the moving patterns keep shaping into other recognizable images. I feel really excited about the feedback I got and want to investigate more with it.
PP1 Documentation – Harmanjit
Posted: September 12, 2019 Filed under: Uncategorized Leave a comment »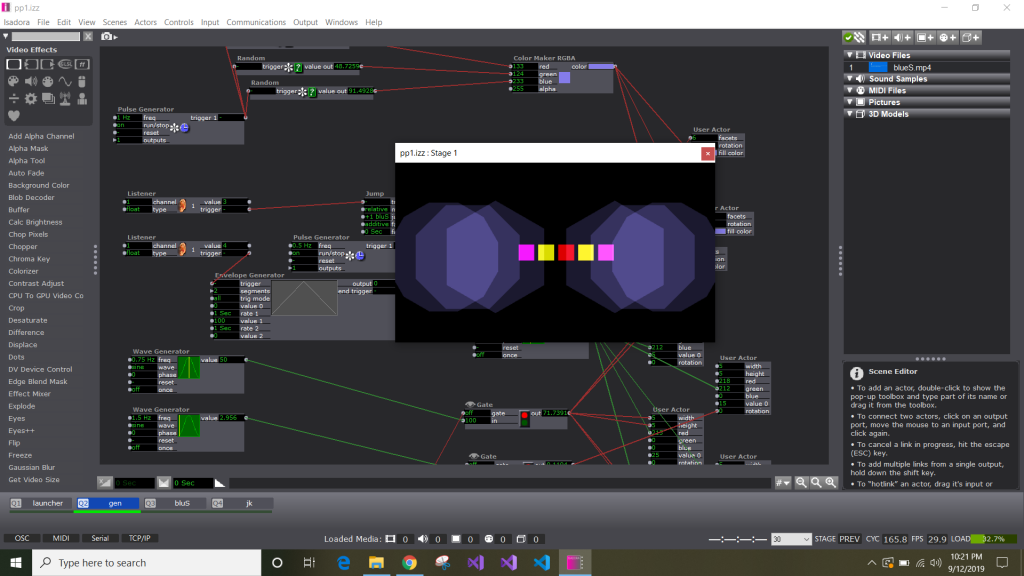
For this pressure project I decided to go in a different direction. I had a great idea in mind for how to hit all of the achievements for this project such as making someone laugh, responding to broadcasters, and maintaining surprise. The idea was to have a fairly standard self-generating patch that would incrementally respond to network broadcasters. When it received a value of 3 it would display a Windows blue screen indicating that the program had crashed only for it to be revealed as a joke a few seconds later.
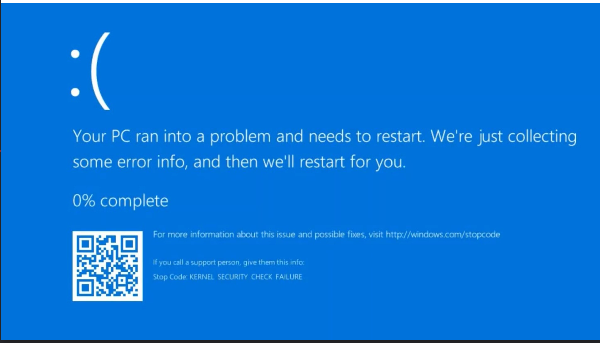
Unfortunately, there was a problem with receiving the values from the network broadcasters and it didn’t go as planned.
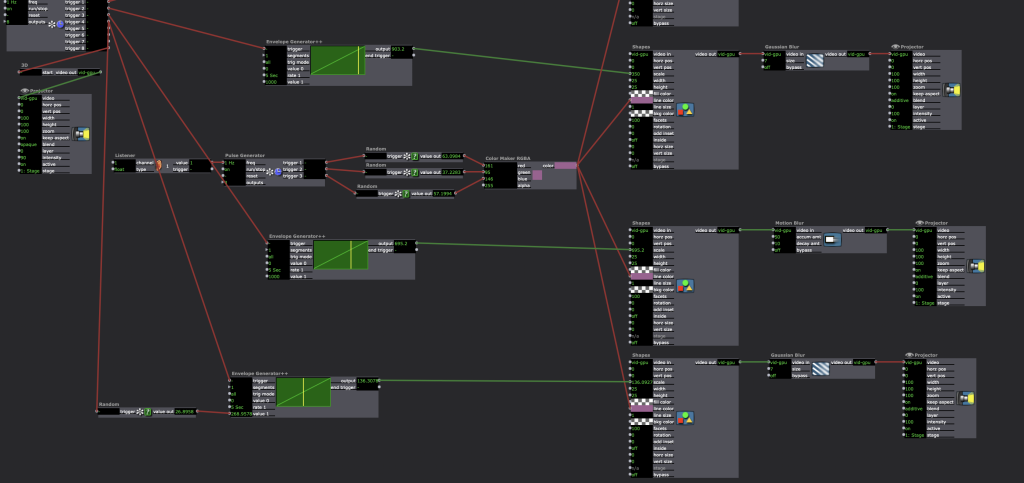
I used random number generators for the color generation and the horizontal movement. The blue screen component was a separate scene that was accessed via a listener -> Inside Range –> jump. I also used toggle actors and gates to turn on/off different effects in response to network inputs.
PP1 Documantation — Andi
Posted: September 12, 2019 Filed under: Uncategorized Leave a comment »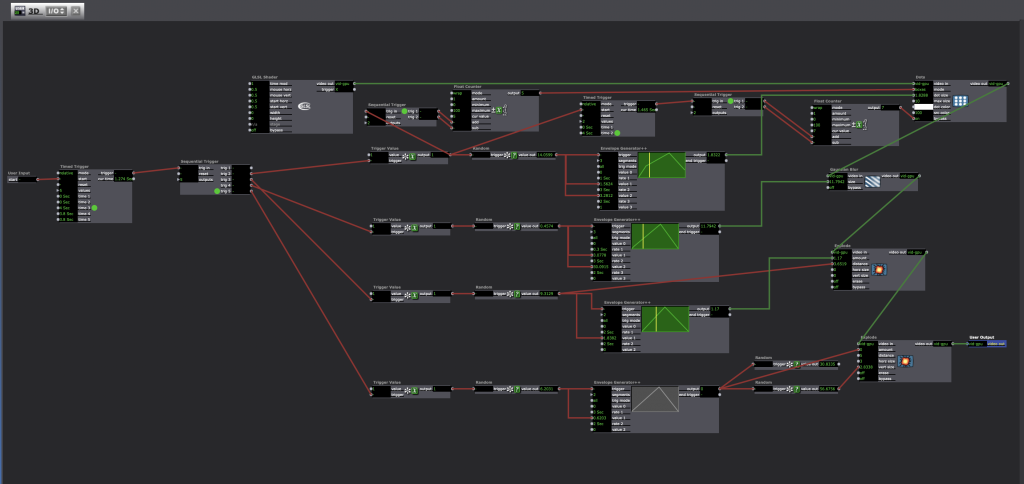
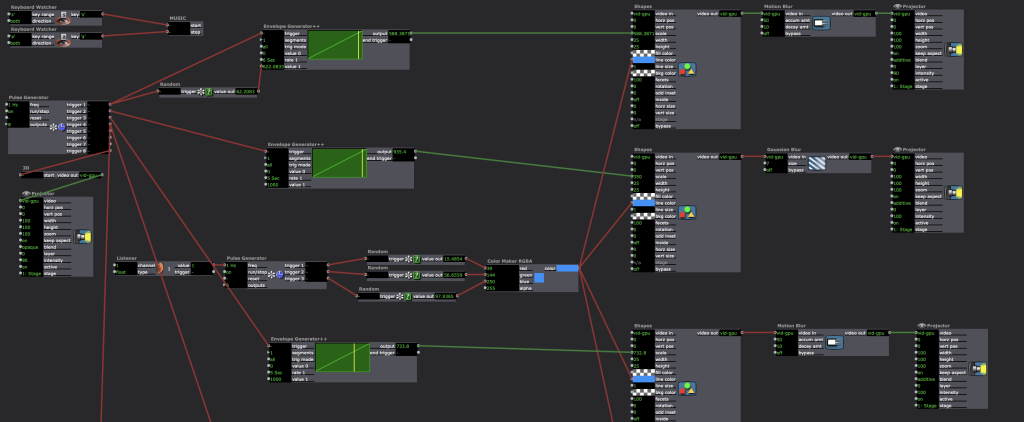
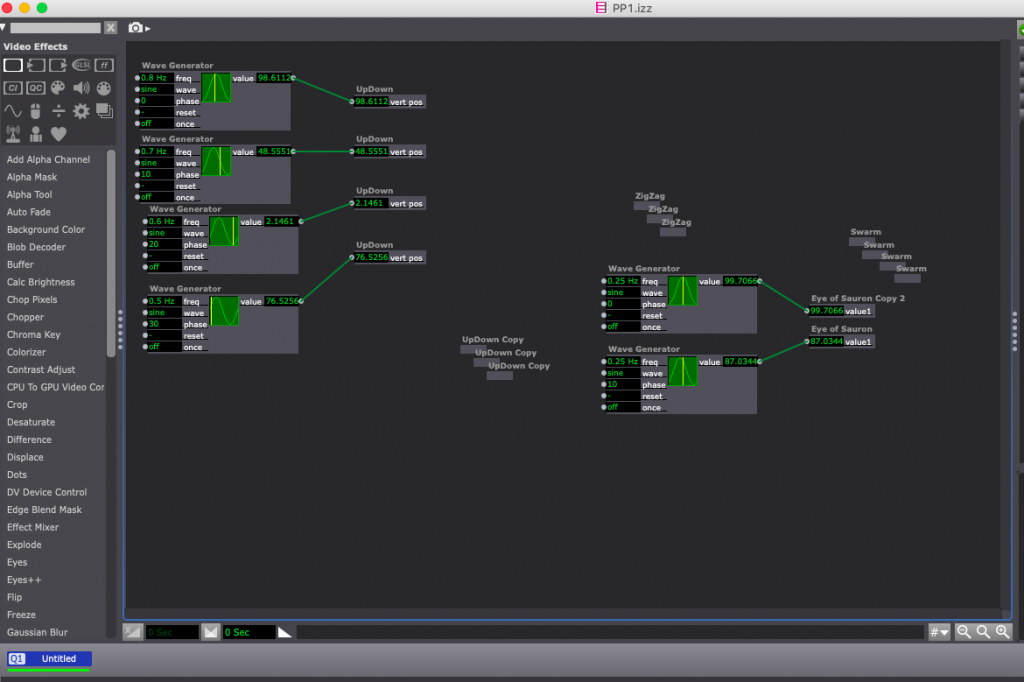
At the beginning when I was doing my pressure project, I just quickly looked through the “Shadertoy” website, wanted to find some 3D mode that is simple but colorful. And then I found the mode “Phase Ripple” by Tdhooper (https://www.shadertoy.com/view/ttjSR3). It made me felt the heartbeats. As you can see in my screenshot pictures, I added some effects like Dots, Gaussian Blur and two different explodes to this 3D model and use some random actors to control it in some way. After looked it several times, I felt it was a good way to combine the 3D model with 2D shape. So, I tried to add four circle shapes with two effects and changed the colors and scales of the shapes by random actors. In the end, I used keyboard watcher actor to play and stop the music. Through this exploring experience of Isadora, I have become more interested in using random actor. At the beginning of this creation, I always wanted to set up all the changes in a certain time, but because of the time limitation, I eventually chose to use random actor. Surprisingly, it gives me more surprises and unexpected effects than I thought before!
PP1- Tay
Posted: September 12, 2019 Filed under: Uncategorized Leave a comment »For this pressure project we had 4-hours and some “goals” to attempt to achieve:
1. Someone laughs
2. Maintain surprise for more than 10sec
3. Maintain surprise for more than 30sec
4. Picks up a number between ‘1’ and ‘5’ and reacts
Ideation
Initially for my Pressure Project I decided on 3 different scenarios:
- Have visuals move for 10sec / transition / 10sec / transition / etc.
–The experience would eventually repeat itself. The visuals would be a combination of moving lines, moving shapes, then a combination of both. - Have a webcam track movements of an individual.
–The user would move around to activate the experience. The color of screen would then be tied to how much the user was moving within the space.
RED = No movement
ORANGE/YELLOW = Little movement
GREEN = High amount of movement - Have an interactive game [This is the one I decided upon. Though it strayed from my initial idea.]
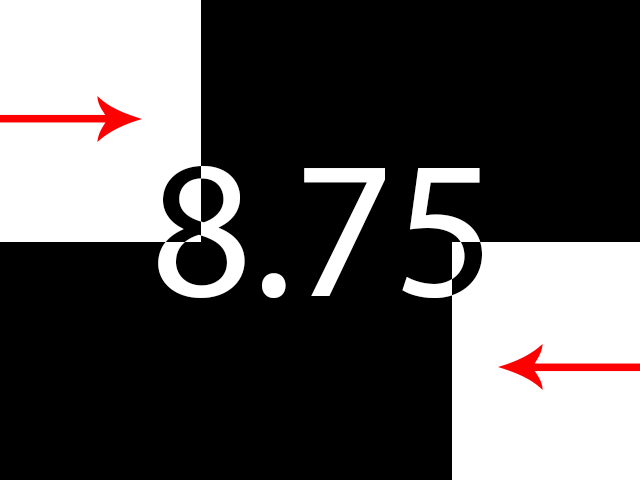
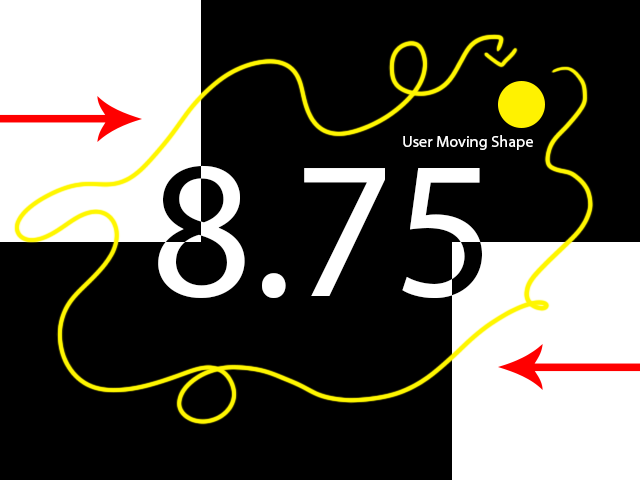
–Have shapes that begin to shrink with a timer in the middle. The user is also able to control a circle and move it around with the mouse.
–Once the timer runs out have music begin to play.
–Have a screen that says “Move your body to draw and fill in the space!”
–If they fill the canvas: screen transitions to say “You’re the best!”
–If they don’t fill the canvas: screen transitions to say “Move them hips!” // and repeat the experience.
I chose to go with my 3rd idea. Below is a visual representation from my initial write-up of what I wanted the experience to do. (also available in the attached word document)


The way I spent my time for this pressure project was as follows:
Hour 1: Ideation of the different scenarios
Hour 2: Setting up the different scenes
Hour 3: Asking for help on ‘actors’ I didn’t know existed or how to do certain things within Isadora. (Thank you Oded!)
Hour 4: Playing, debugging, watching, fixing.
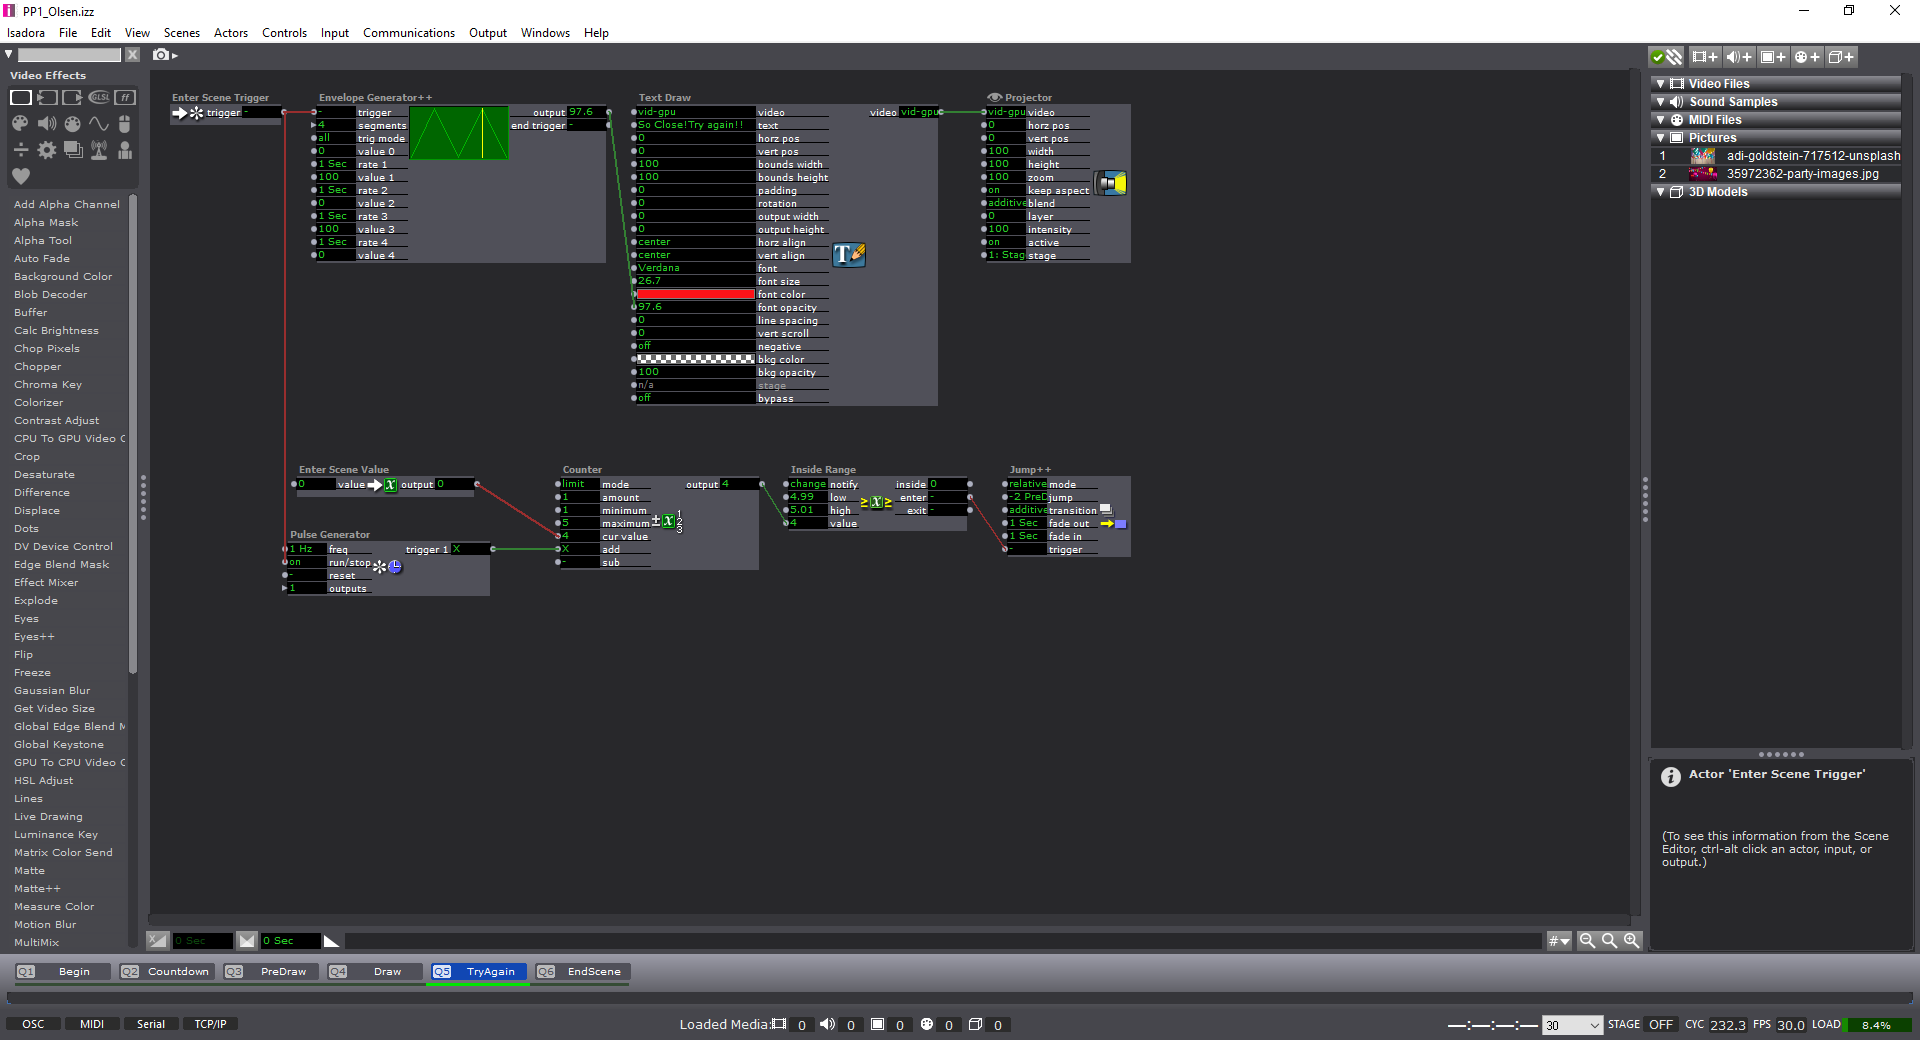
Process:
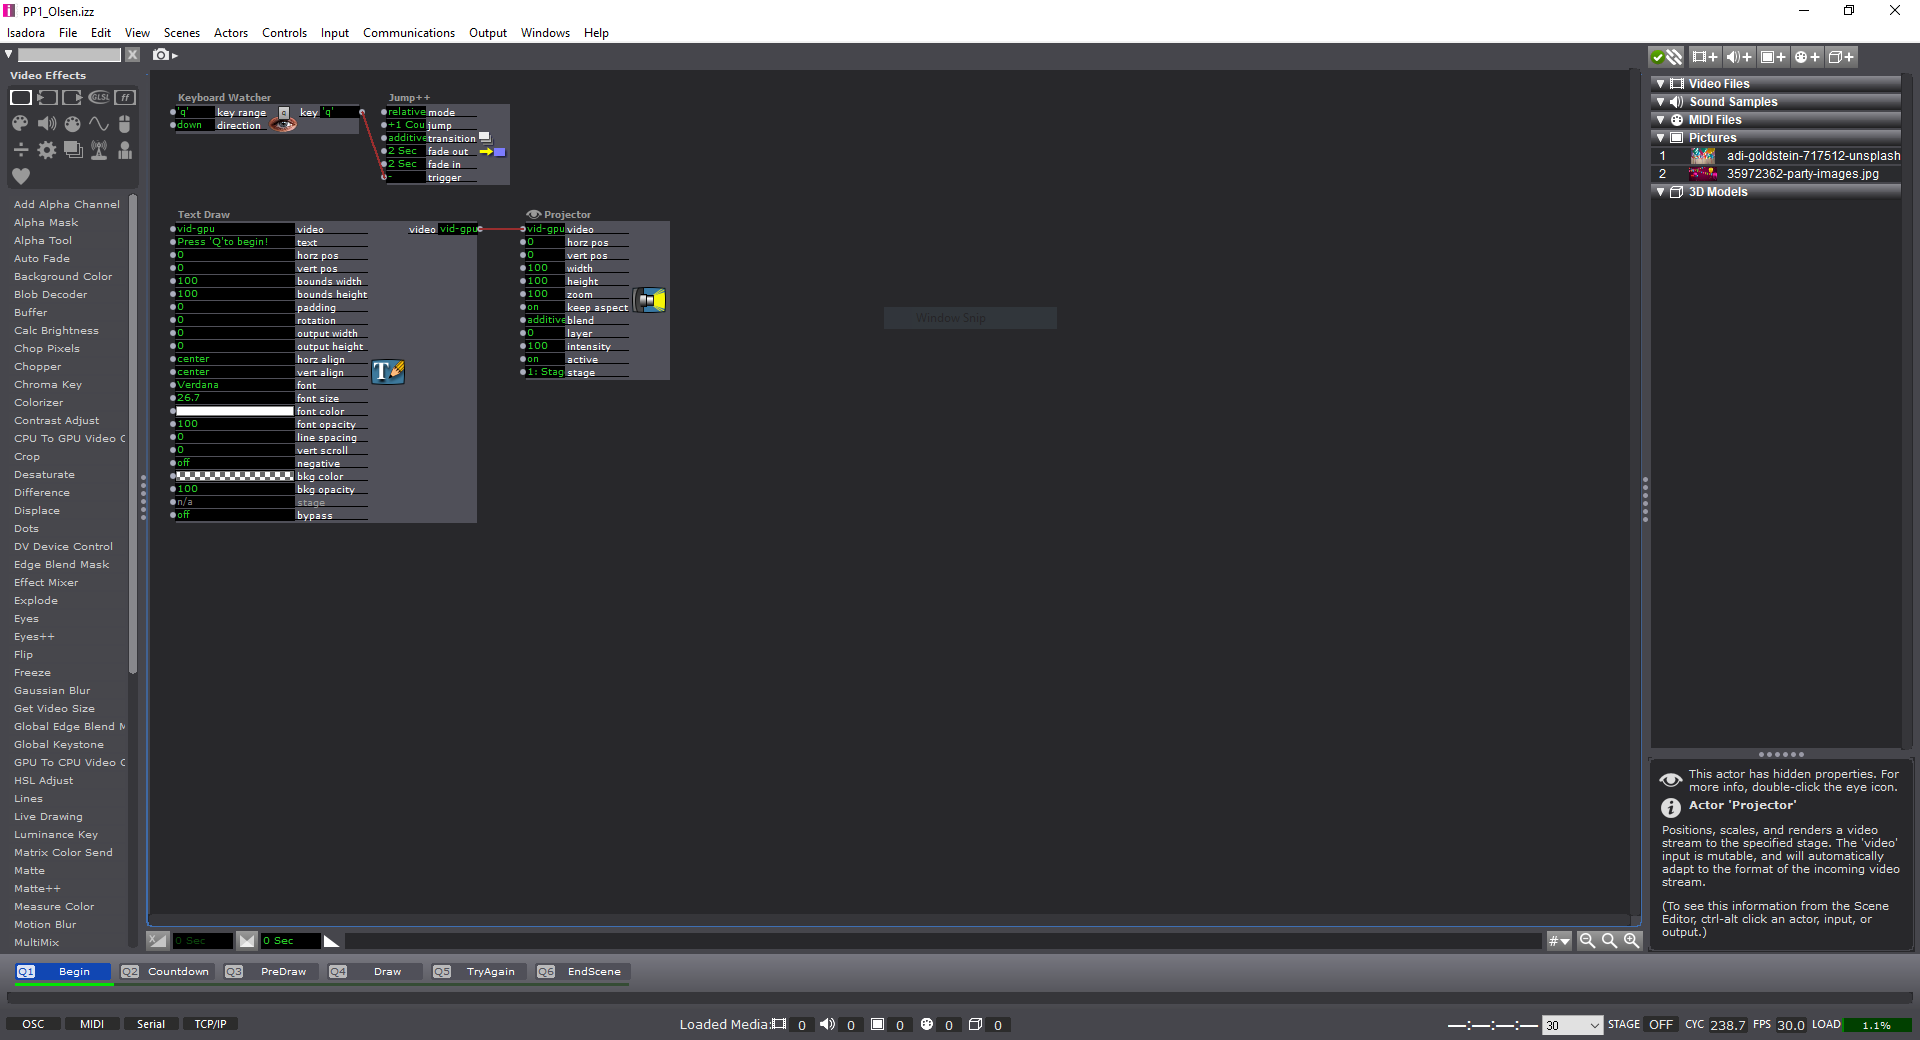
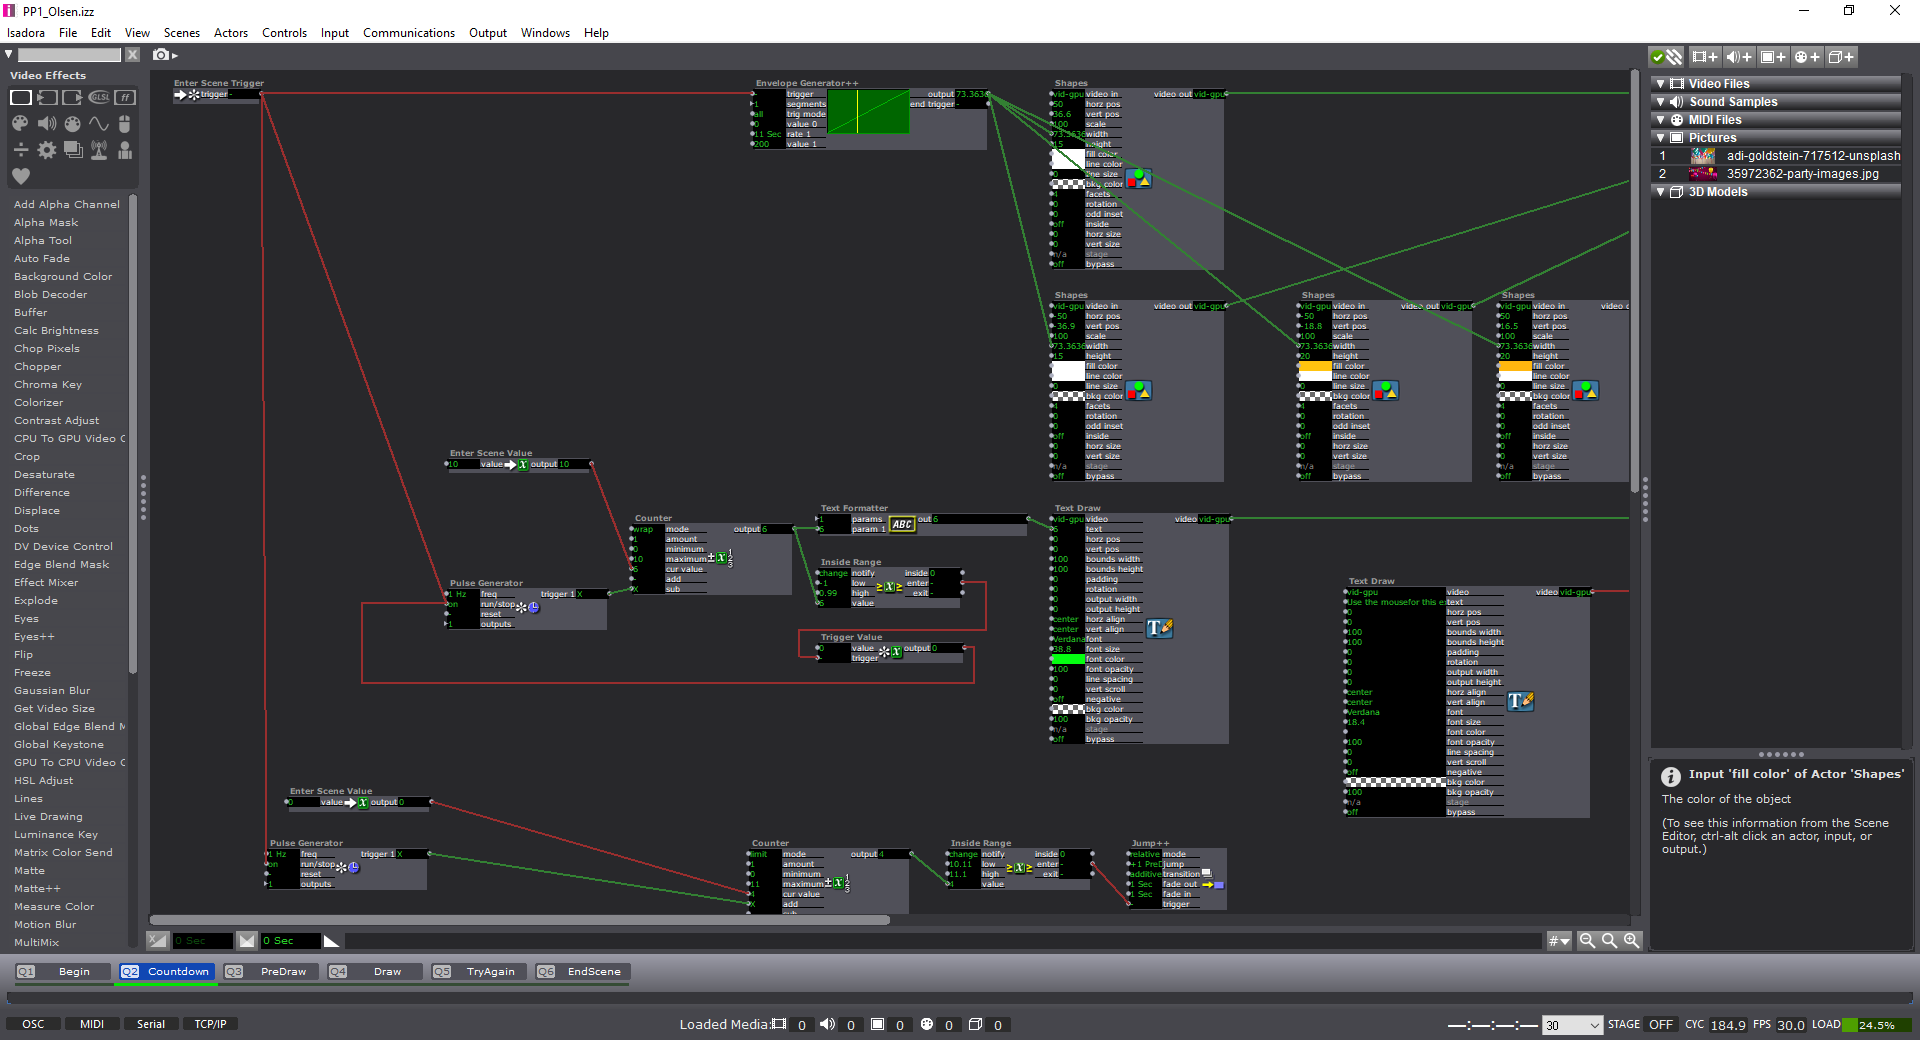
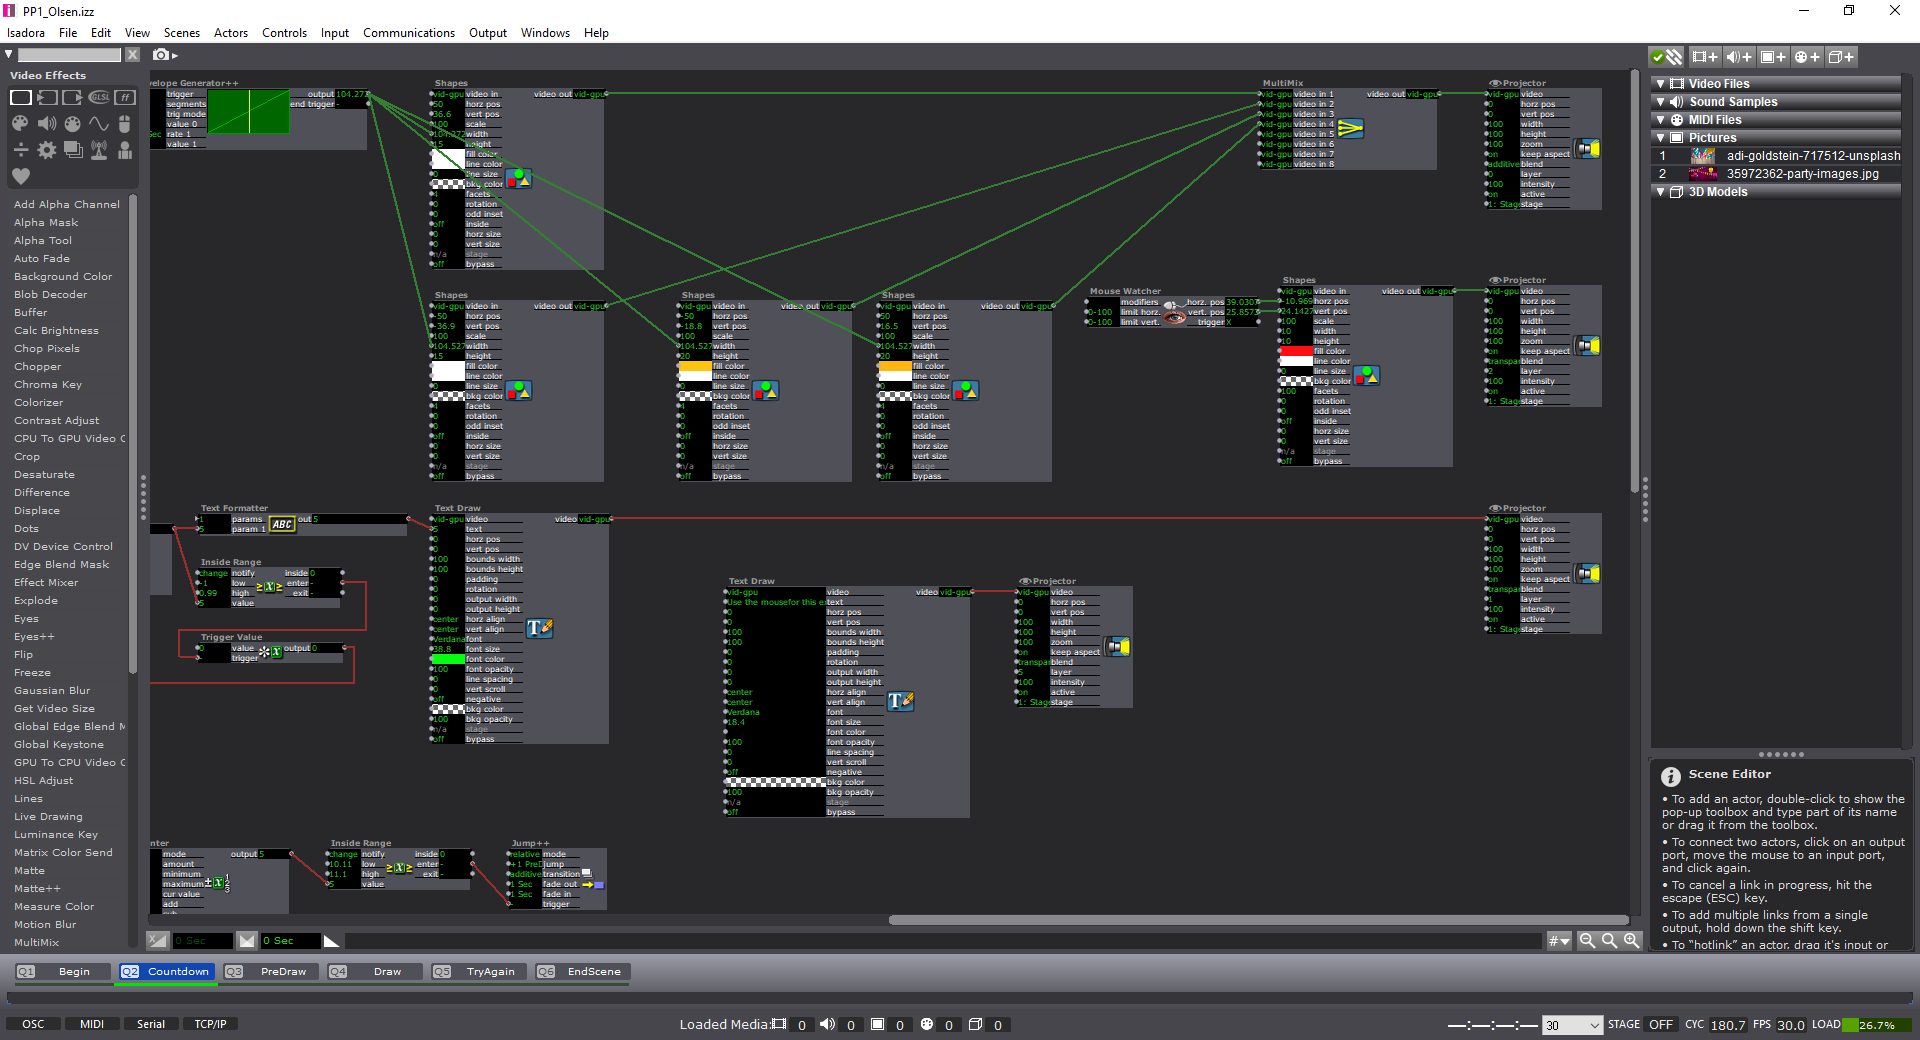
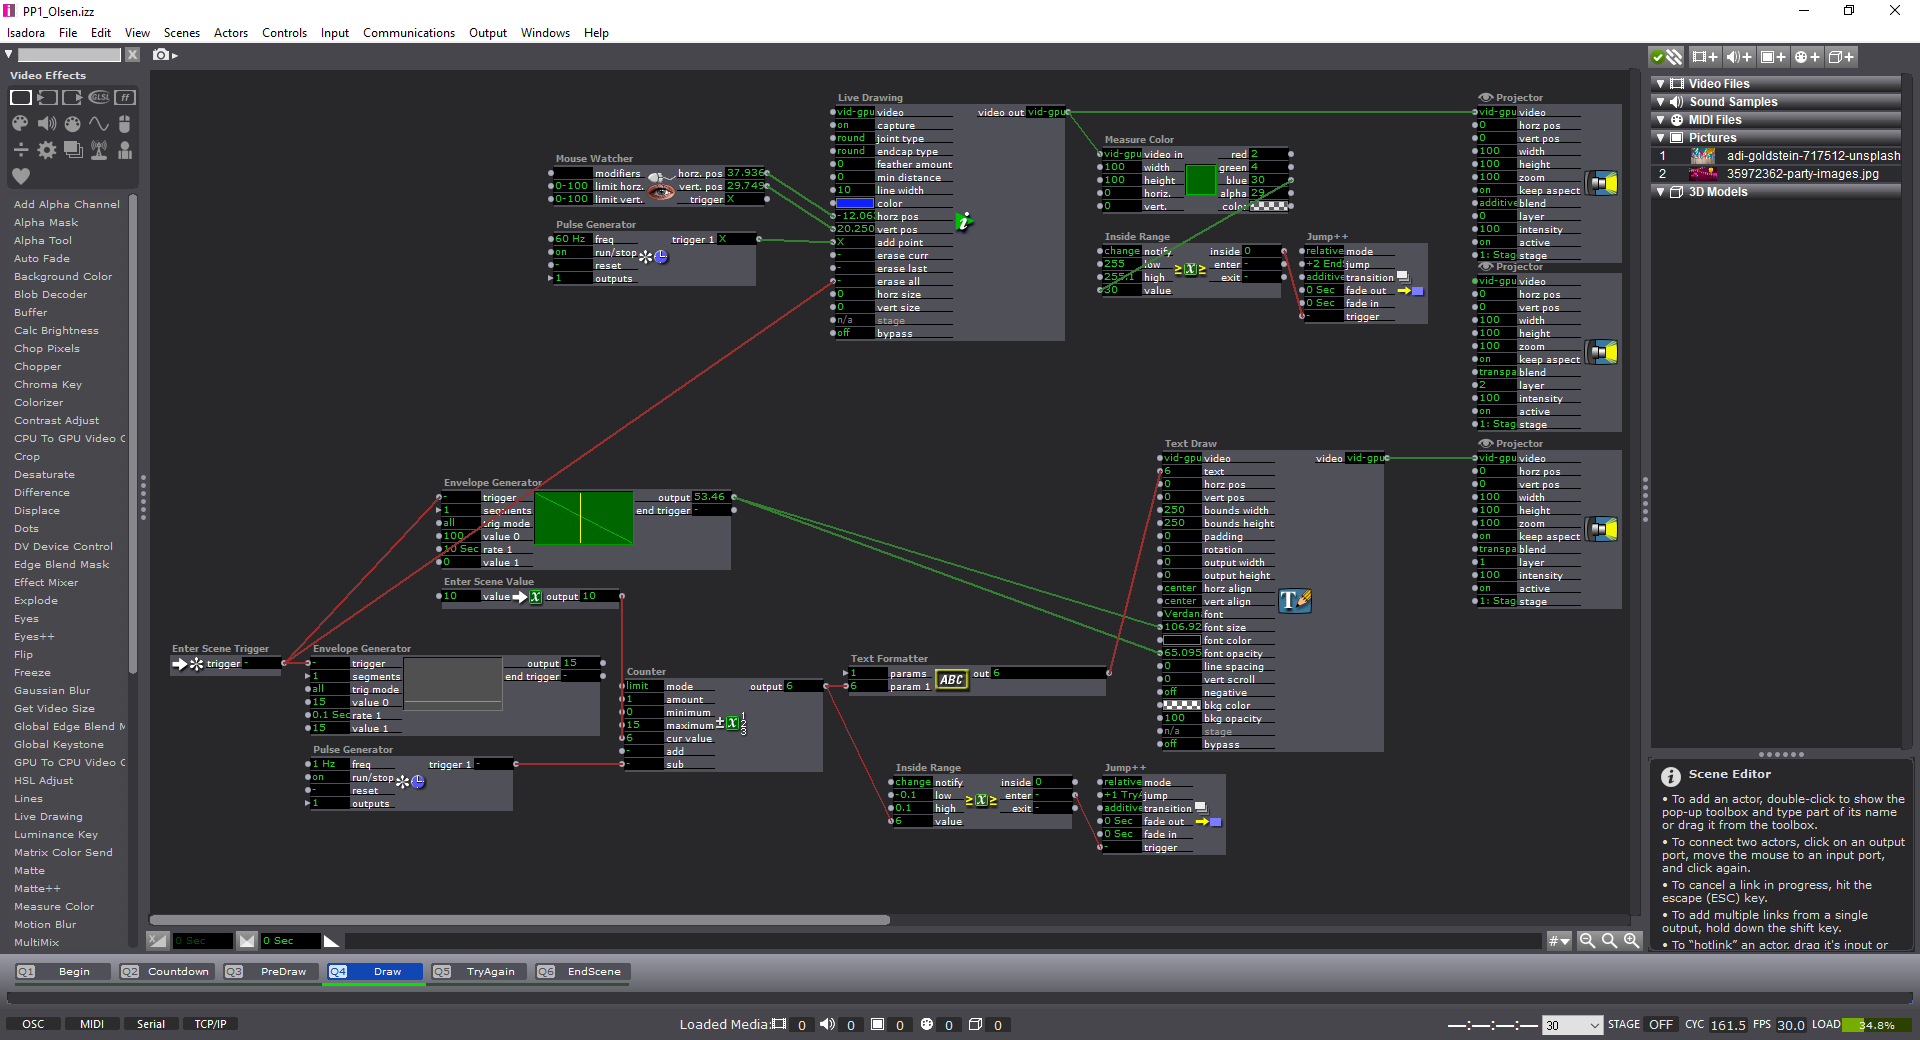
For those who are interested (and for my own reference) here’s the list of actors that I used within the patch:
- Keyboard Watcher
- Mouse Watcher
- Live Drawing
- Picture Player
- Measure Color
- Text Draw
- Text Formatter
- Jump++
- Projector
- Multimix
- Enter Scene Trigger
- Enter Scene Value
- Pulse Generator
- Wave Generator
- Counter
- Inside Range
- Trigger Value
- Shapes
- Envelope Generator (++)


Feedback: (sorry I haven’t learned everyone’s names!)
–Izzy patch could use more of a choice for what color is used to draw on the screen.
–The clear instructions to push certain keys and what was going to be used for the experience was a good touch.
–The sense of urgency was nice.
–Fix the small bug where if you restart the experience it jumps to the end without letting the user draw.
–Change the color countdown on the draw screen to something more noticeable (white?)
Response:
-I think this was a wonderful experience. I haven’t ever considered the idea of a ‘pressure project’ before. But after working through, I am excited for the next one! My approach was pretty straightforward in terms of design process: Ideate, Create, Test, Fix, Test, etc.
-I think next time I will have more people try it before I get the chance to present again as I only had one other person attempt the experience. But, this showcase actually helped me find the bug in my system as well! I couldn’t find the time (or the solution) to why it was happening, but it shows the power of ‘performing’ your piece before the final show to find any errors.
-I’m grateful to have seen everyone else’s project too, and I also appreciated being able to look at the ‘guts’ of their Izzy patches. I learned a few new things in terms of using ‘User Actors’ in an effective way–as I didn’t use any in the first place. It was unfortunate that I couldn’t connect up a “Listener” actor correctly in the end, but the only state change would have changed the ending photo. Regardless I enjoyed working on this, the experience, and the feedback from my peers.
-Tay
PP1
Posted: September 12, 2019 Filed under: Uncategorized Leave a comment »The idea of a “pressure” project had been causing me concern since the beginning of this course. I was very pleasantly surprised at how effective and useful the constraints of the “pressure” were in completing this assignment. I kept track of my time spent working on the project, setting a timer for every block of time I worked, and used all but 30 minutes. I felt that I had achieved all of the objectives of the project that I understood how to complete, and was thus, done. However, with knowledge of what some of my classmates were making, I was concerned that my I-have-no-idea-how-to-work-this-thing attempt wouldn’t be of much interest or use to the class. It was surprising to me that I had created something that everyone was intrigued by and had included enough layers to obscure the aspect controlled by the mouse watcher for so long for many of my classmates. This presentation was the first time that I felt that even my limited skills could have an interesting outcome, and it made the course objectives seem much more accessible. It was a very affirming experience. I also learned a lot from seeing what others had done; it exposed me to more of the capability of Isadora for a variety of aims and goals. Overall, I am excited to continue learning and to discover more of how I can use digital media to further my own research interests while engaging with audiences in new ways.

Stills from the stage view. 

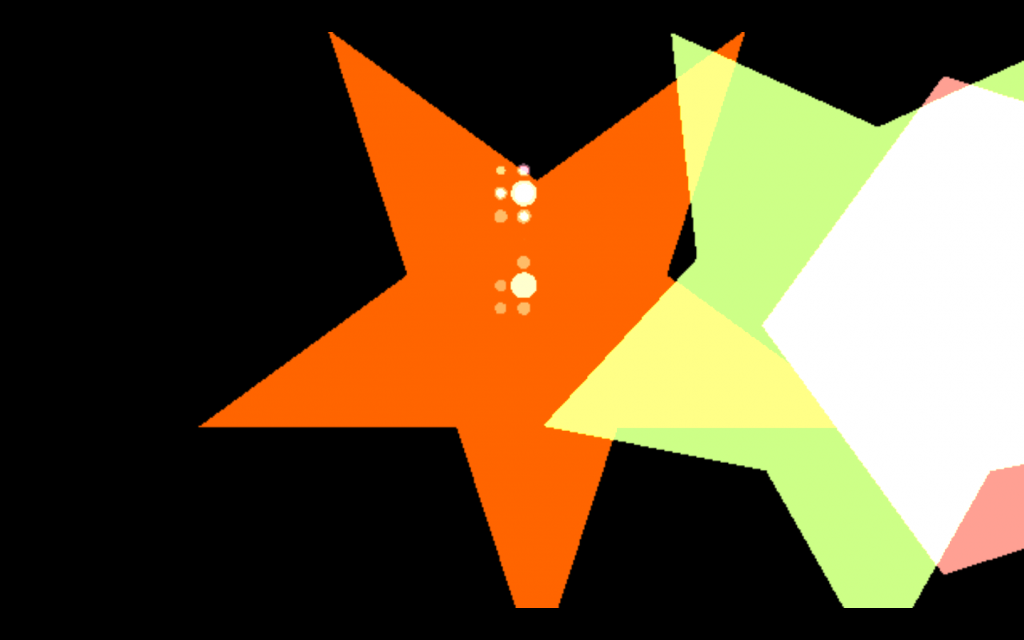
How does duplication impact color? 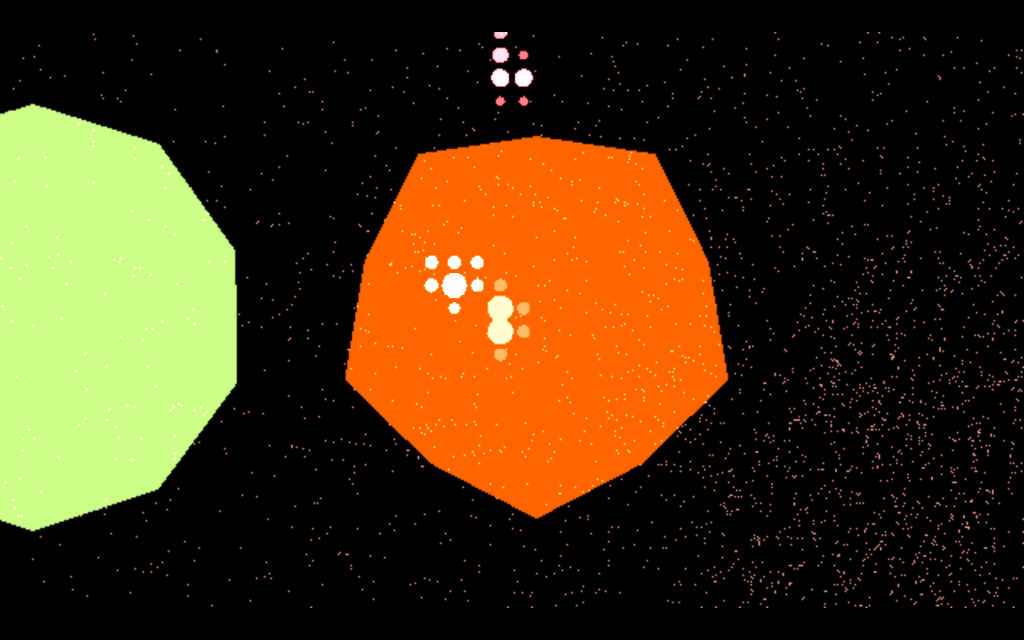
I was playing with scale and repetition.
