Bump Post Sp 2024
Posted: January 23, 2024 Filed under: Uncategorized | Tags: bump Leave a comment »Bump: How to Make an Imaginary Friend
Posted: January 23, 2024 Filed under: Uncategorized Leave a comment »Edit Post “How To Make An Imaginary Friend” ‹ Devising EMS — WordPress (ohio-state.edu)
Bump: Pressure Project #2: Dancing Depths
Posted: January 23, 2024 Filed under: Uncategorized Leave a comment »I find this project to be technically stimulating and conveys an interesting message about humans. Familiar in anatomy, but there is almost a chameleon like skin tapering around giving an alien / post-human effect. It seems that Axel used a kinect device which I know uses infrared technology to track movement. In this way, the computer vision filters out the projected light spectrum which is interesting. As opposed to the way we see the these ethereal neon figures, the computer just sees boundaries. Meaning the camera’s are unaffected by these artificial skins or personas mapped onto humans. It makes sense that this IR tech was chosen because I imagine it to be more accurate in low light conditions and less computationally expensive than visible light computer vision algorithms.
However, I still think it interesting to experiment with this project using a camera or a mix of IR and visible light processing. This allows for the interactive system to experience humans in both their anatomy and artificial skin. From a psychological level, this tradeoff in accuracy speaks to confusion between what we are and what we want to be. I think a bit of messiness in the tracking human motion and projecting onto account for the unclean boundaries between the two. The camera will have to contend with analyzing both the accentuated projected light and its faint shadow of physical form.
BUMP: Pressure Project 1- Congestion- Min Liu
Posted: January 22, 2024 Filed under: Uncategorized Leave a comment »Bump: Tamryn McDermott’s “PP1: Breathing the text”
Posted: January 22, 2024 Filed under: Uncategorized Leave a comment »This is pressure project 1 from Tamryn McDermott, it sparks two thoughts in me:
– how to integrate kinesthetic sensation with audio-visual (in her case, the breath); i think in her project, this works well with manipulating the pace of the book’s contracting motion in accordance with the breathing rhythm. Also, i am especially interested in integrating haptic interaction.
– in the last paragraph, she mentioned the desire to introduce “more randomness”, which makes me ponder about the relationship between randomness, complexity, and the range/scale of control.
Bumped Post
Posted: January 22, 2024 Filed under: Uncategorized Leave a comment »Scrying – Cycle 3
Posted: December 15, 2023 Filed under: Uncategorized Leave a comment »For Cycle 3, I made a few expansions/updates!
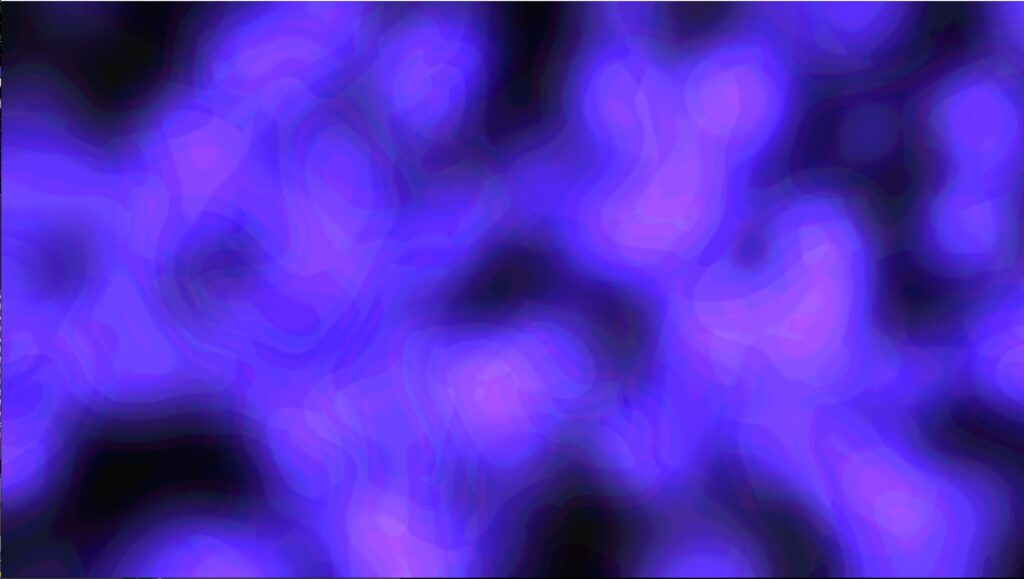
Firstly, I expanded the project from one to two crystal balls. This meant creating more visuals and more music. My goal was to contrast the slow, cool, foggy blue feeling of the first scene. I eventually settled on red as the primary color, and decided to make the visuals sharper and faster moving than those of the first scene:
It was important to me to create visuals and music that would be interesting separately, but would also be able to combine well. If both crystal balls are being interacted with at once, both of their audiovisual scenes would play back at once. I wanted this combination to be a meaningful part of the experience.
Additionally in this cycle, I added projection mapping onto the tops of the crystal ball stands themselves that triggered when the crystal ball was interacted with. These projections had a similar look and feel to their corresponding larger projections. This led to a whole host of technical problems but created a really cool effect, making it feel like something magical was happening on the stand itself.
The problems occurred because, of course, the projection mapping consists of light, and the amount of light is what is being detected by the system to decide whether to play the scene or not (duh!……….) So the scene would trigger and would stay triggered because of the light from the projection. I solved this by utilizing masking in Isadora. I created masks to cover up the parts of the projections where the cameras would be.
My final addition was subtle, but I think significant. I added a very low drone to the space that played constantly, even when nothing was being triggered. This was included to transition the experiencers into the space and provide an audible contrast between a normal room and the installation space. My feeling was that without some sort of audible cue, the space would feel too “normal” when no sounds or visuals were being triggered. The low drone provided a tapestry on top of which the crystal balls could weave their music.
If I were to proceed forward with this piece, my first goal would be to add more crystal balls! I think the piece could work well and be even more interesting with several of them. They could interact with each other in so many different ways!
I also think I would like to incorporate something more to solidify the emotional themes of the piece. I really enjoy the visuals I created, and they are designed to represent very real and contrasting emotions. I also think it could be interesting to redo the visuals and incorporate something slightly less abstract, like videos of some significant place or event, and processing those in a visually interesting and artistically meaningful way.
Scrying – Cycle 2
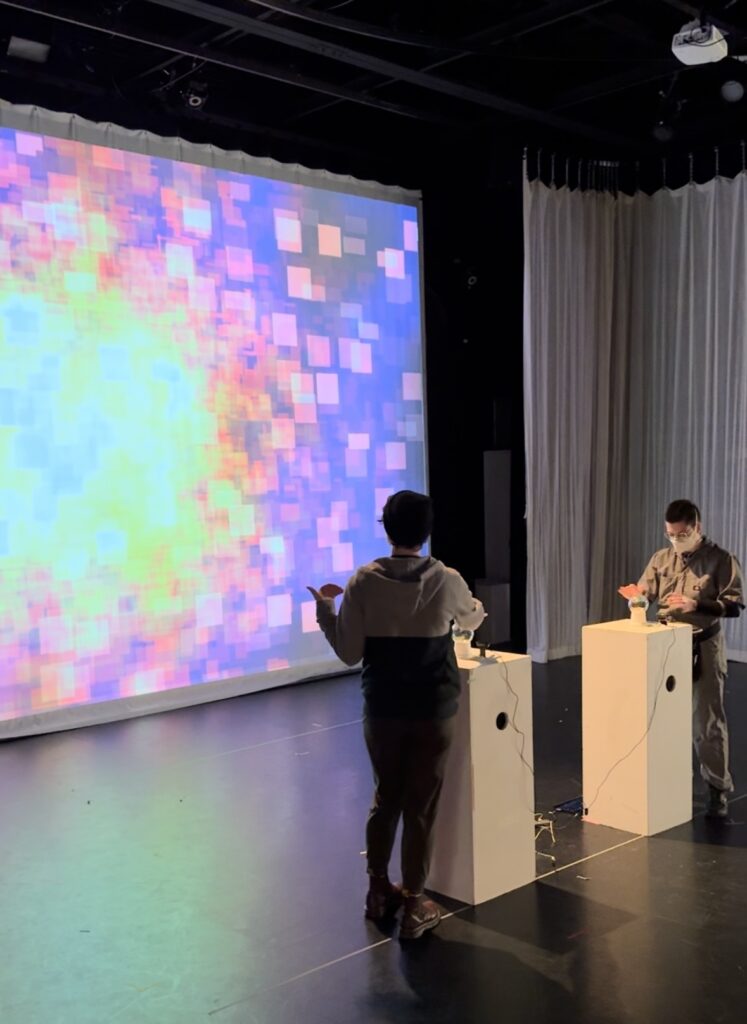
Posted: December 15, 2023 Filed under: Uncategorized Leave a comment »For Cycle 2, I moved the project into the Motion Lab!
First, I needed to decide on a few things. How would I present the visuals? How would I present the crystal ball? How did I eventually want different crystal balls to interact with each other?
I ended up projecting the visuals onto the large front screen. The crystal ball I placed on a pedestal near the center of the room.
A challenge that presented itself during this cycle was the lighting conditions in the space. Ideally, the room would be quite dark, but of course as it turns out some amount of light is needed for the camera to detect any change in brightness (duh!….) Also, after being triggered once, the light from the projection could be reflected in the glass and interfere with the brightness detection, keeping it from ever shutting off! To solve these problems, I decided on using a small amount of constant top-down light shining on the crystal ball’s pedestal. The webcam would be positioned such that a clear shadow would be created on it when a person’s hand was near the crystal ball, and this lighting difference proved to be enough to create consistent behavior in spite of the other complicating factors.
For Cycle 3, the plan is to add more crystal balls and make more audiovisual scenes for them!


Scrying – Cycle 1
Posted: December 15, 2023 Filed under: Uncategorized Leave a comment »For my project, I decided to create crystal balls that, when interacted with, would result in audiovisual playback that embodied a certain affect. Each ball would represent a different affect, and would placed in different locations around the room. The act of “scrying” upon these affects using a crystal ball represents a rediscovery of, and a distinct distance from, the raw emotions of childhood. The crystal ball itself represents a suspension of rationality and a mystic lore that often feels so real to children.
In Cycle 1, I created a prototype crystal ball that could send data to trigger audiovisual playback in Isadora. I ended up recycling the idea I had used in Pressure Projects 2 and 3, using the brightness from a webcam to determine if a person was interacting with the crystal ball. The idea was that the webcam would be installed in the base of the crystal ball and look upward through the glass.
Though the scope of the project is larger, the brightness detection system I used in this project is actually simpler than the one I used in Pressure Projects 2 and 3. Rather than determine how close a person’s hand was to the lens, the webcam is tasked simply with determining if a person’s hand is there or not. If it is, the visuals and music are triggered.
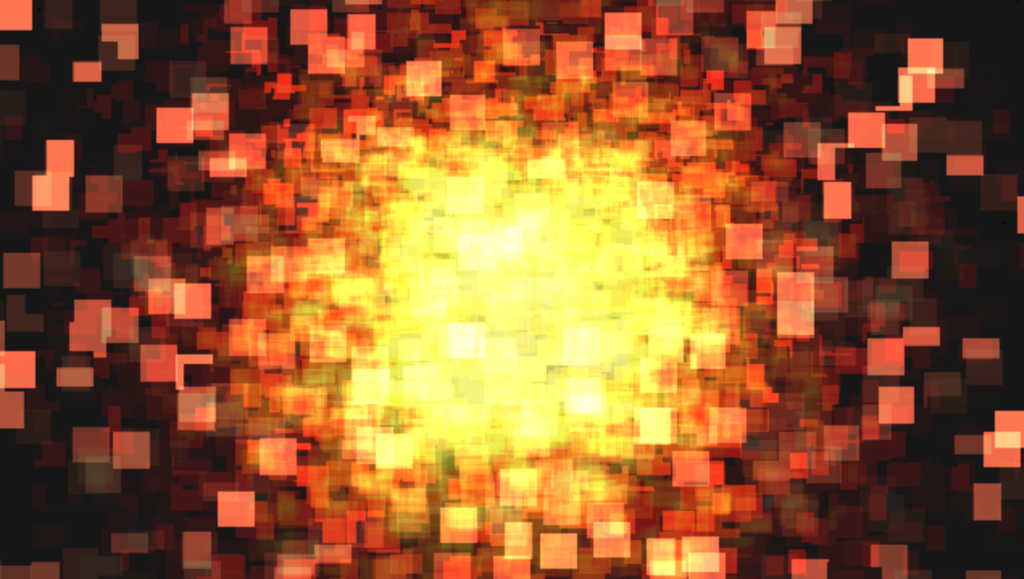
For the visual, I processed a simple blue square through an explode actor. I slowly modulated the parameters of the explode actor with wave generator actors and processed the results through lots of motion blur and Gaussian blur. Color shifts occured as bits of the same color overlaid on top of each other. The result was extremely textural and a lot more interesting than the list of parts makes it sound: