Pressure Project 2
Posted: October 1, 2020 Filed under: Uncategorized Leave a comment »I learned from the last project and started with a written brainstorm of ideas before doing any actual work on this. Then I narrowed it down to what I actually wanted and drew a design, specified my goals, and the basic logic of the program. I decided to create a Spontaneous Dance Party Machine for my staircase. The goal was to randomly surprise someone coming down the stairs with an experience that would inspire them to dance and be in the moment. So while they might have been on their way to get food before trudging back up the stairs for more hours of Zoom, this gives them a chance to let loose for a minute of their day.
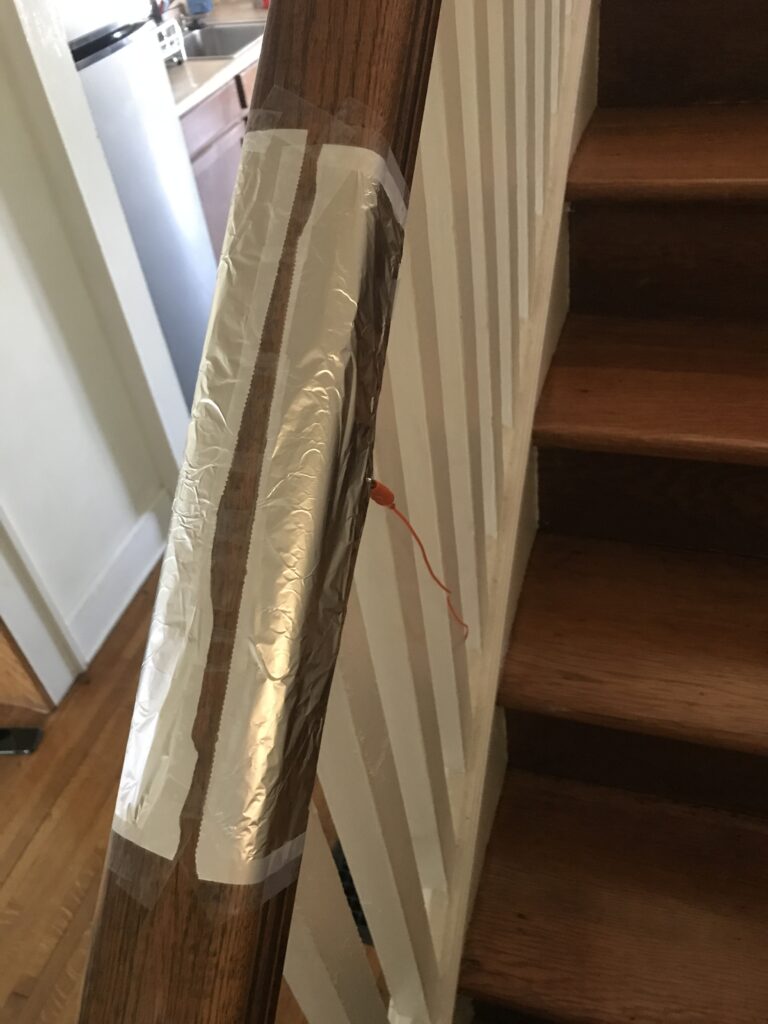
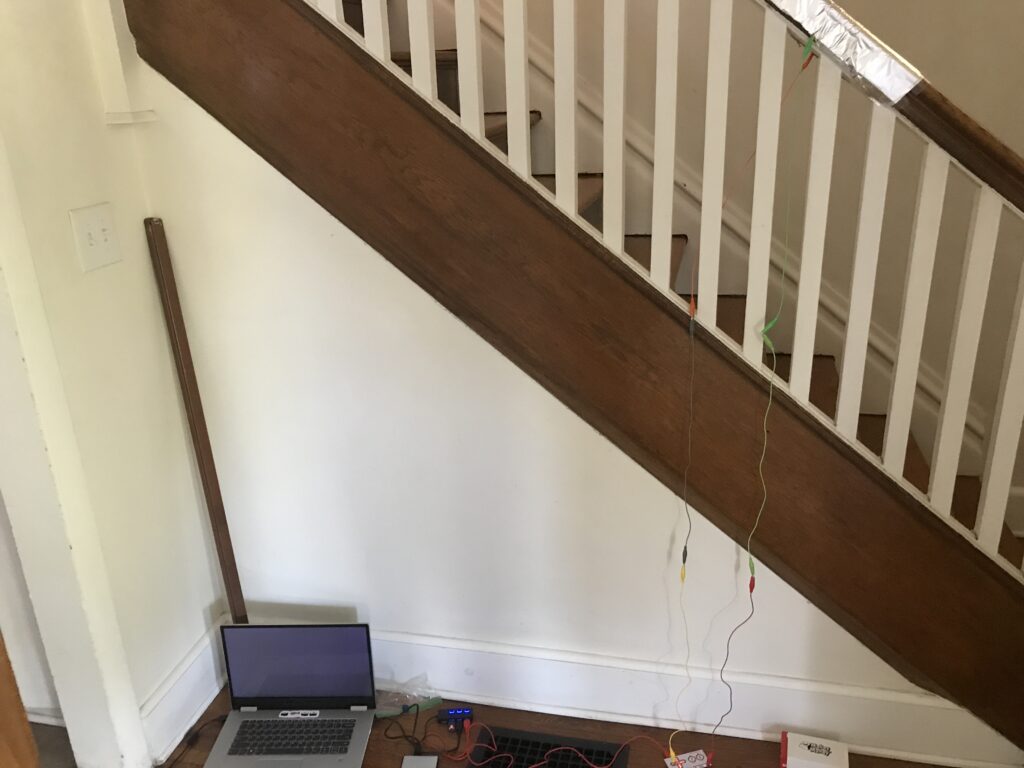
The resources I used for this were the Makey-Makey attached to aluminum for the trigger. I designed the aluminum on the staircase to be triggered by the normal way that someone might put their hand on the railing when descending.
Then the Makey-Makey plugged into my computer which ran the Isadora program.
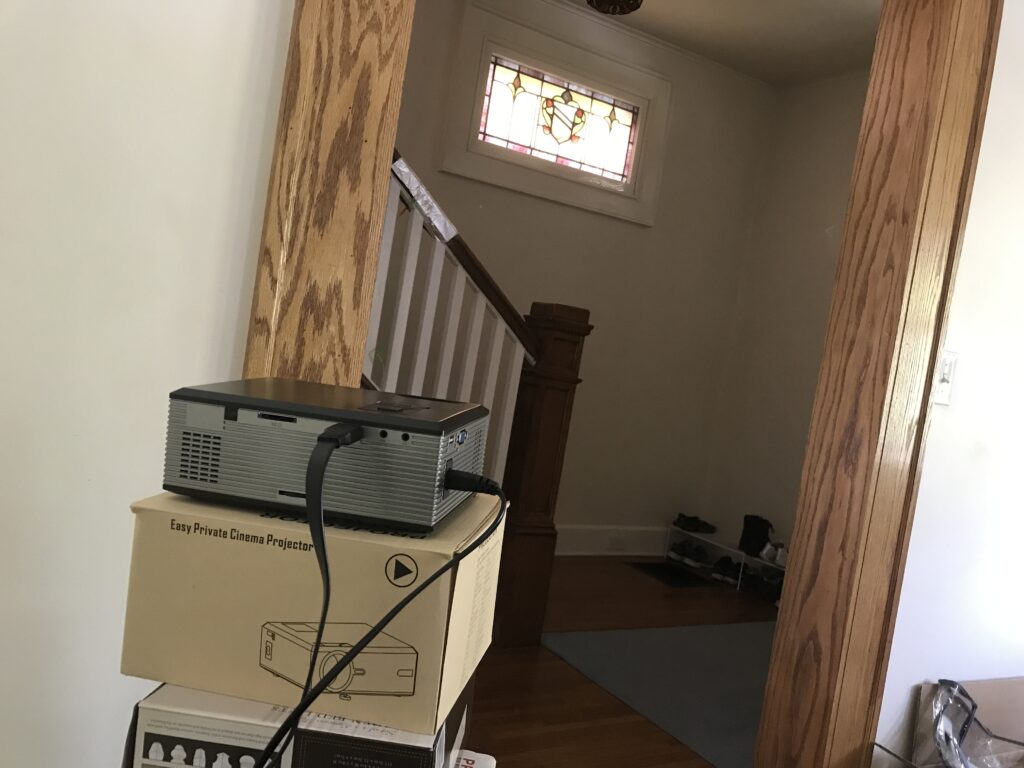
Then I had to get the stage from Isadora into my projector. I did not have the right kind of cable to plug the projector directly into my computer but it would plug into my phone. So I used an app called ApowerMirror which was installed on both my phone and computer in order to mirror my computer screen onto my phone. This allowed me to transfer what was on my full screen stage on my computer into the projector that would serenade the person who triggered the stairs.
I used two scenes to manage this experience. The first one counted the triggers as well as determining how many times someone had to trigger the stairs before the projection and music would start. It randomly generated a new number from 5-10 for each round.
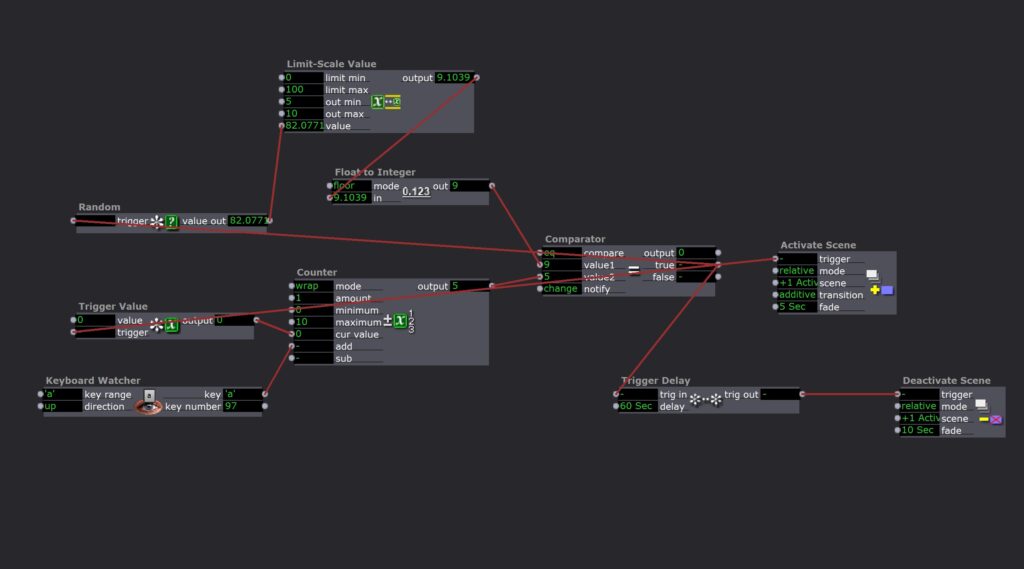
It would then activate the next scene which contained a colorful projection and started a random fun song to dance to. After one minute the scene would be slowly deactivated.
Overall I was really satisfied with this project. It took me a lot less time than the previous one I think because I took the time to plan at the beginning. It was also super fun to leave up in my house and spontaneously be able to jam out to a good song!
A few things to note for the future would be 1) I couldn’t projection map because I was just mirroring my computer screen; 2) my phone battery was used up very quickly my mirroring and projecting. So I would want to look for an app that could act as a second monitor or even better, get an HDMI to USB-A cord that would connect my projector directly to my computer.
Tara Burns – The Pressure is on (PP1)
Posted: September 11, 2020 Filed under: Uncategorized Leave a comment »Goals:
To use the Live Drawing actor
To deepen my understanding of user actors and macros.
Challenges:
Finessing transitions between patches
Occasional re-setting glitches (it sometimes has a different outcome than the first 10x)
Making things random in the way you want them to be random is difficult.
Pressure Project 1
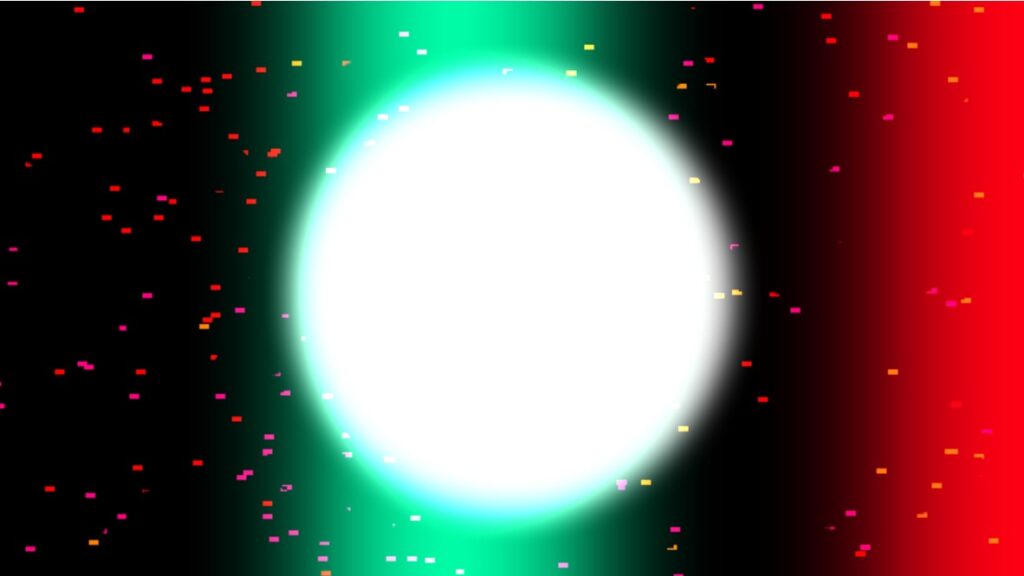
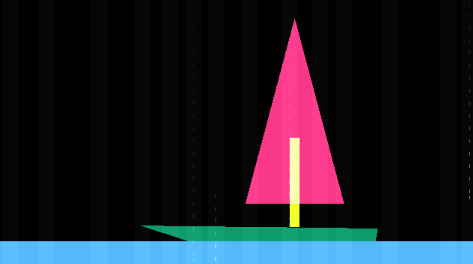
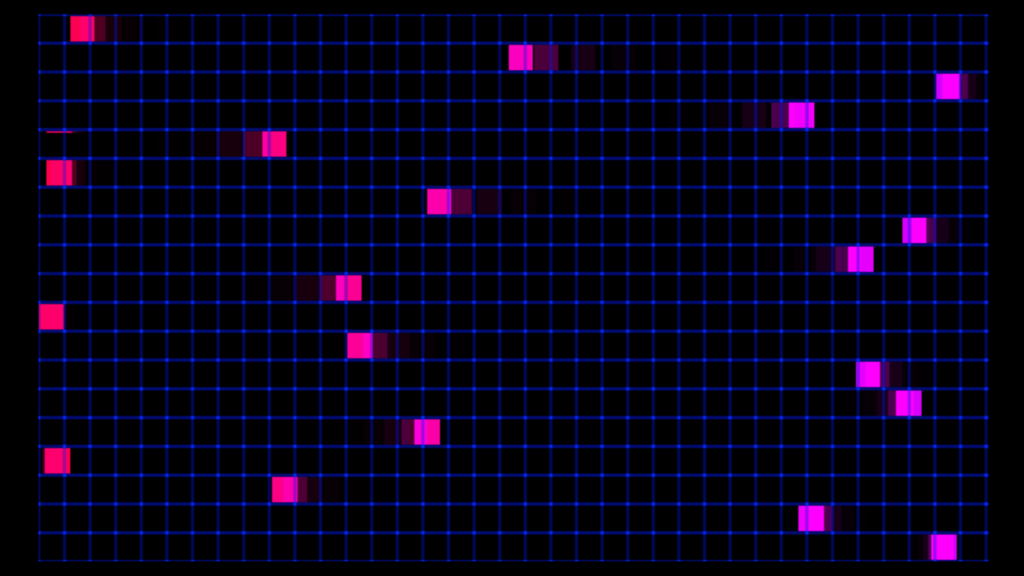
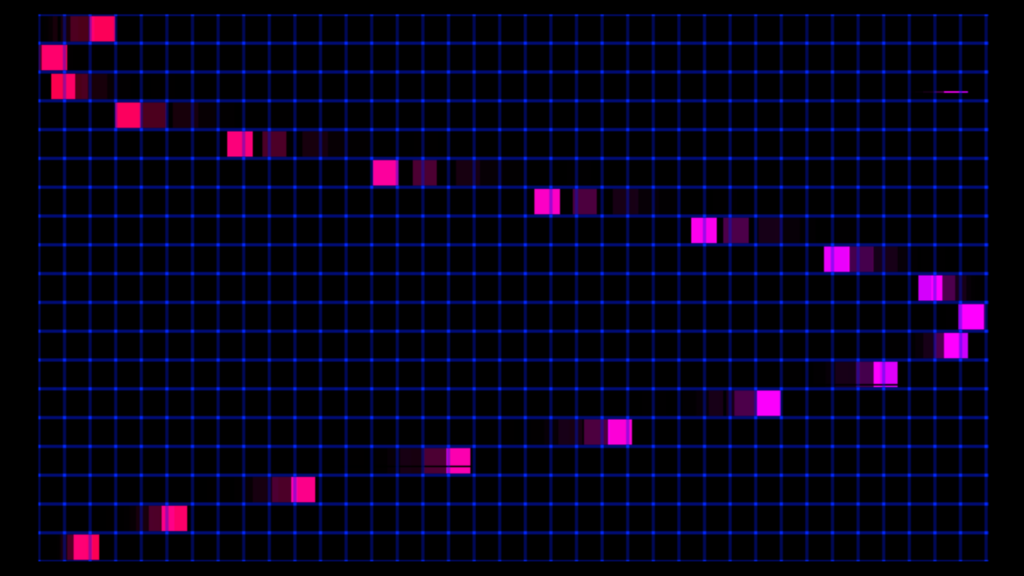
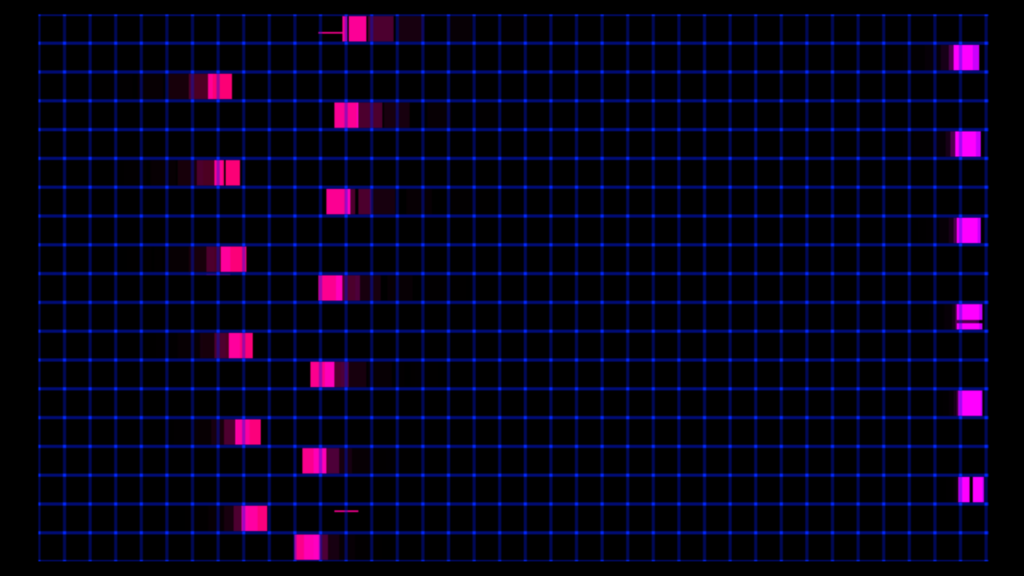
Posted: September 10, 2020 Filed under: Uncategorized Leave a comment »For Pressure Project 1 I created a narrative of a ship crashing on an island. A person is stranded and is eventually saved by a plane. I achieved this by using multiple shapes to create the different animations and envelope generators to move them across the screen. I also created a rain effect that slowly grew in intensity.
This project was a fun challenge. In trying to find a way to keep the audience guessing at what is going to happen next, I thought telling a story would be the best way. This wasn’t as easy as I thought it would be.
I ran into a few problems with layering of shapes/colors and keeping shapes together in a group as they moved across the screen. In the future, I would create virtual stages and create compositions that way first then manipulate the boat.


Pressure Project 1
Posted: September 10, 2020 Filed under: Uncategorized Leave a comment »Kenny Olson
This video was what I used as inspiration for this project: https://www.youtube.com/watch?v=yVkdfJ9PkRQ
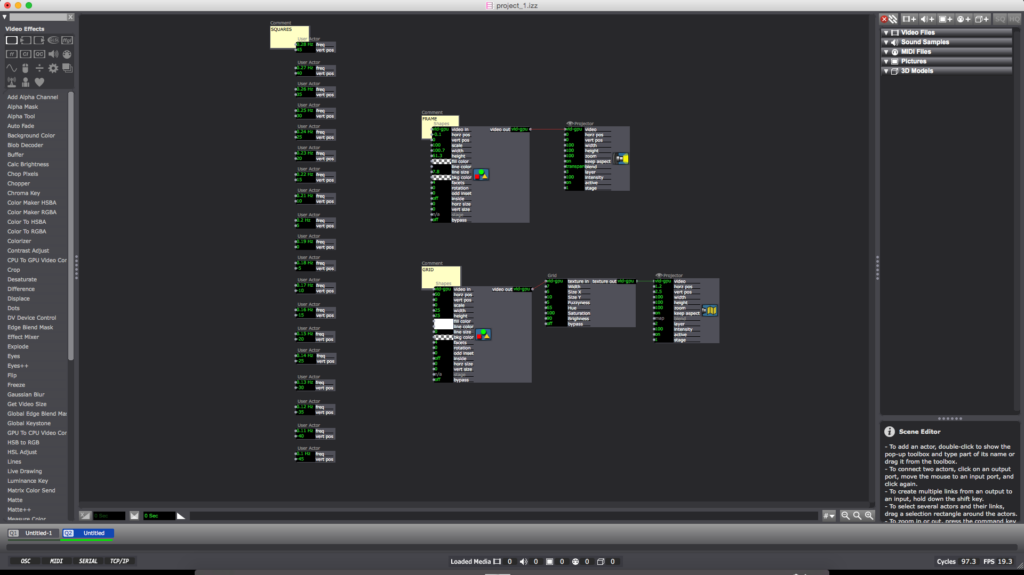
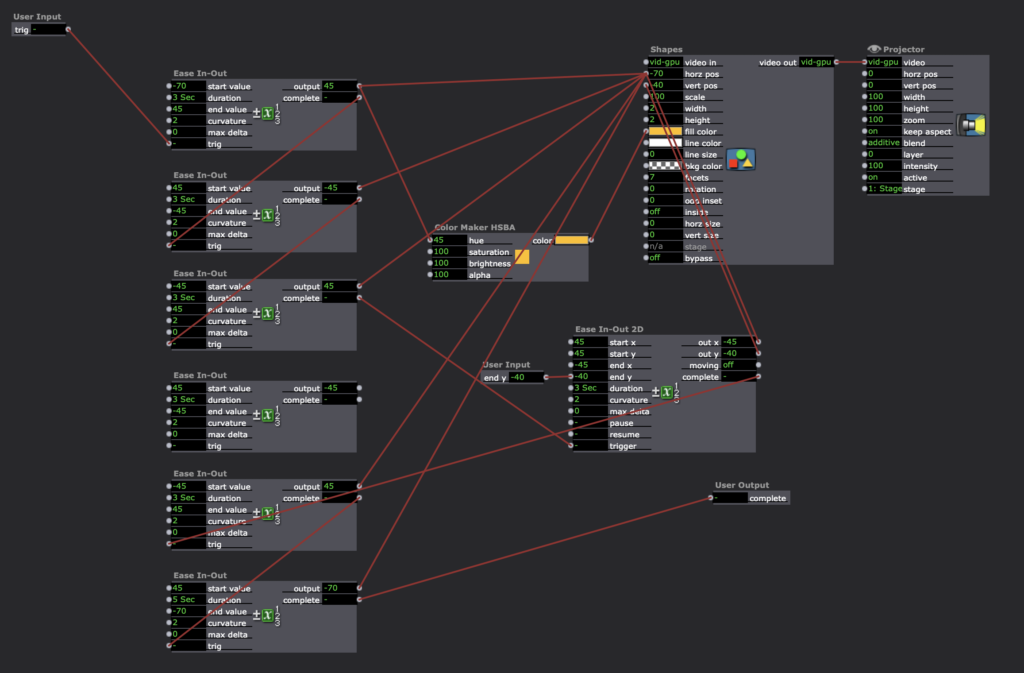
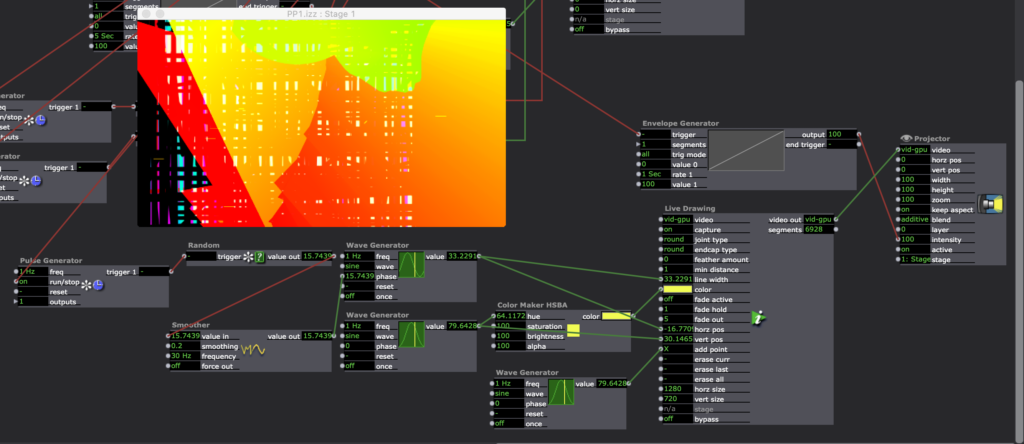
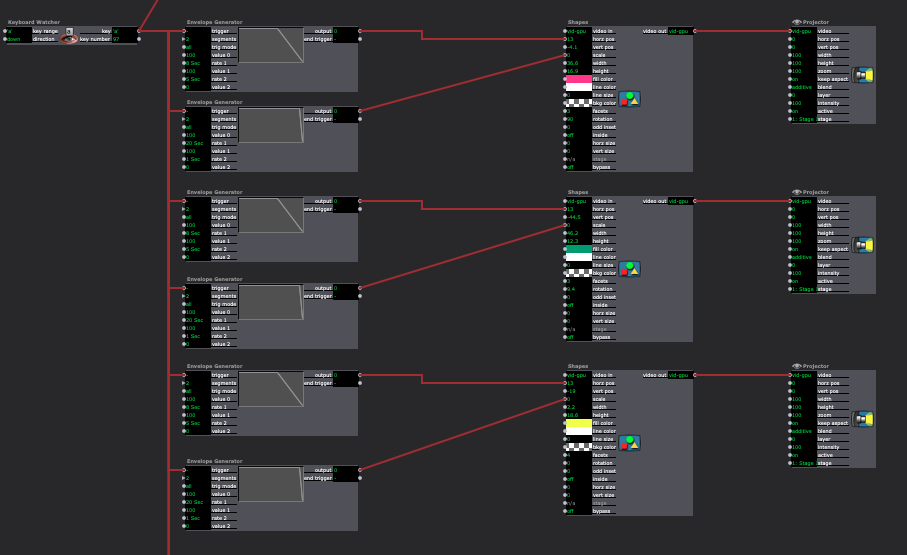
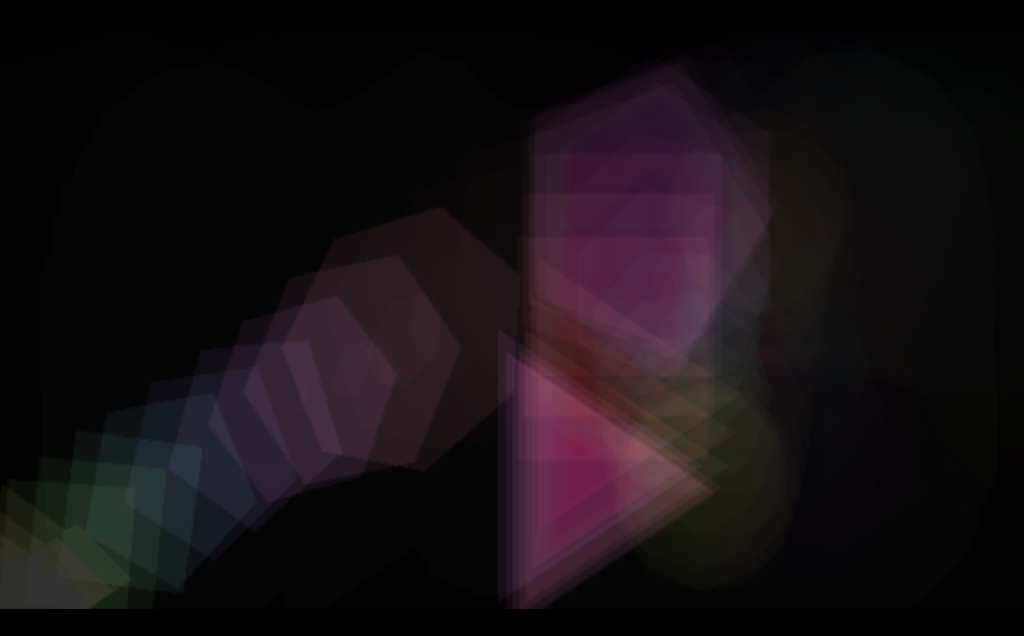
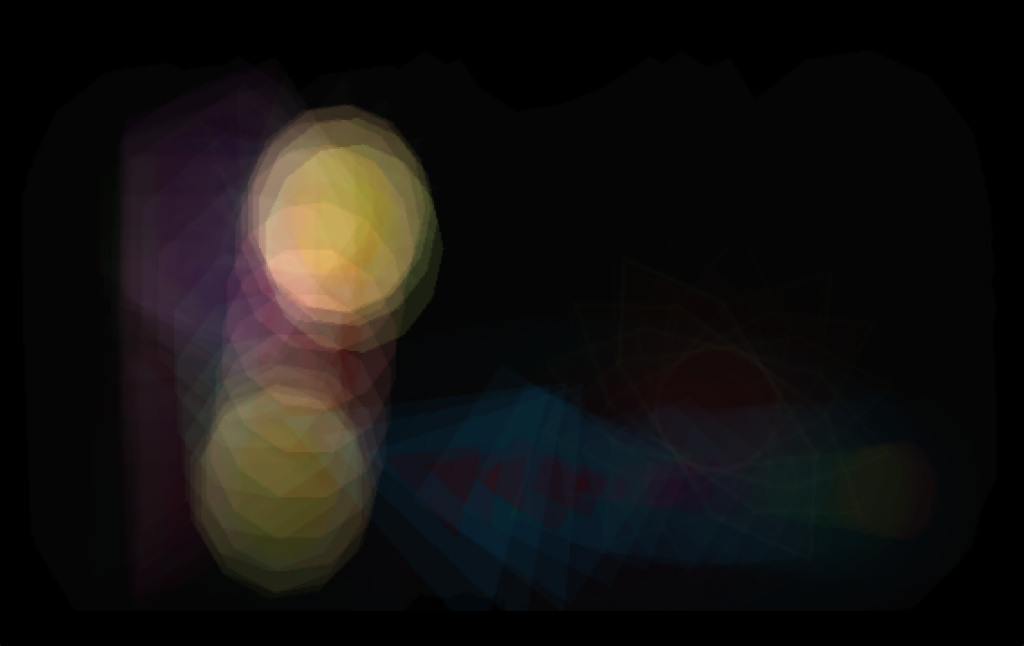
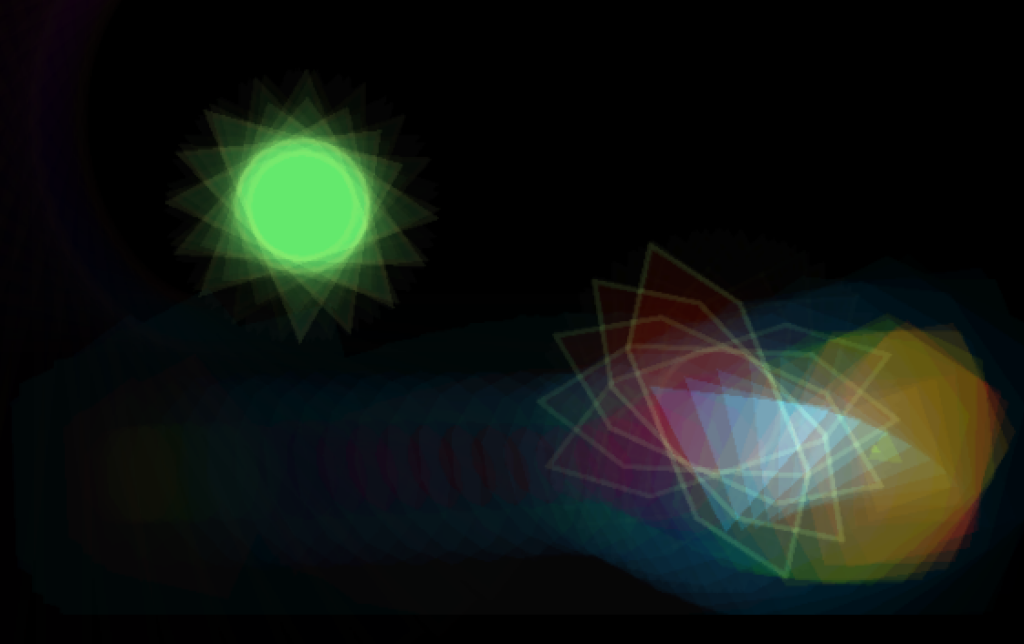
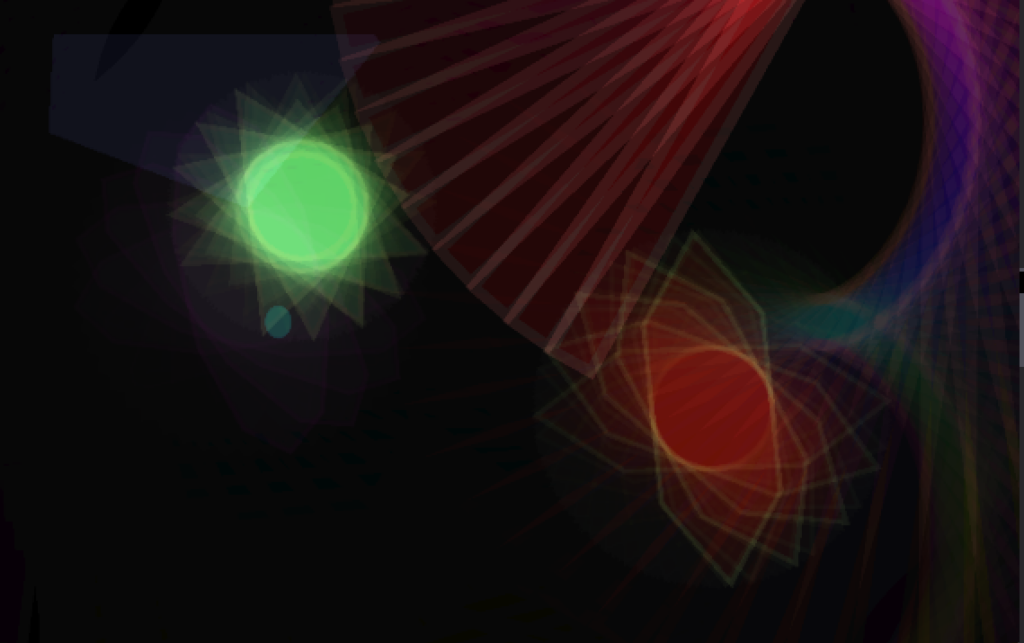
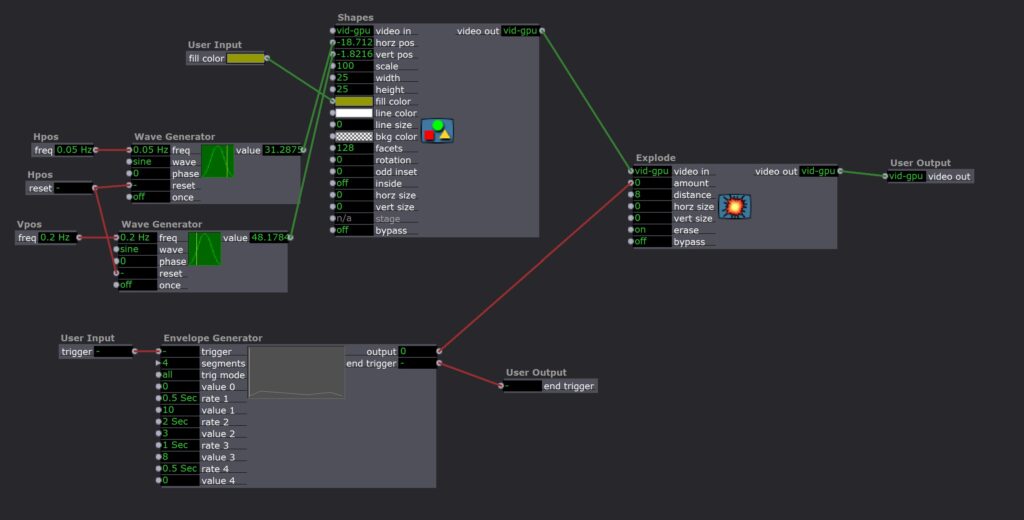
I wanted to create a looping and evolving “vaporwave aesthetic” visualization in Isadora. I found a video (linked above) of different length pendulums swinging and I wanted to try and recreate it. Once the Math was figured out the overall pattern was very simple. I added A black frame and a grid for aesthetic purposes (the ‘Nodes’ pictured above). The main chunk of the magic lives inside of the ‘User Actors’.
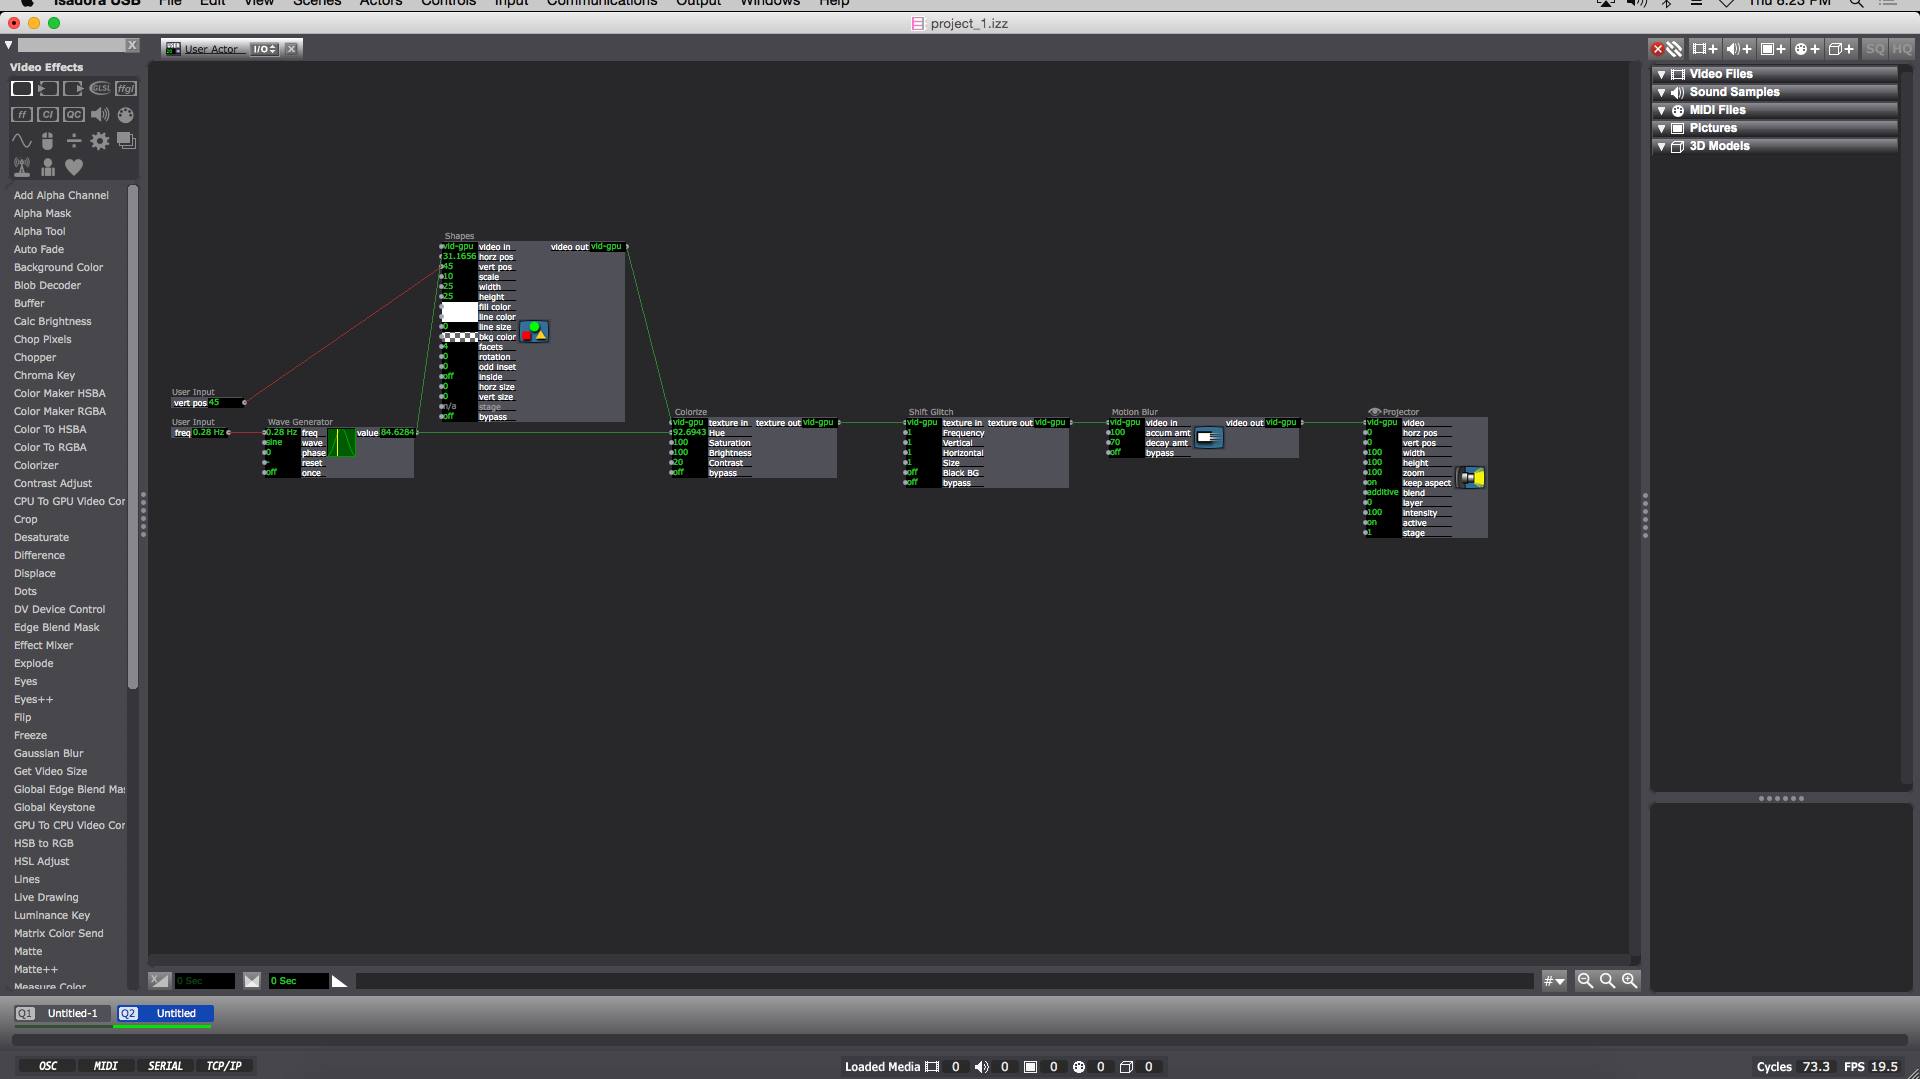
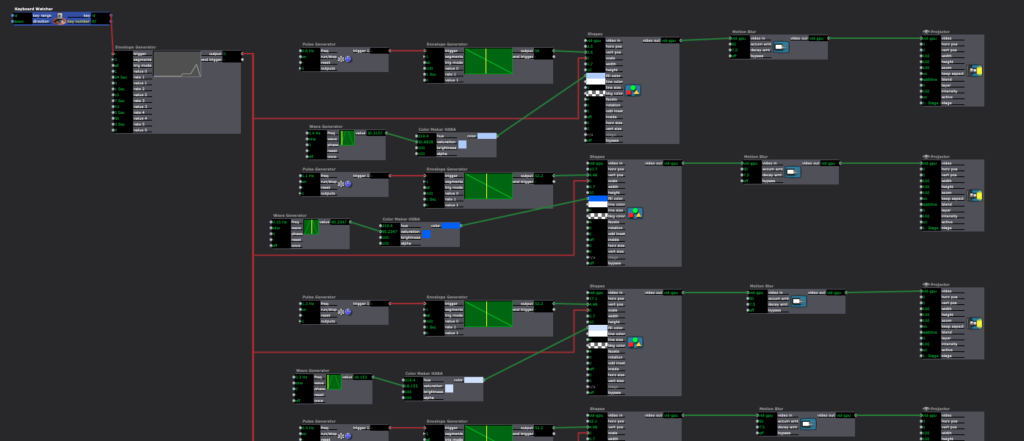
Inside each ‘User Actor’ Is a ‘Wave Generator’ feeding into the ‘Hue’ of a ‘Colorize Node’ (the min and max of the ‘Colorize Hue’ are min:80 max:95) and the ‘horizontal position’ of the ‘Shapes Node’. The ‘Shape Node’ ‘scale value’ is 10. Then the ‘Shapes Node’ ‘video out’ feeds into the ‘Colorize Node’ ‘texture in’. Next the ‘Colorize Node’ goes into the ‘texture in’ of a ‘shift Glitch Node’ (this is for looks and adds a fun glitching effect). I should also note the values of: ‘frequency’, ‘vertical’, ‘horizontal’, and ‘size’ on the ‘Shift Glitch Node’ are all set at 1. Then the ‘texture out’ of the ‘Shift Glitch’ goes into the ‘video in’ of a ‘Motion Blur Node’ with ‘accumulation amount’ set to 100 and ‘decay amount’ set to 70. Next the ‘video out’ of the Motion Blur Node’ goes into the ‘video’ of a ‘Projector Node’. Finally I added a ‘User Input Node’ into the ‘vertical position’ of the ‘Shapes Node’ and another ‘User Input’ into the ‘frequency’ of the ‘Wave Generator Node’. When completed the result should look like something similar to the above image. (you can now ‘save and update all’ and leave the ‘User Actor Window’ )
Now this is when the Fun starts. Back in the main composition window of Isadora you should have a newly created ‘User Actor’ with 2 adjustable values (‘frequency’ and ‘vertical position’). To get started adjust the ‘frequency’ to 0.28 Hz and the ‘vertical position’ to 45. You can then duplicate the ‘User Actor’ as many times as you please. The trick is to subtract 0.01Hz from the ‘frequency’ and subtract 5 from the ‘vertical position’ in a descending pattern with every additional ‘User Actor’ (My 1st ‘User Actor’ starts with a ‘frequency’ of 0.28 Hz and a ‘vertical position’ of 45 ending with my 19th ‘User Actor’ with a ‘frequency’ of 0.1 Hz and a ‘vertical position’ of -45)
To reset the program simply reenter the current scene from a previous scene (with a “Keyboard Watcher Node” and a “Jump++ Node” or by using the ‘space bar’)
I should also note: as long as all the ‘User Actors’ are separated by a constant ‘frequency’ and ‘vertical position’ (or ‘horizontal position’) value from each other (in either a positive or negative direction) the pattern will continue on forever in said direction.
A fun thing about creating this mathematical visualization digitally is there is no friction involved (as shown in the video example, eventually the balls will stop swinging) meaning this pattern will repeat and never stop until Isadora is closed.
Pressure Project #1
Posted: September 10, 2020 Filed under: Uncategorized Leave a comment »Working on this project, I wanted to play around with scenes as well as find a way to incorporate some randomly generated elements. I knew that I wanted to get away from a black background, so I found an image with several different colored blocks and zoomed in on it and then set it to move around the screen as a background.
I originally thought my project would consist of rectangular shapes, so I generated one to move in the layer above the background. However, then I started to think about drawing lines in front of the moving block. My first idea was to see if it would be possible to record a mouse movement and then play it back inside of the mouse watcher. After a little playing, I used a random actor to generate lines. This led me to the idea of more and more lines being generated before the project loops back to the beginning.
I began to explore ways of going to different scenes so that the lines would begin to draw on top of each other. As we discussed in class, I could have accomplished this more efficiently by using the jump actor.
One of the best parts about this project to me was seeing different ways people laid out their workspace as well as getting ideas for new actors. Through this project I feel much more confident about basic kinds of actors as well as working with scenes.
Link to Isadora file:
https://1drv.ms/u/s!Ai2N4YhYaKTvgY9sbl-j6aDoPcdJMg?e=9McCvN
Pressure Project One
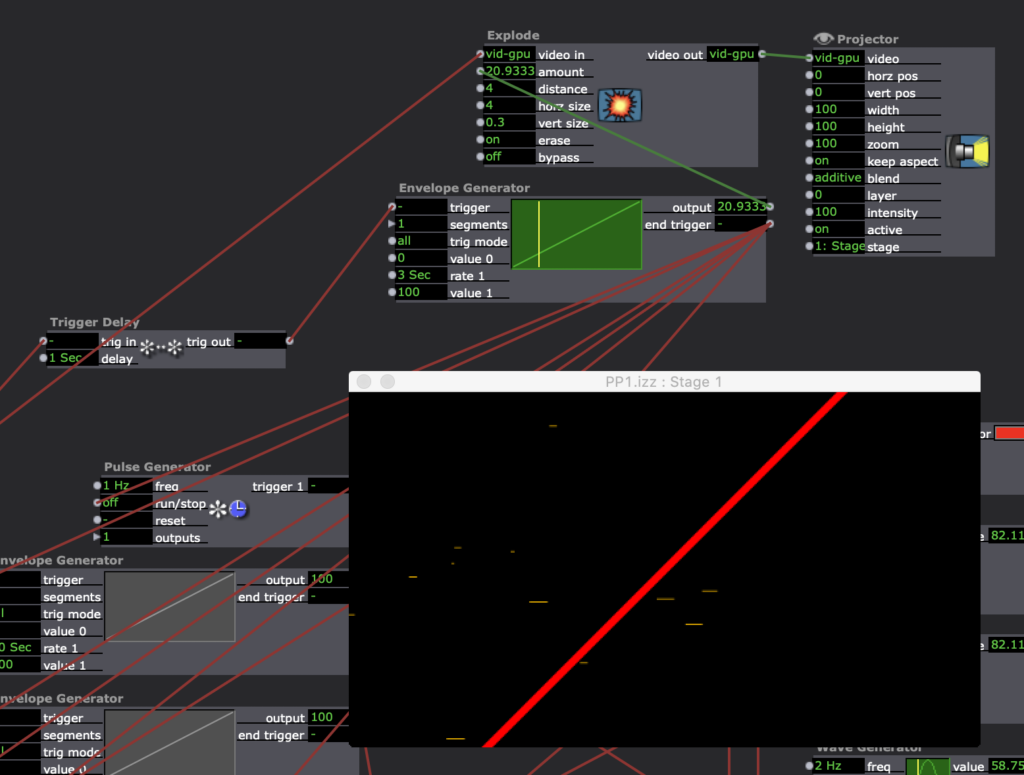
Posted: September 10, 2020 Filed under: Uncategorized | Tags: Pressure Project One Leave a comment »In this Pressure Project, while learning more of how the Isadora Program works, I was exploring chaos and randomness, and how to continually bring something new on screen before something would fully repeat itself. I went through and created figures that zoomed across the screen, that consistently changed in color, size, and shape. I wanted bursts of shapes that were stationary in their horizontal and vertical positions, but also rotated in order to keep the mind focused in different places. Overall, I learned much of how the program worked, and made some fun chaos in the process.

Pressure Project 1
Posted: September 10, 2020 Filed under: Uncategorized | Tags: Pressure Project, Self-Generating Patch Leave a comment »
For this pressure project I was thinking about what kinds of things interest an audience and bring the element of “mystery” into a piece. I started with a sound that I liked and kind of fashioned the mood of everything else to meet that which is what turned it into a oceanic journey. In the process I got very caught up in “what happens next” so in a way I was focusing on narrative and my thinking was very linear. It started with a series of scenes of the ocean from land, I threw the shapes in there just as a mood filter with the colors as well as a way to direct the audience’s eye to something more mobile with the stationary background images.
Then I just had the idea of going deeper into the ocean with the background and as I started changing the backgrounds I wanted to add a new element of surprise. That’s where I started bringing in the animals, I thought they were fun and connected to the story I was telling about the layers of the ocean. There were a lot of ideas I had for the animals that didn’t pan out. I wanted to find sounds for each of them so you would like hear a whale sound when the whale went by and a dolphin sound when the dolphin went by but I ran out of time.
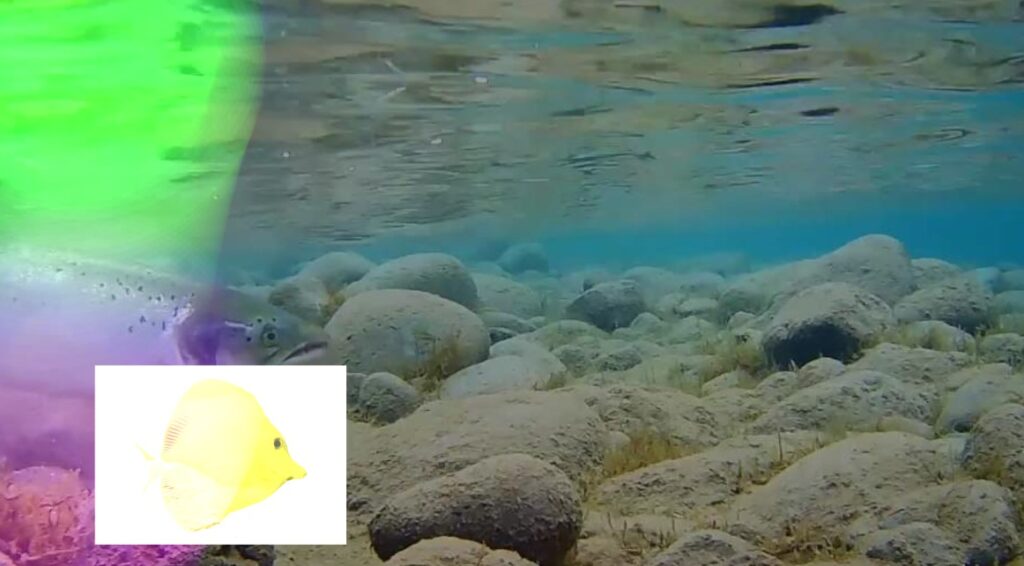
I also wanted them to be on their own without the white boxes but I forgot about how alpha channels worked so I didn’t get that part down. The timing went well since I was able to trigger the changes of the background with given animals numbers so I was able to stay pretty true to the story I was telling and match the types of animal to their particular ocean environment.
One thing I really wanted was for the animals to be able to be layered on each other and entering from random sides of the stage and at random times. I think I could have gotten the layering with multiple picture players going at the same time and maybe staggering the pulse generator attached to them but I need to do some more exploring into actors to solve the issue of random entrances.
I think it was really cool to hear people’s responses to it and the ways that they interpreted my media. In my mind, the song inspired wonder and peace but for some people they said it felt kind of sad. I saw the moving circles as impressions of nostalgia and slow beauty but some people saw them as another character altogether. I imagined it as an experience akin to scuba diving that was more exploratory but other people saw a lot more narrative. While I feel like many of the experiences were within the same vein, it was interesting to hear the different permutations of the story. In many ways I feel it referenced back to our discussions about what experience is and how meaning is communicated.
My experience working on the project forced me to notice how important it is for me to plan first. I didn’t want to plan anything because I am a very hands on person, usually I just start digging in and making and things arise out of my activity and I find it difficult to think without doing. However, in this case that way of working proved detrimental. I got invested in the making process and did end up making a lot but it ended up very linear and I didn’t start thinking about a way to loop it until the last 30 minutes of my time and at that point there were so many interlocking parts that it wasn’t really possible. So I wish that I had set up a framework for myself at the beginning about the structure I wanted to come out with rather than just diving into the content. I also wish that I had taken more advantage of scenes which may have helped me figure out how to loop it better because it would have separated out the different sections. Another thing I want to incorporate more in my process is clearer decision-making so that I don’t end up running out of time and not completing things. One of the reasons I think I didn’t have time to make all the animal effects that I wanted to was because I was also trying to do new things with the scenes and effects with the circles and if I had just chosen one thing to work on I probably could have done it.
Overall, great learning experience with interesting results!
Project Bump
Posted: September 8, 2020 Filed under: Uncategorized Leave a comment »https://dems.asc.ohio-state.edu/wp-admin/post.php?post=1761&action=edit
The pictures of this project immediately got my attention. With a group of people standing in a space together with, what looks like, a projection on the floor and a wall with several dots. I love the idea of creating an experience that was playful, interactive, tricky, and physically engaging. Modernizing a board game like Candy Land with projections and body movement. so cool!
Project Bump
Posted: September 8, 2020 Filed under: Uncategorized Leave a comment »I found Aaron Cochran’s cycle project to have an interesting trajectory. https://dems.asc.ohio-state.edu/?p=2281
I like how Aaron went from working with the Kinect sensor and projector to create the interactive game. I thought the idea of this kind of augmented reality game was executed well and the environment seemed very responsive to the movements of the player. Throughout all three of his cycles Aaron seemed to have a logical process that arrived at a good result.
Project Bump
Posted: September 7, 2020 Filed under: Uncategorized Leave a comment »I really enjoyed reading about Parisa Ahmadi’s final project “Nostalgia” (https://dems.asc.ohio-state.edu/?p=1743). The way the visuals of the final project overlapped on various fabrics created a full world of ideas just like how I would imagine my memories swirling around my mind. The softness of the fabric and genuine content of the visuals develops a more intimate space and allows audience members to feel comfortable experiencing what ever they end up experiencing. Since the visuals were connected to specific triggers on objects the audience would be able to directly interact and have a sense of how they impact their environment. Overall it seemed like a really thoughtful project and the result was able to surround the viewer with activity that interacted with all of the senses.